
Welcome!
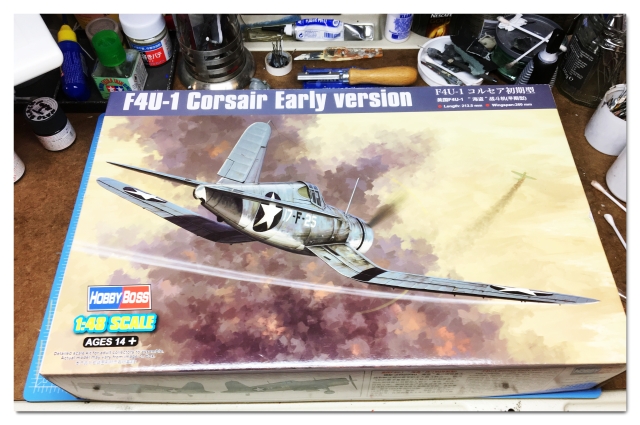
This is my first WIP report on my 1/48 Hobbyboss F4U-1 “Birdcage” or “Early” Corsair. I was quite impressed with the last Hobbyboss kit I built so when I was looking for a 1/48 Early Corsair this is what I bought:
After seeing what Matt at Doogs Models did with his 1/32 Tamiya Birdcage Corsair I was inspired to choose the same aircraft, “Tojo Eats Shit” If you want to see Matts superb build, go here: Doogs Models Corsair
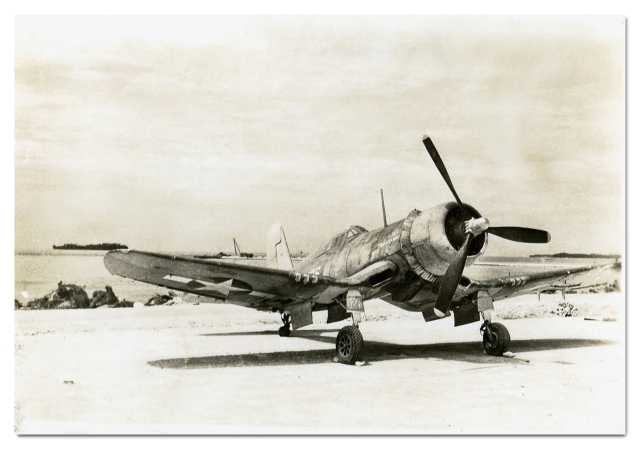
This particular Corsair was really beat up and well weathered hence why I wanted to build this machine:
I am using Barracuda decals for this build and I intend to really push myself on painting and weathering technique.

As for details, the kit is pretty good as it is. My one gripe with Hobbyboss is that they give you some wonderful decals to replicate the instrument decals on the nicely detailed instrument panel but the decals are way oversized so one cannot use them! This is most frustrating HB!
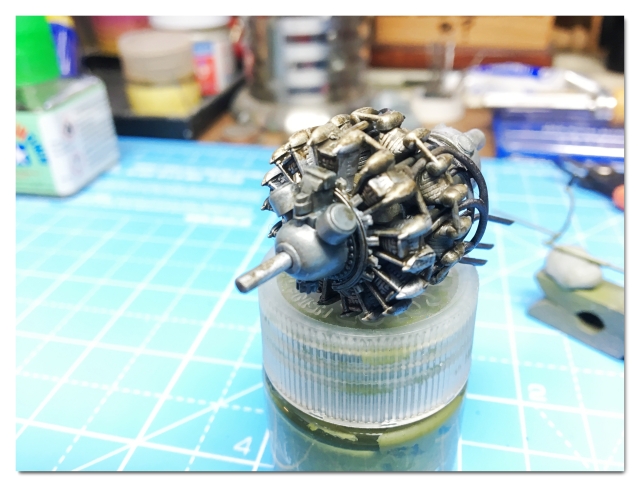
Never mind, before I start ranting, let us swiftly move on to the assembly ahead. Work has commenced with the cockpit and engine. The Engine is straight from the box and I have not added anything to it as in 1/48 scale most of it will be hidden inside the Corsair’s cowlings. It was painted with Tamiya and Grunze acrylic’s and weathered with enamel washes.


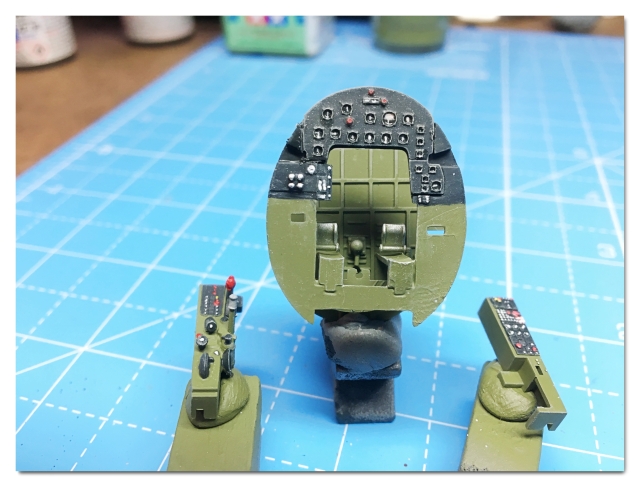
Here is the kits cockpit, the I/P has been hand painted as the decals did not fit……..

I’ll post more updates as I have them. I’ll be off to the studio now o do some more work to this model and enjoy a nice cup of tea. Until next time, take care and Happy Modelling!
Darren.


That instrument panel looks amazing Darren! I wish I could do those tiny details! A question about your engine: wouldn’t the enamel wash react with the acrylic paint or is it enough to let it dry long and applying a coating layer? I am still a bit confused by what the proper combination of things is. As you’ve seen on my blog I used Humbrol Clear – Gloss on Revell Acqrylics for the coating and then applied a Lavado Acqrylic wash. I did seem to get some reaction but that could be because I didn’t wait long enough between the layers or the paint was just way too thin!
Greets,
Dan
LikeLiked by 1 person
Thanks Dan! I will do a tutorial on hand painting an I/P at a later date and once you see how it is done-it is easy! You do need a good magnification visor though!
To answer your question, I always use an enamel wash over acrylic. Not the other way around! When you put acrylic over enamel paint it will react badly.
Also, sometimes different paint brands do react badly with each other and that has caused me problems in the past too. I think that is what has happened in your case.
Try using an enamel wash straight over an acrylic gloss coat. That should work.
Hope I have helped!
Darren.
LikeLiked by 1 person
A tutorial will be amazing! Looking forward to that!
I would have thought it was the other way around so thanks for the tip! I still have some enamel paints laying around so I could make a custom wash over the acrylic gloss. Another good thing to test out on the wreckage of my first model!
Greets and many thanks!,
Dan
LikeLike
Typo in the title Darren…
Early Corasir
LikeLike
Glad you spotted the deliberate mistake there!
LikeLike
“Plane” lucky I guess!
LikeLike
Pingback: 1/48 F4U-1 Corsair-Ready for Inspection! – THE SCALE MODEL HANGAR
Pingback: Somewhere in the Pacific……… – THE SCALE MODEL HANGAR