Hello again!
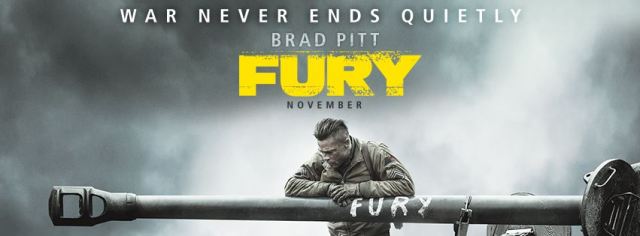
This post sees my commencement of a diorama project that I have wanted to build for a long time. And this one finds me depicting the Sherman tank in the mud of WWII with the Italeri 1/35 “FURY” Sherman kit. The idea to build this tank was inspired by acclaimed war film Fury which is a honest, bare knuckle look at the horrors of WWII as the allies invaded Germany at the end of the war. The Italeri kit comes with its M4A3E8 also known a s the “Easy Eight” and has a huge amount of stowage to re-create the look of the tank and its load from the movie.
The Kit:

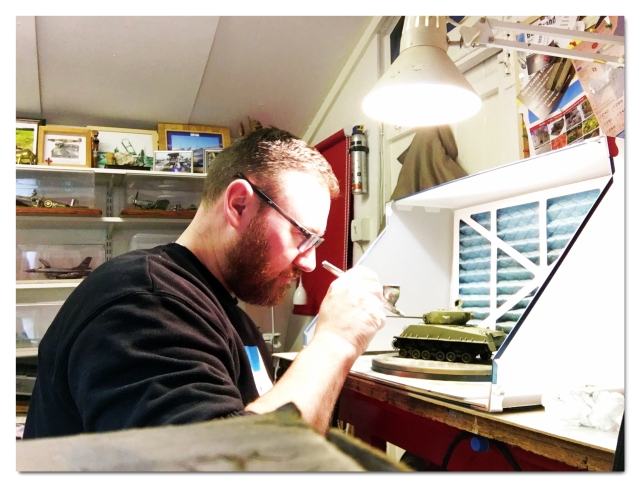
Now I am no armour expert and I don’t often build tanks so I have taken my time with this one and I am getting lots of advice from my mate “H” who does know his stuff when it comes to armour.
The kit is not the best 1/35th easy eight out there, but for the amount of plastic you get in the box, its good value. The fit is a little tricky in places so my advice is to dry fit everything before committing to glue and read those instructions as they are a tad unclear during some assembly steps. (Yes I made a few mistakes along the way!)
The Plan:
My idea to recreate the famous image of FURY’s crew sat atop of their tank as in this photo:

I was lucky enough to pick up the excellent 1/35th Bravo Six figures a while back and I am looking forward to seeing how they turn out. They are well sculpted and capture the essence and look of the crew, here you can see what a good figure painter has done with them-I’ll need to do my best when painting mine!


The work begins:
The build process to get the hull, turret and running gear is straightforward enough and here is what I ended up with….

Next came the painting process and as is my adopted technique I used a black basing primer coat:

The fun part of the painting was laying down the camouflage patten and armed with my new spray booth I was happy as a pig in the preverbal!
The OD Green was sprayed on in several mist coats and then the black camo pattern was applied freehand with a turned down setting on the airbrush:


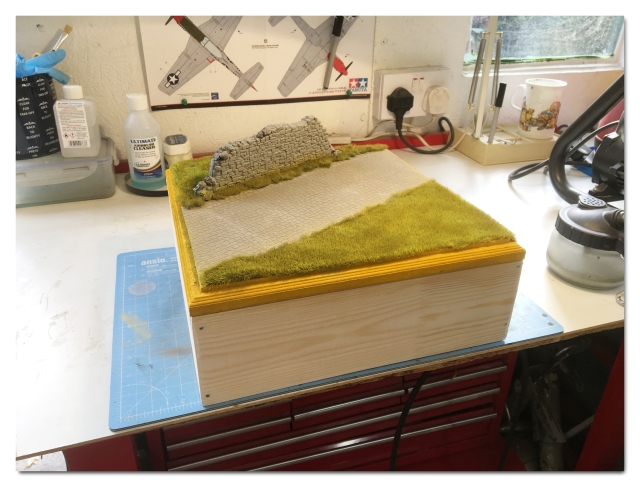
As the paint is curing, here is the display base I have been working on:
- I took an edged MDF base and planed the layout for the scene. Here I have added a rustic stone wall from Mini-Art and some cobblestone sheet from Tamiya.

2. I have made a plinth to raise the base off the deck and add a sense of presence. The wall has had loose stones added to it and it has been primed in grey. Further groundwork has been fleshed out by adding NOCH grass matting. This matting is realistic and takes paint really well.
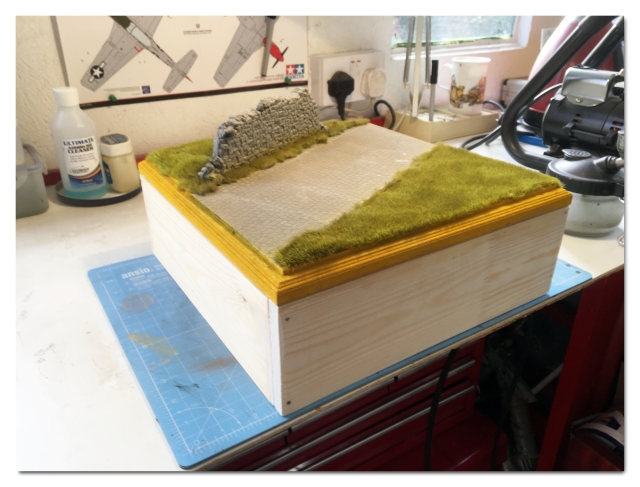
3. I have added vegetation to the stone wall to add a sense of age to it.

4. To add a prop to the scene, I have utilised this farm cart from Mini-Art. It will sit damaged on the side of the road.

After watching the film again it occurred to me that this story did not see our tank travelling on cobblestone roads very much. In fact, much of the film sees this tanks riding through muddy tracks. It was then I decided to darken the shade of the grass on the diorama and add a lot of scenic mud from Vallejo.


5. So here is how the display base looks now, the wall has been painted and weathered and the painted farm cart has been painted in wood grain. I still need to add some more details to it, but you get the idea.


That’s all for this update, next time we’ll add some ,markings and stowage to our tank and get to work on those figures.
Until next time, take care and Happy Modelling!
Darren.


Hi Darren.
Looks good. Armour is my favourite subject, albeit I prefer British and German.
I’m curious about the primer you use. I currently use Halfords Grey Primer, but have been wondering about switching to black as I’ve seen people mention that it helps with shading/tone variation etc. I don’t think Halfords do it in black.
Which brand do you use?
LikeLiked by 1 person
Thanks!
There are plenty of purpose made primer paints out there in black and grey but honestly the best for me is plain old Flat Black Tamiya acrylic. It goes on very smooth and will soon show up any problems. The only time I use anything different is when I am using a metallic paint and then I would use Tamiya Gloss Black acrylic. For some reason unknown to me right now, the metallics react better to a gloss finish. Hope this helps!
LikeLike
Unfortunately, I don’t use an airbrush so have always stuck to the Halfords as it’s cheaper than modelling primer and does a good enough job for me. Thanks for the reply though.
LikeLike
Pingback: FURY: The completed display diorama. – THE SCALE MODEL HANGAR