
Hello and welcome back!
Yes! Midway the 2019 film was the inspiration for this build! If you haven’t seen the film, I can throughly recommend it!
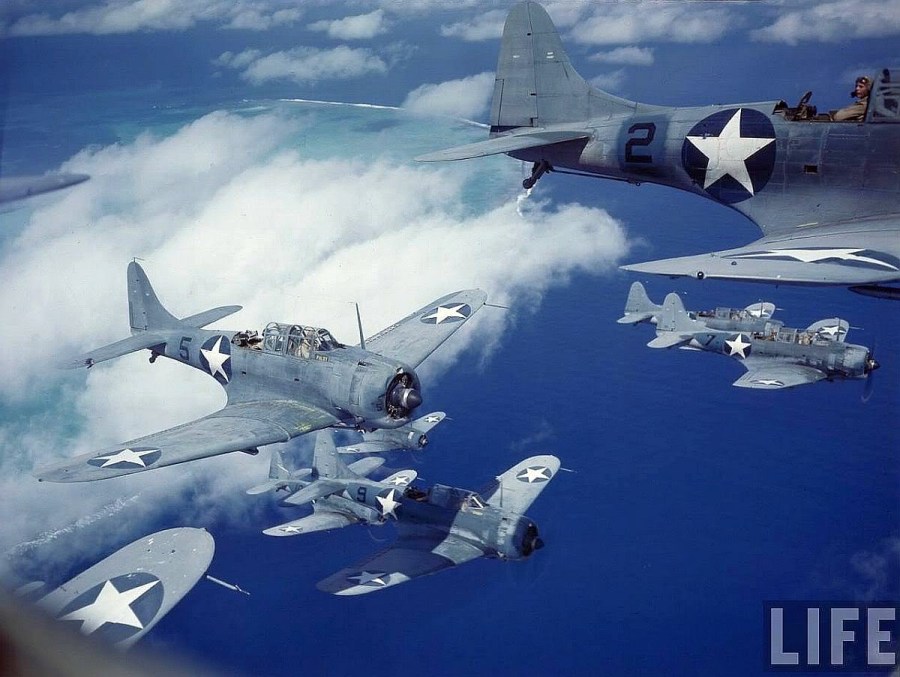
I have always had an affinity with the Dauntless and for many years wanted to find the time to build one just for me. After seeing the Dauntless in this film it gave me that spurt of enthusiasm and inspiration that compelled me to find a kit and build it!
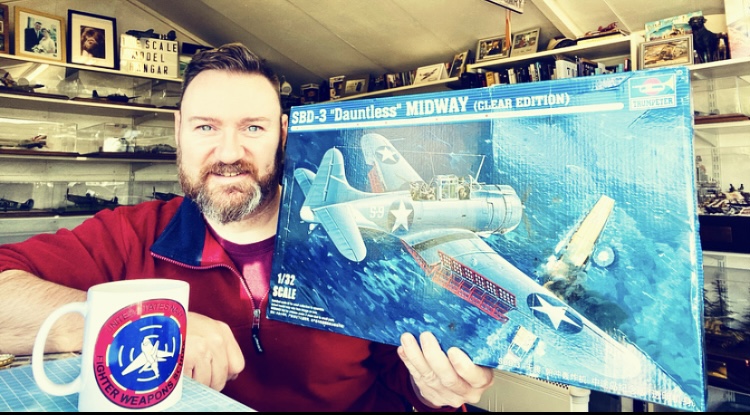
Not long after I came across the opportunity to acquire the 1/32 Trumpeter SBD-3 Dauntless kit. I had not seen one before so I was not sure what to expect. I was pleasantly surprised at the level of detail in the kit and really the only modification I felt was necessary was to add an aftermarket instrument panel to the pilots cockpit and buy some paint masks so that I may portray Lt.Dick Best’s aircraft from the Battle of midway.
Assembly Commences!
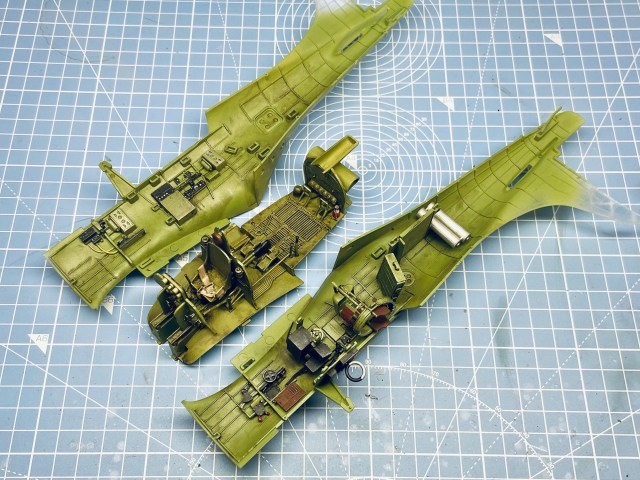
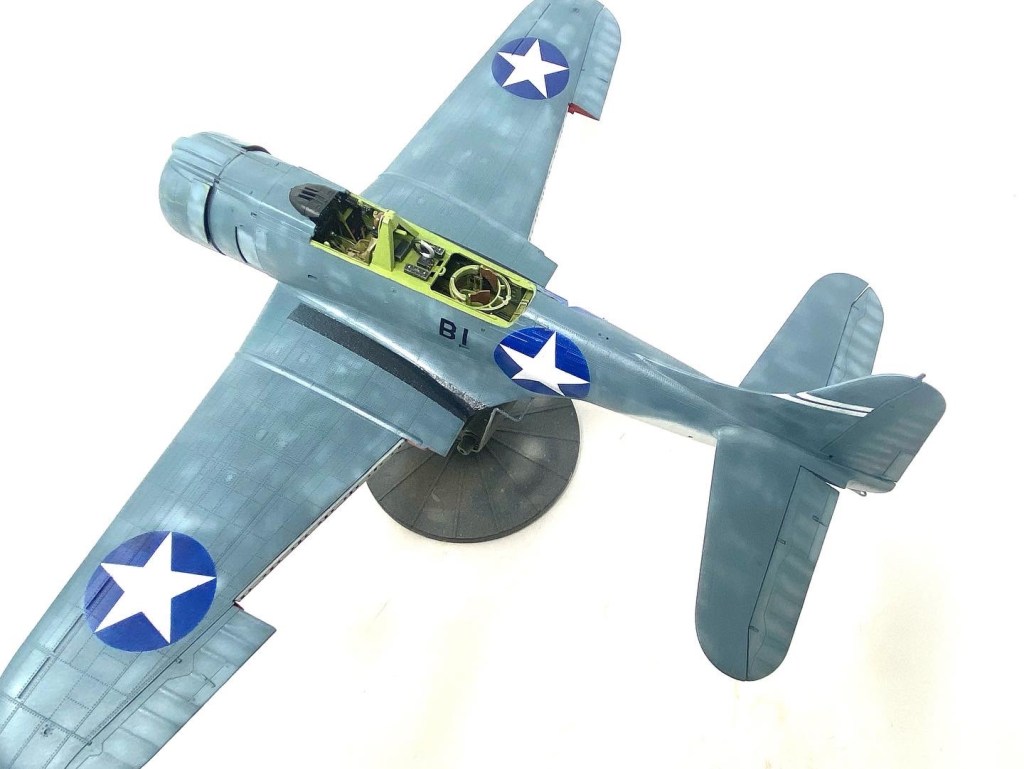
As with most aircraft models, construction began in the cockpit. On this model Trumpeter has produced the fuselage in clear plastic so that the full interior of the aircraft can be modelled and displayed. Nice idea, but not my style and certainly not what I had in mind for this model.
I set about putting the Pilot and Radio/Gunner positions together in the cockpit taking care to highlight any details that would be seen from inside the finished airframe.
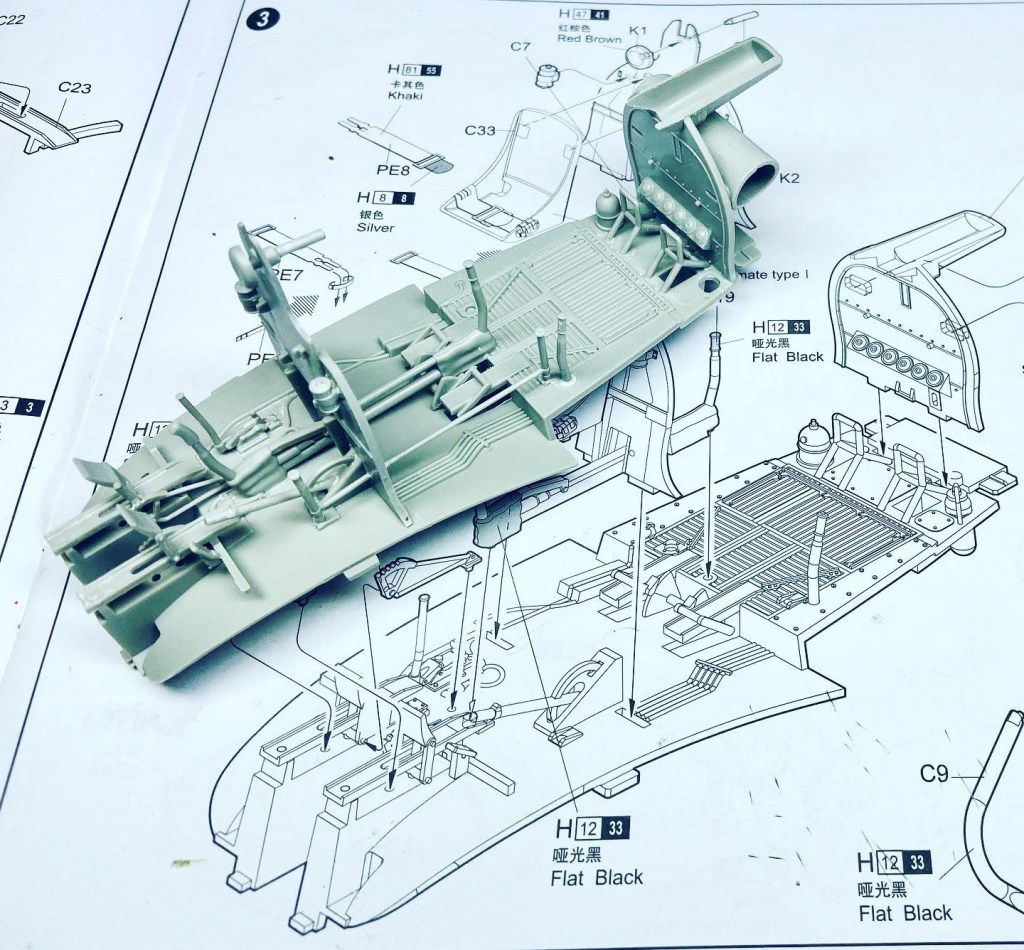
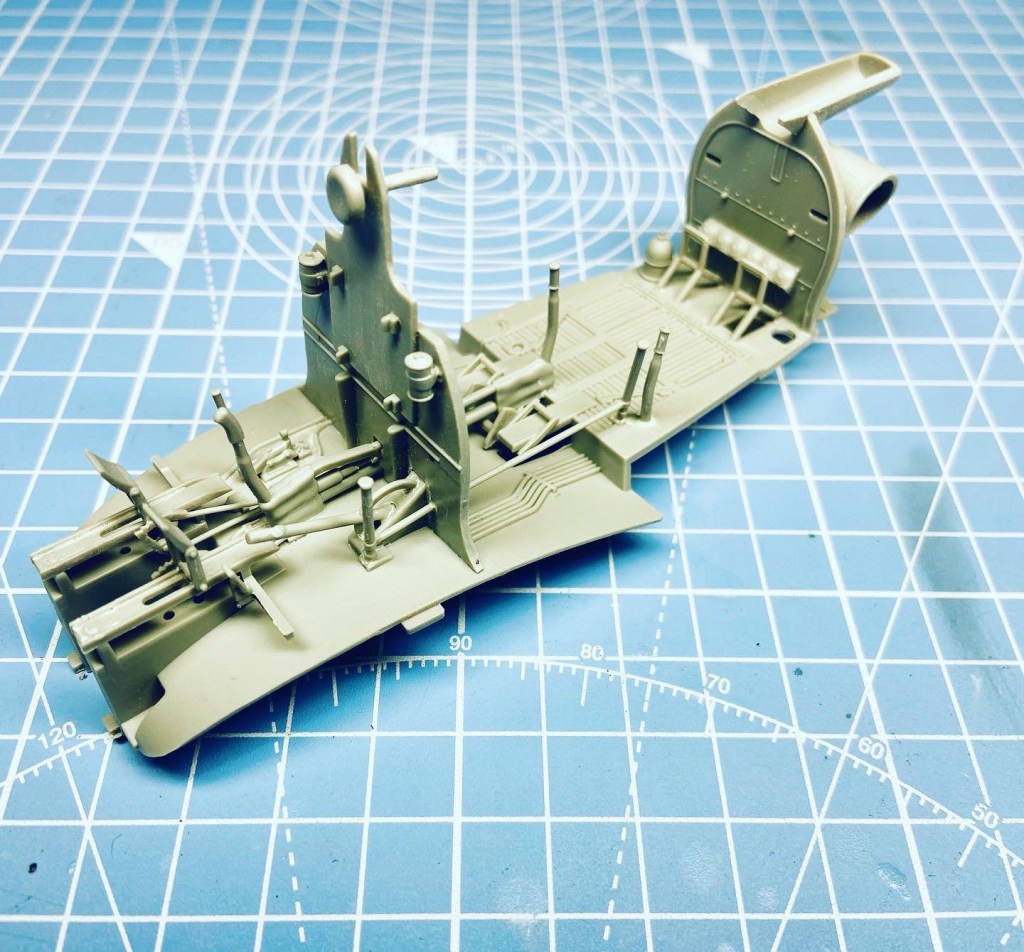
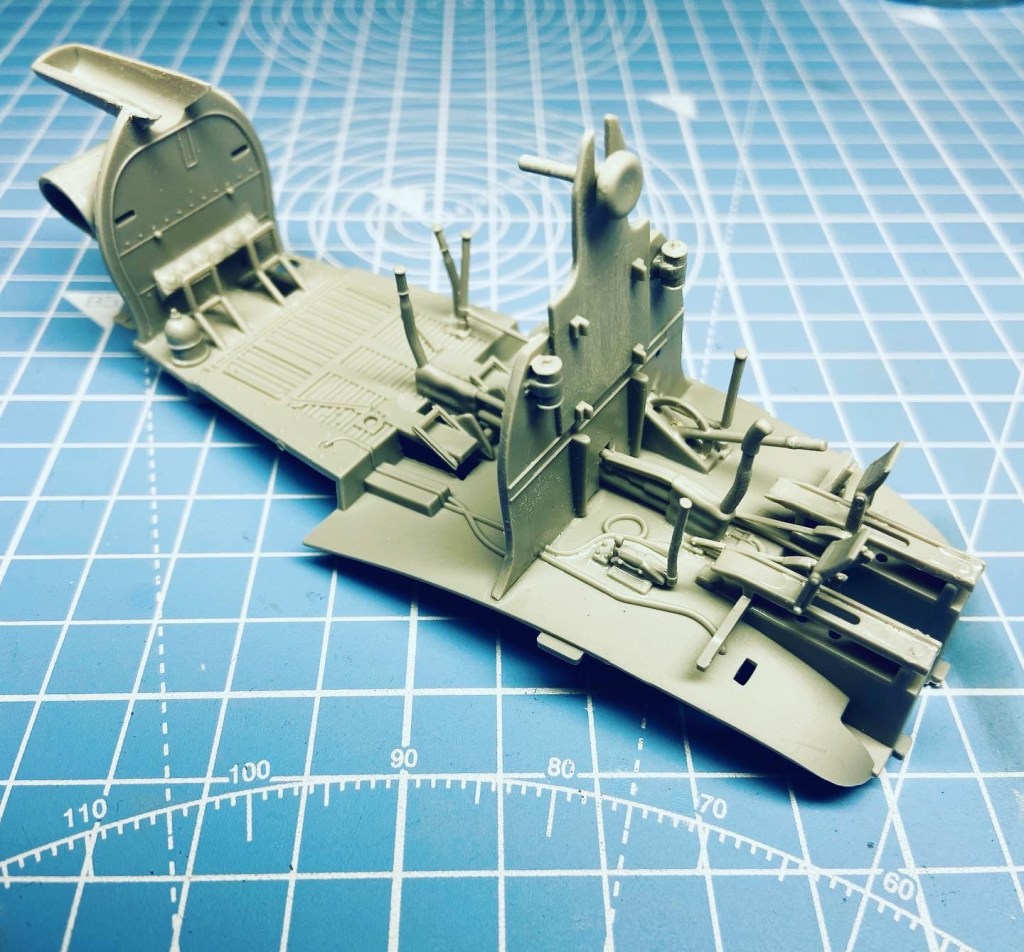
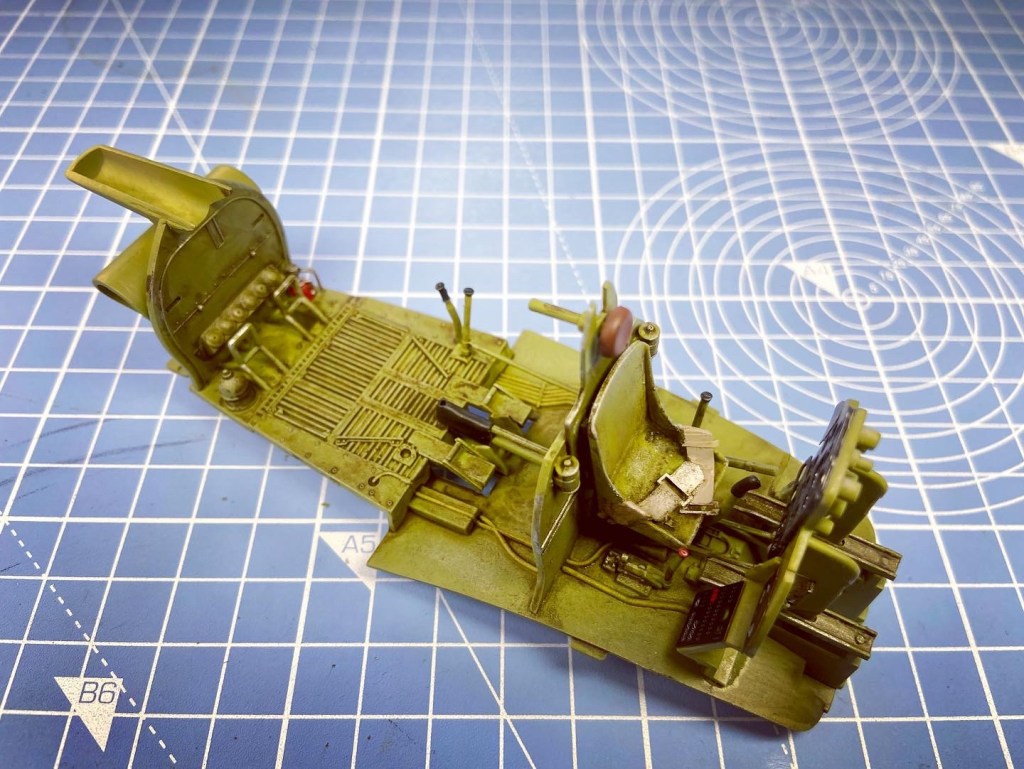
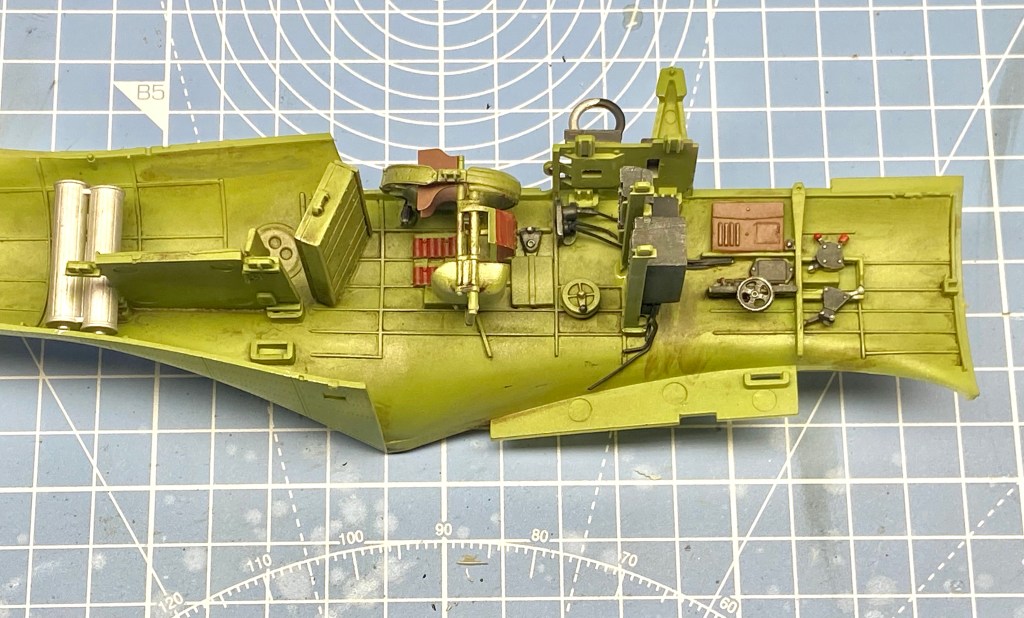
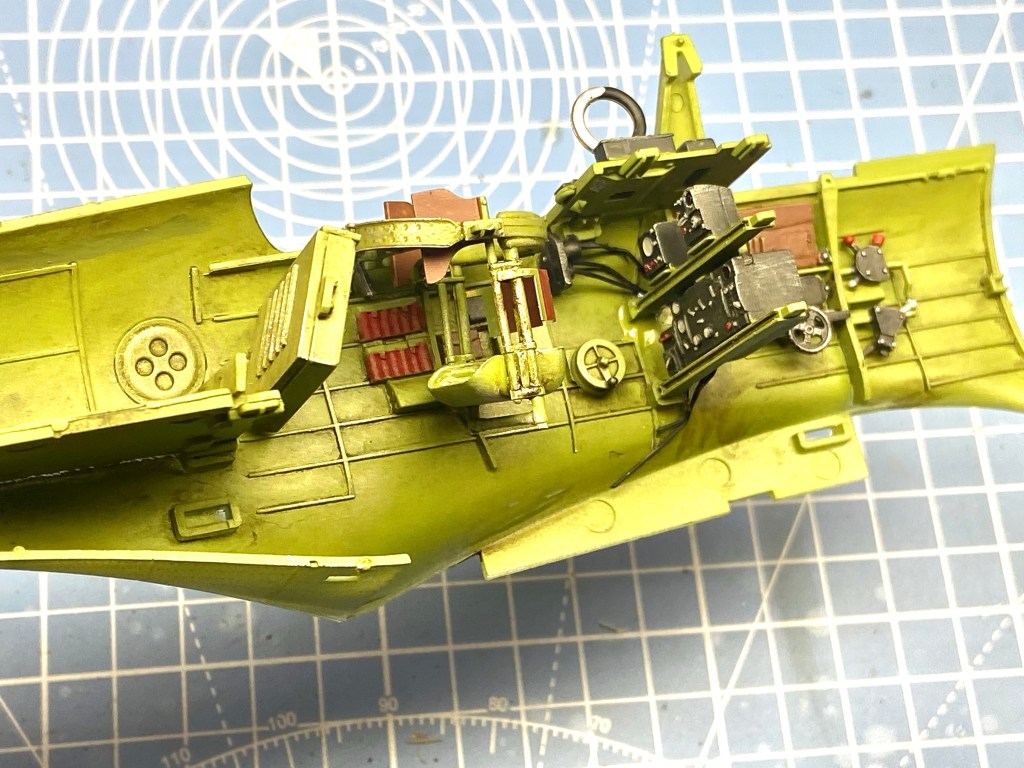


As you can see there was a lot of detail inside the fuselage! I gave all the parts a coat of my own mix of US Interior Green mixed from Tamiya acrylics and then highlighted all the consoles and switches in the appropriate colours. Once those parts were dry I gave them a clear coat of Tamiya Clear Gloss. I like this clear coat as it is very durable and is a good layer to protect the work underneath from the weathering process that will be applied.
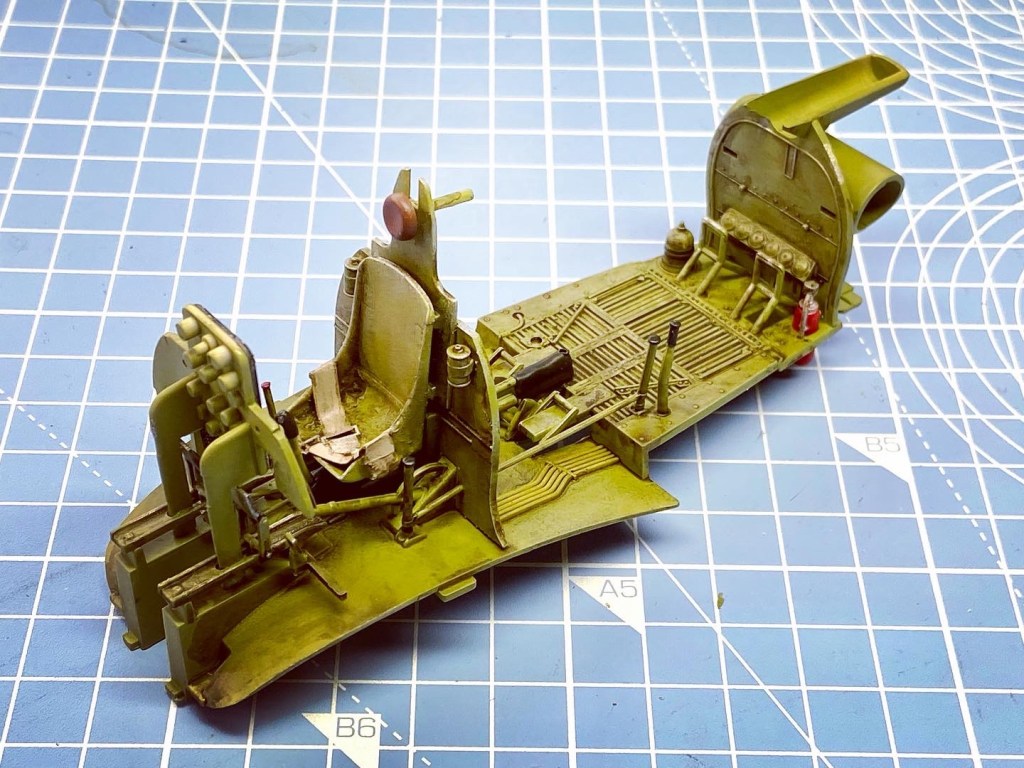
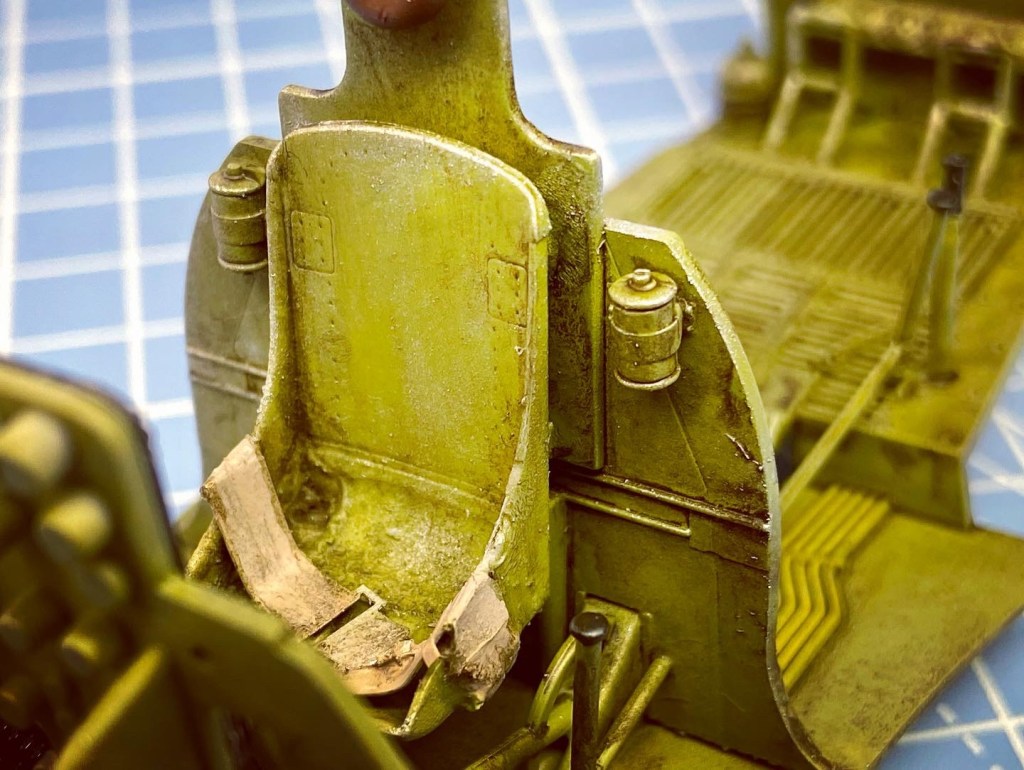
I chose Mig Ammo DAK Brown panel line wash to add depth and a layer of dirt to the paint. When the fuselage is closed up, it is a nice effect.
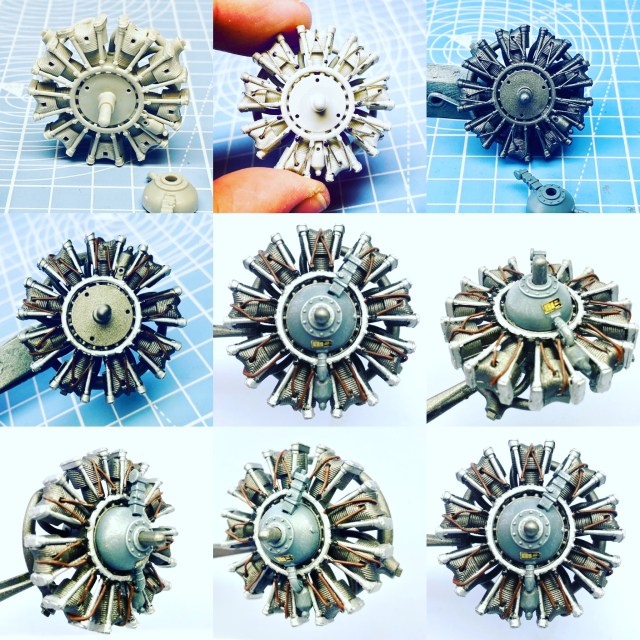
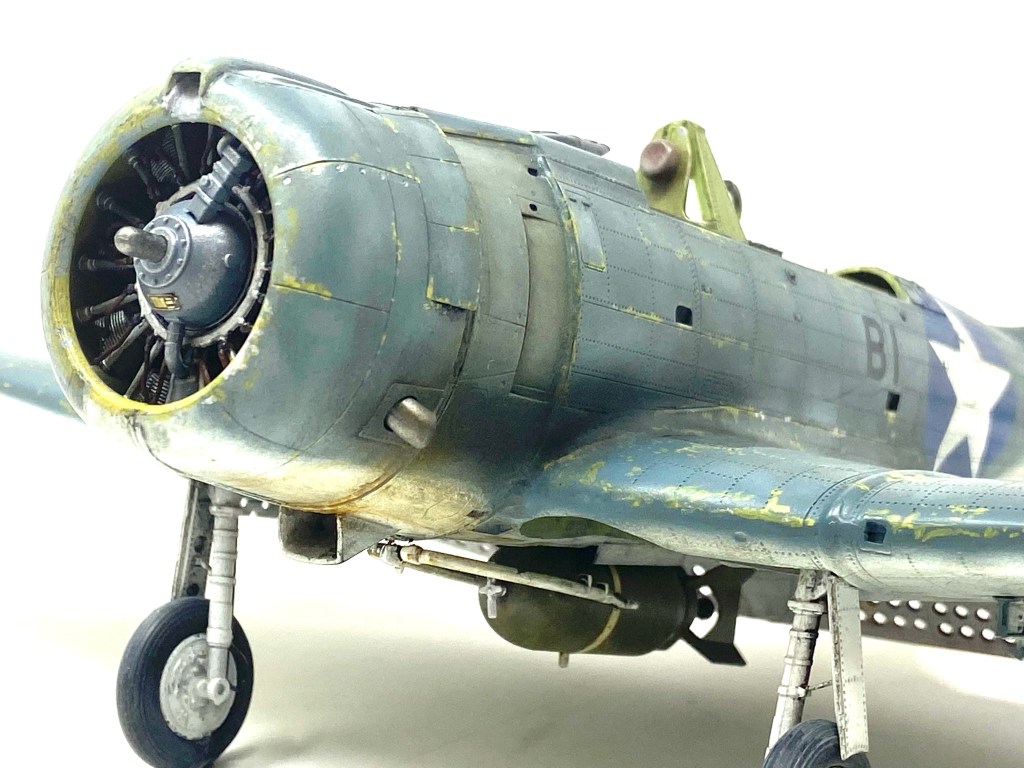
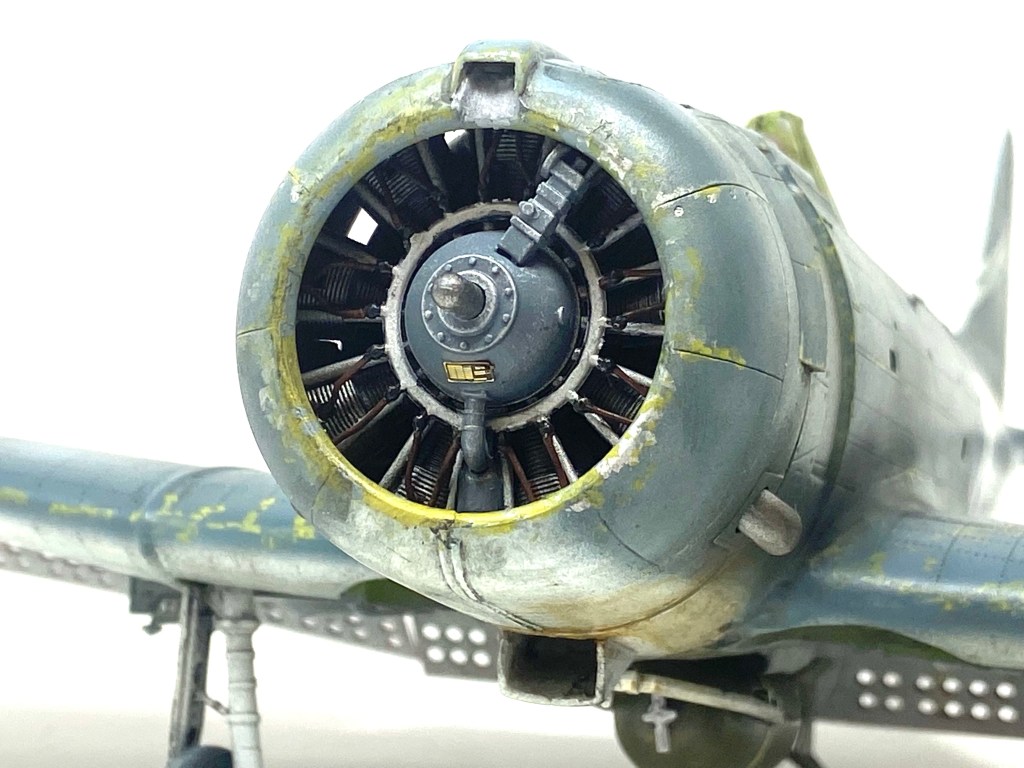
My next task was to assemble the kit’s engine. Trumpeter provide a nice rendition of the Wright R-1820-60 power plant and I couldn’t resist the opportunity to give it some TLC. With the aid of some drilling and wiring, extra detail was given to the ignition harness and careful painting and weathering brought the engine to life. Metallic Grey, Aluminium and Neutral Grey acrylics from Tamiya were used to paint the engine and it was detailed by dry brushing silver over the raised bolt ends. The entire assembly was then treated to a wash of AK Interactive Engine Wash, its a good wash I that its consistently is the and its murky Black/Brown shade really makes the little details pop! Below is a gallery of each step of the engines construction.

PAINTING
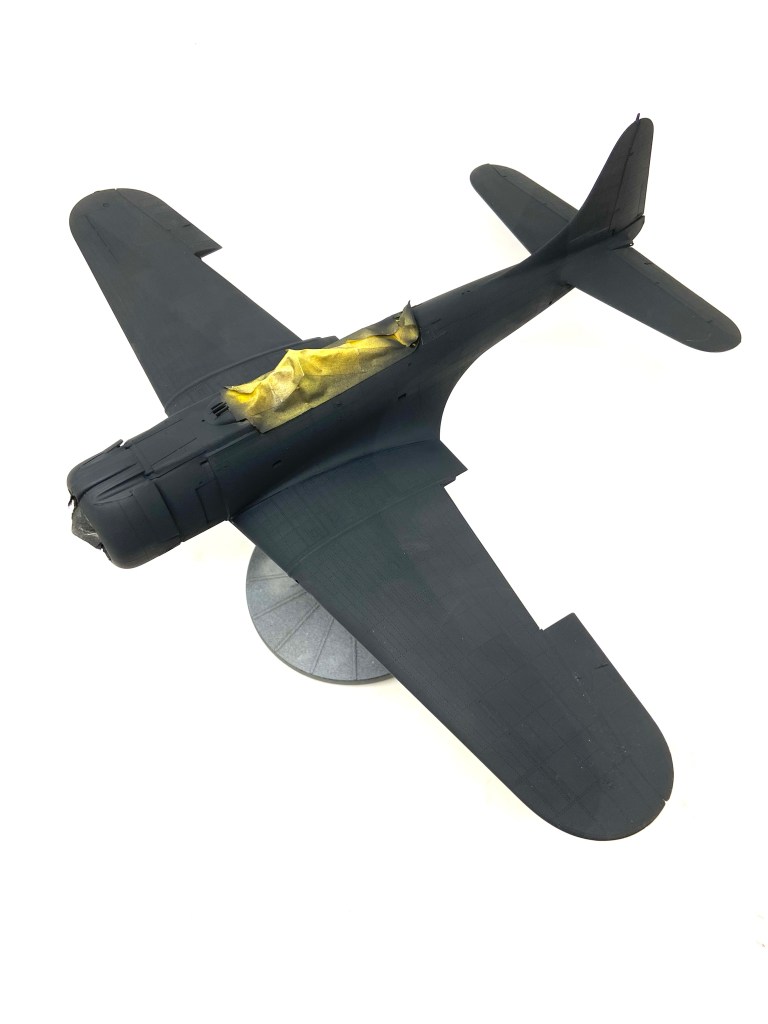
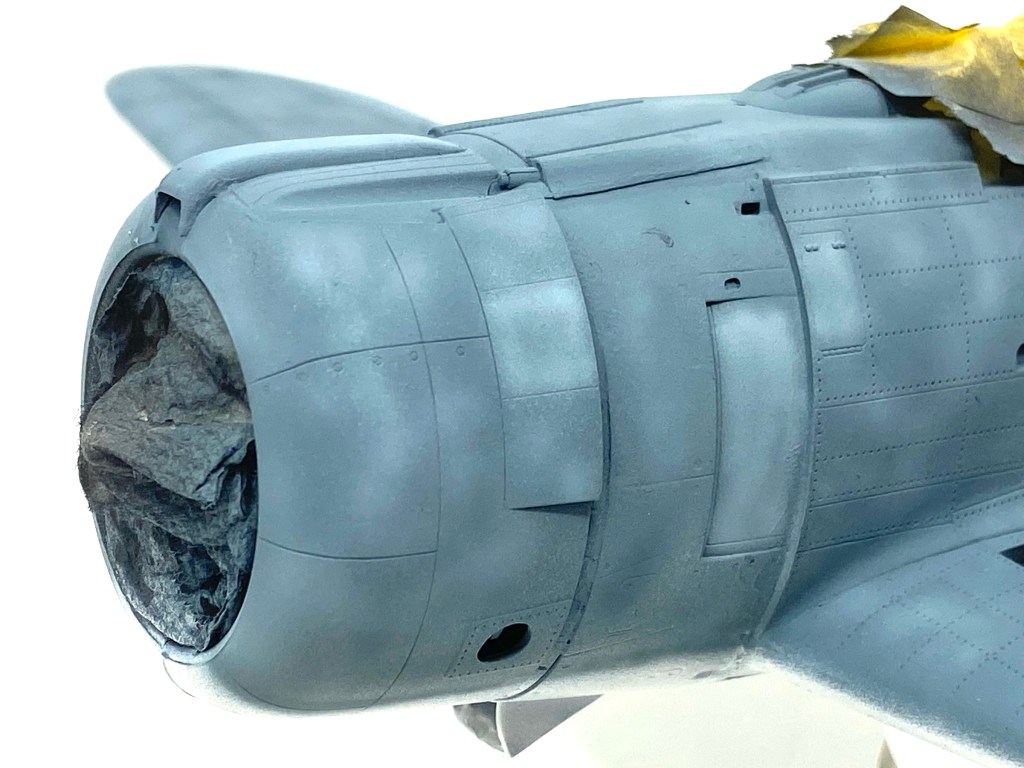
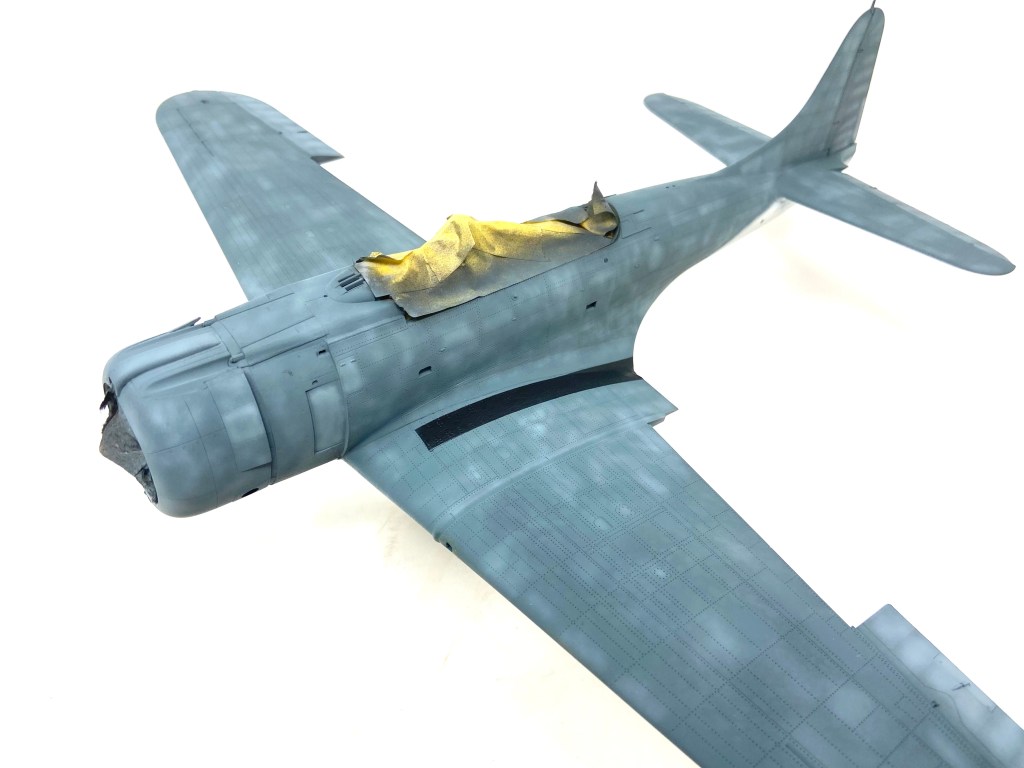
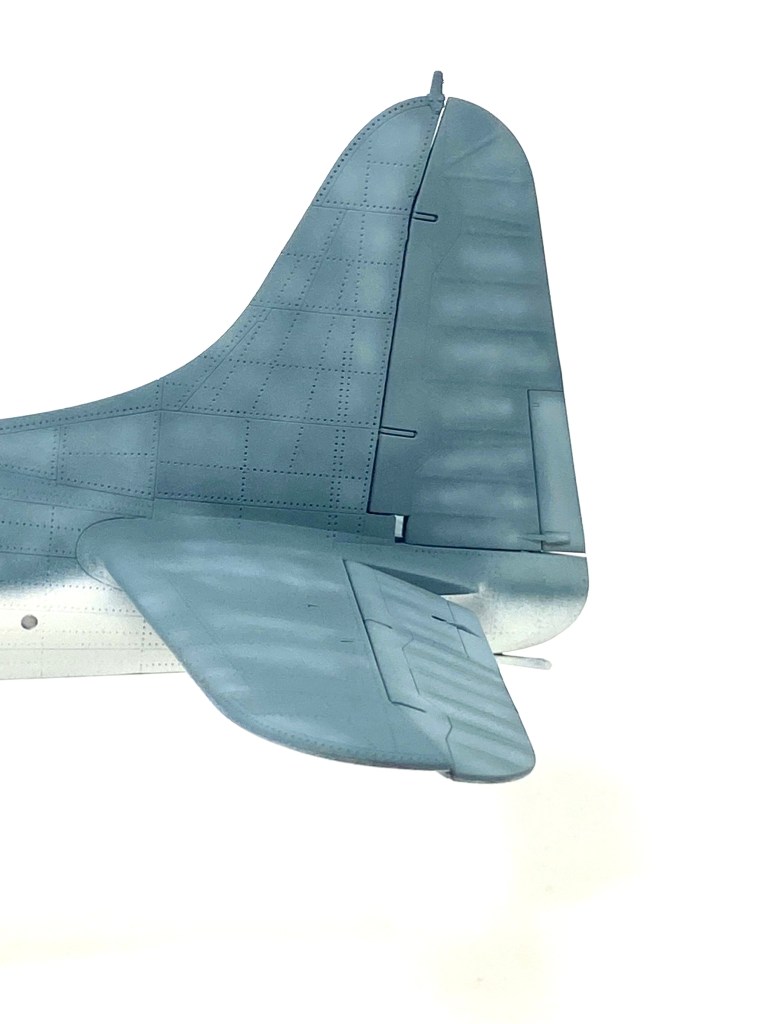
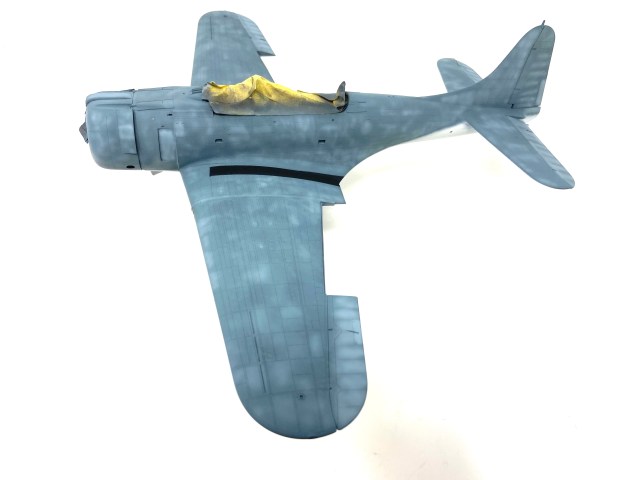
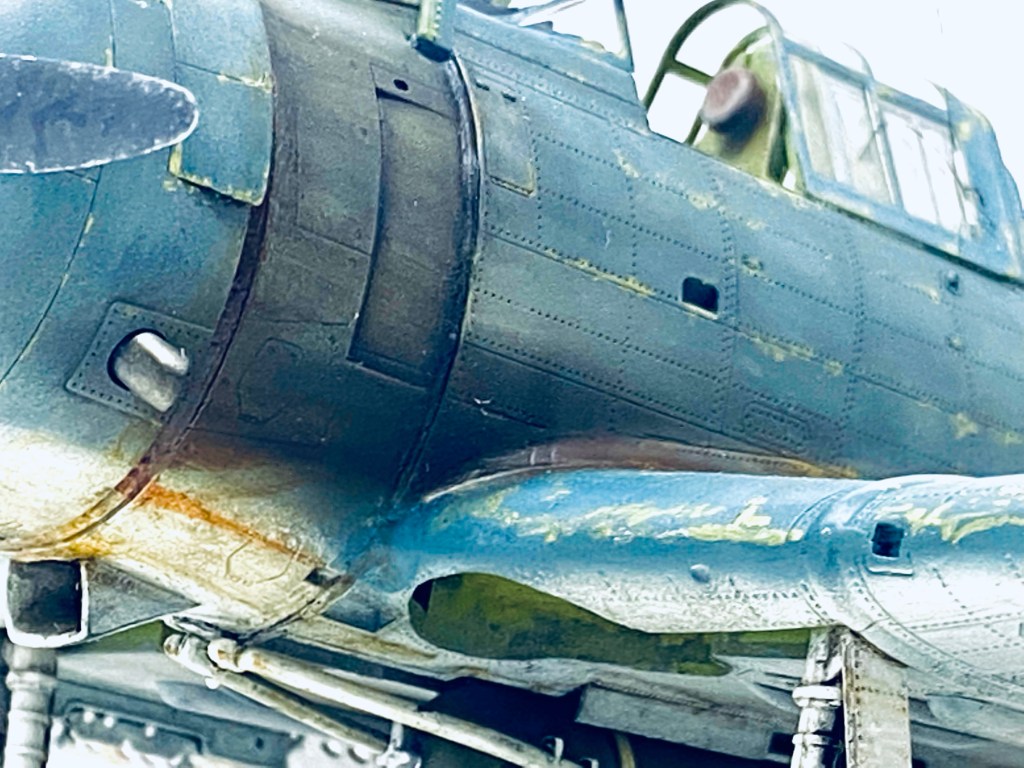
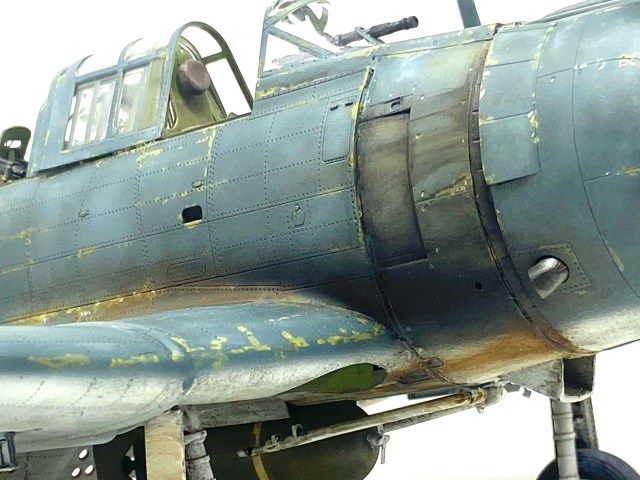
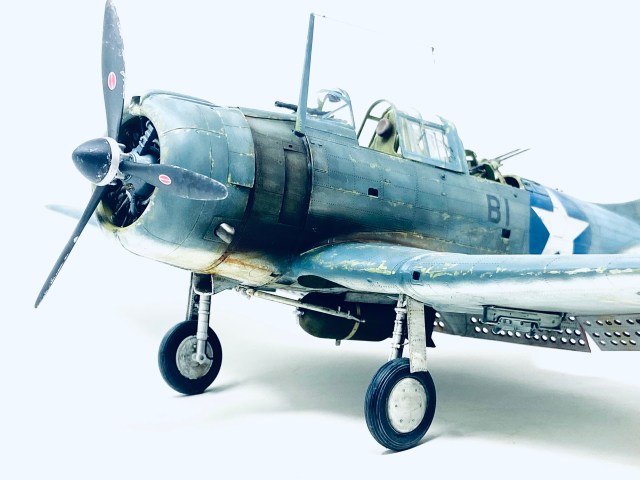
As I was building a Dauntless from the Pacific Campaign I wanted to portray a really beat up war bird. Faded paint, oil statins and corrosion- The works! Once the engine and its cowling had been installed onto the airframe I masked off the internal areas and primed the model in Tamiya NATO Black through my Iwata HPC airbrush. To add a first layer of depth to the paint the entire airframe was mottled in a Medium Grey shade. I used mottle masks for this task to save time, but you can just as easily freehand a pattern onto the model if you do not have a stencil. Below you can see the primer and motel coats on the model:
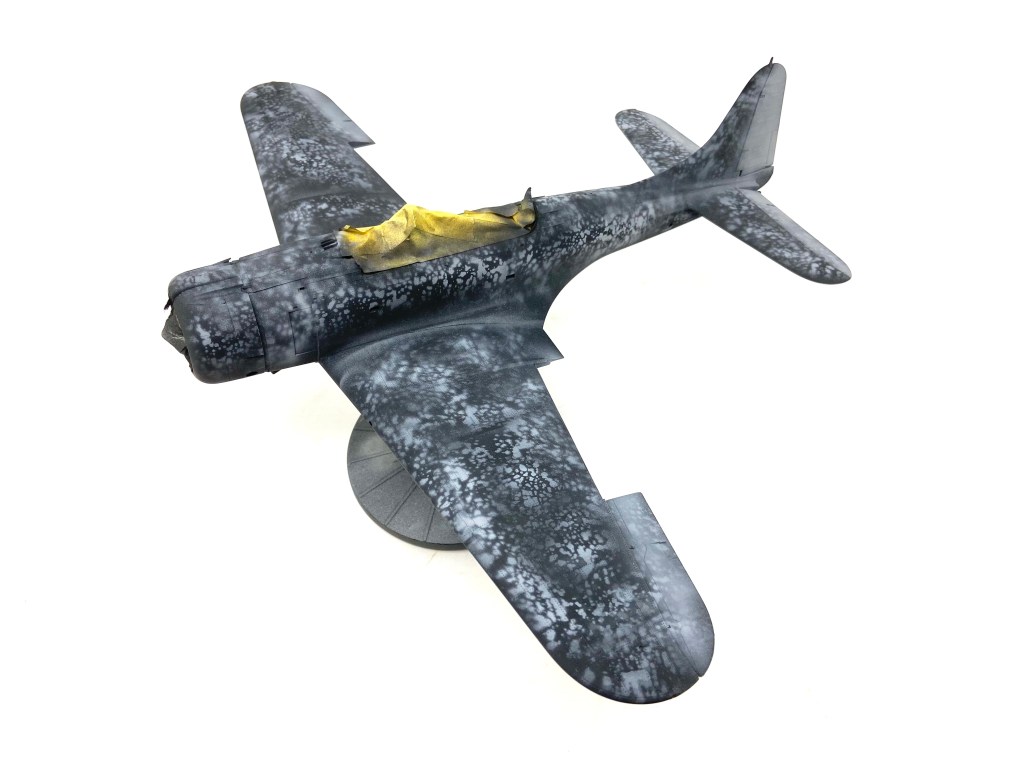
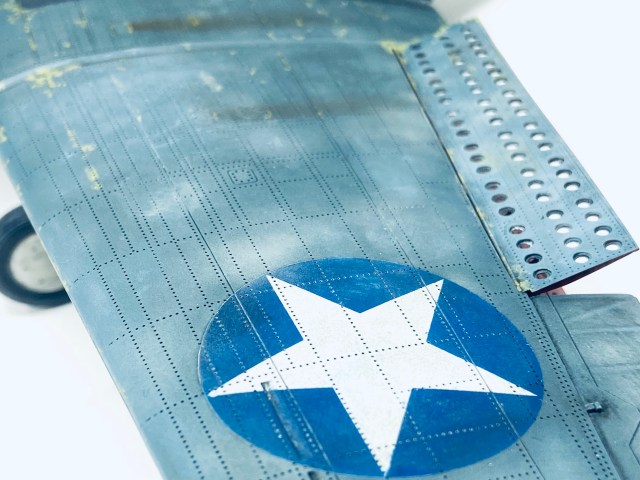
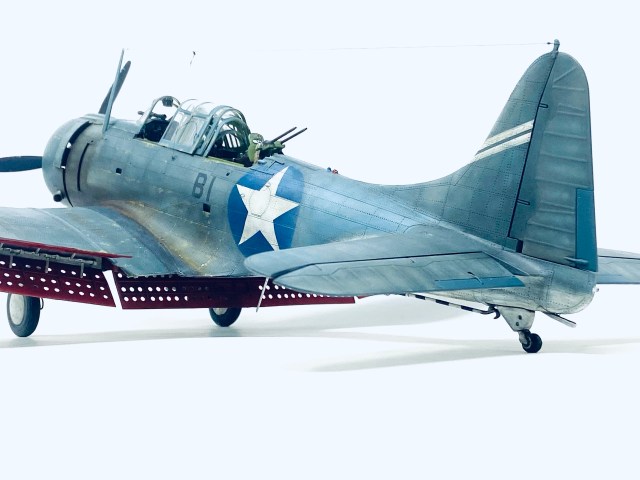
With my own mix of US Navy Intermediate Blue I airbrushed the top camouflage colour onto the model and I sprayed Mig Ammo Satin White on the undersides. I then took my original mix of the Blue and made slightly lighter and darker shades of the colour. In all, I ended up with five different shades of Intermediate Blue on the model! That said I believe all the extra effort was well worth it. The airframe now had a lovely sun bleached look to it.
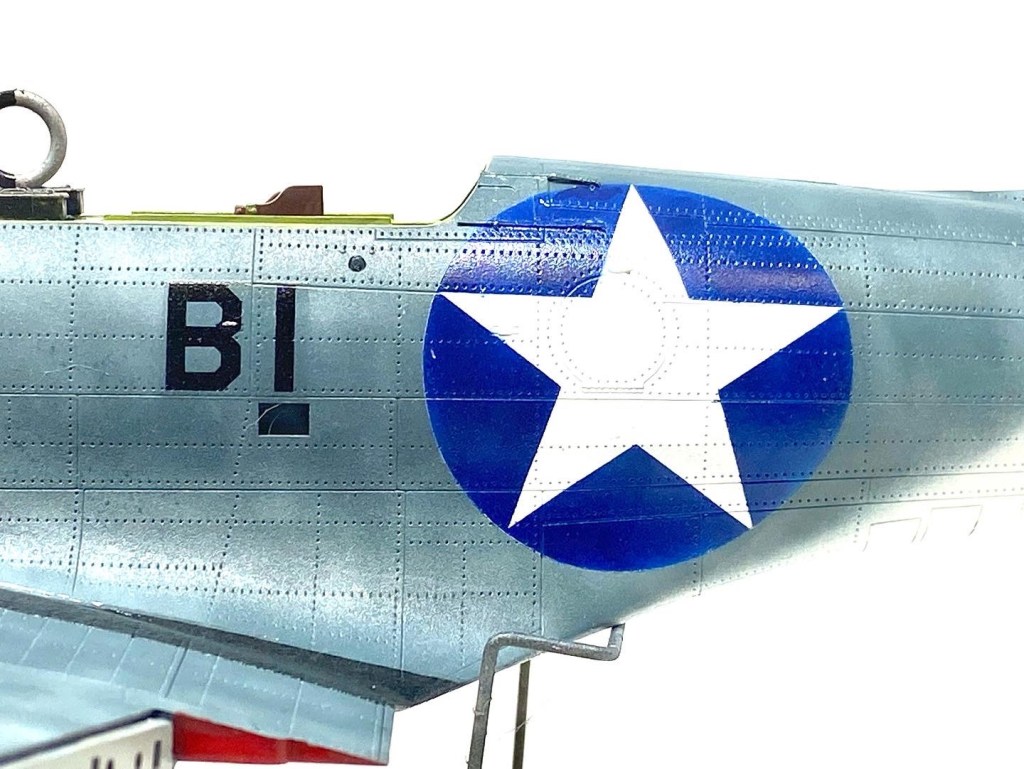
MARKINGS
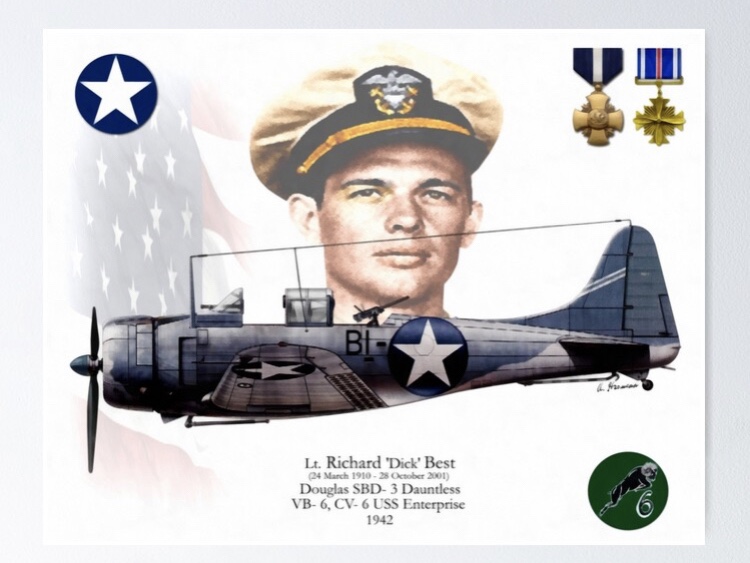
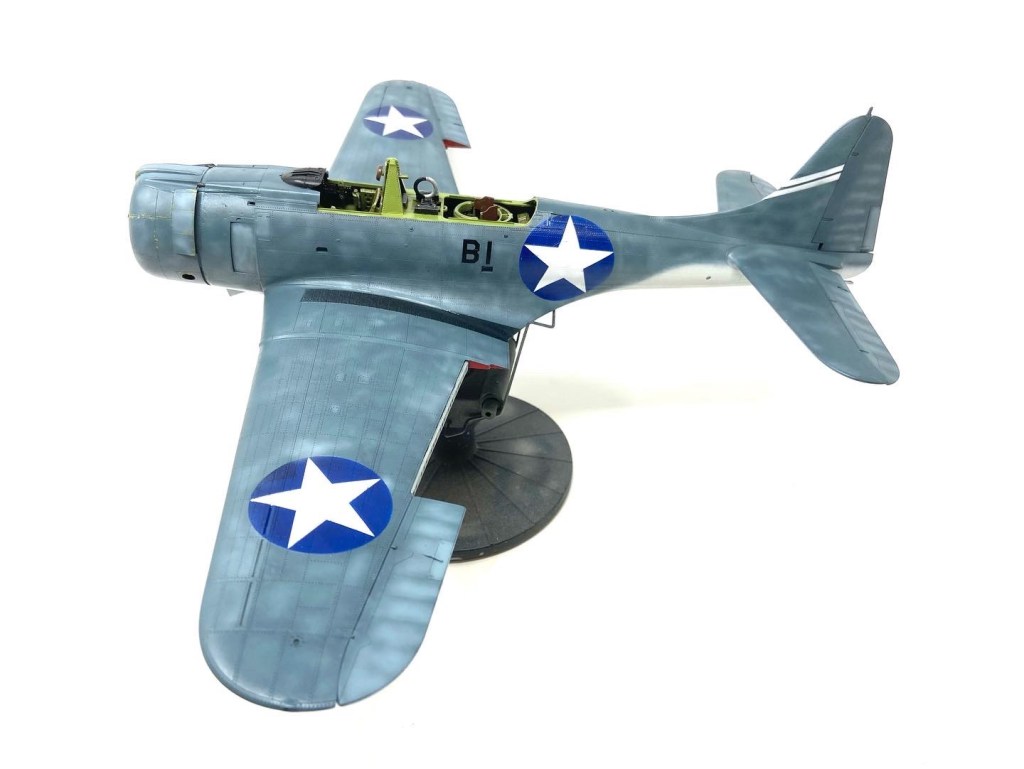
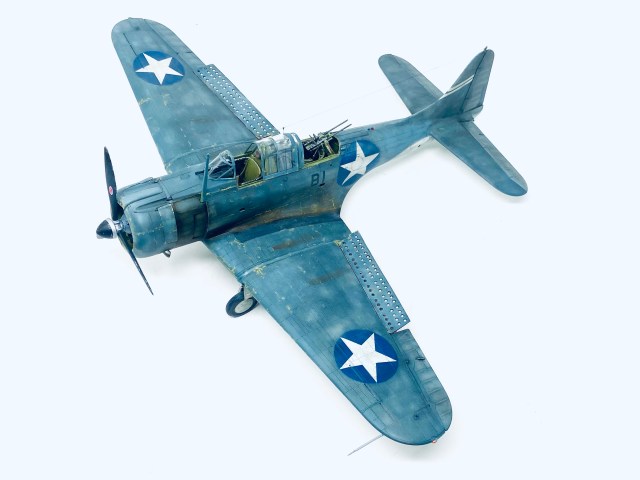
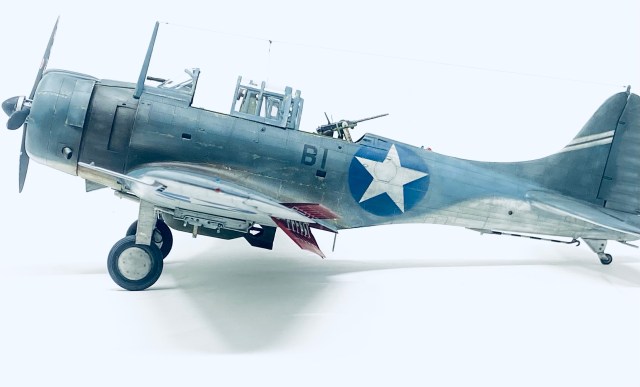
As this was going to be Lt.Dick Best’s ride I needed to model B1 from Squadron VB-6 aboard the USS Enterprise in 1942. To accomplish this, I used a mix of Montex masks for the national insignia and decals for the aircraft no.
(*Authors Note: It should be pointed out at this time that on the date of the Battle of Midway, Lt. Best’s B1 had only been flying for a matter of weeks and was in fairly new condition when he flew her into combat. I have chosen to depict the aircraft as though it had many more hours o the airframe as that is how I prefer to finish my own models.)
Here you can see the model with its markings applied:
WEATHERING AND BRINGING IT ALL TOGETHER:
As usual, I sealed the finished paint layers with a clear gloss varnish and once dry I set about weathering the model. I wanted a real “To Hell and Back” appearance to the airframe so I used three methods in conjunction with each other:
Hand paint chipping- This first weathering treatment involved taking Zinc Chromate primer and Aluminium acrylics and applying scratches and chips to the airframe by hand with a fine point brush. This is a time consuming, pain staking way to do it but I like the control it give me and more importantly give me the look I want.
Enamel washes:
I used Mig Ammo Blue Dirt enamel wash to all of the recessed detail on the airframe. Now all the panels and rivets were discernible over the airframe .
Oil Paint Rendering (OPR):
This is my favourite tool in the weathering process. With a few shades, one can produce some great effects on an aircraft model. Be it oil or fuel leaks, exhaust staining or just faded out paint on the skin of the aircraft. By making up a small pallet of useful colours you can add a lot of interest to your model. Below you an see the OPR effects on the finished model:

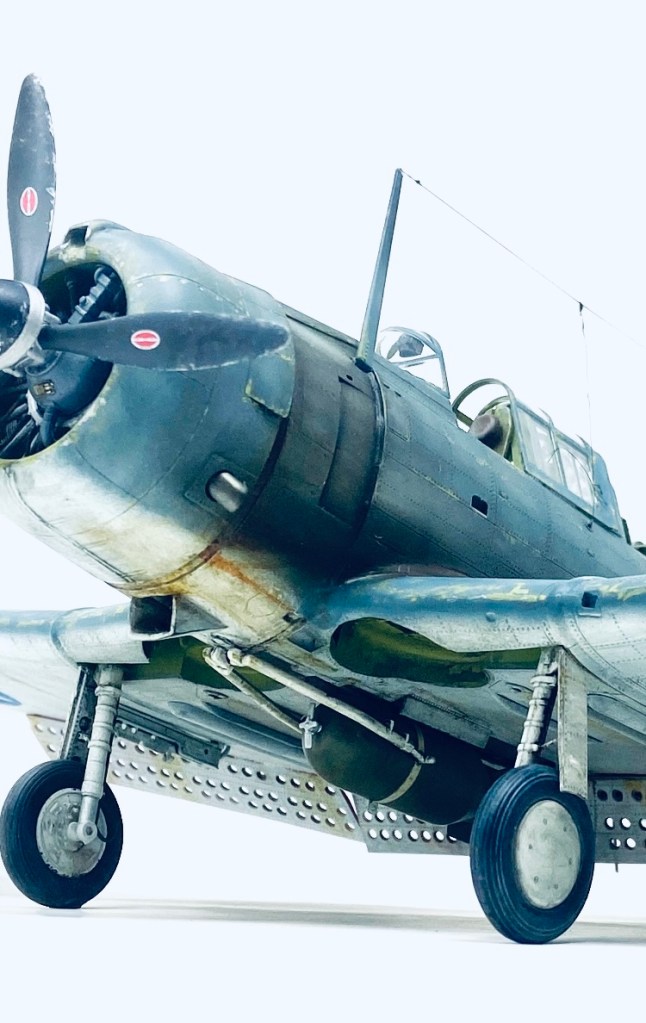
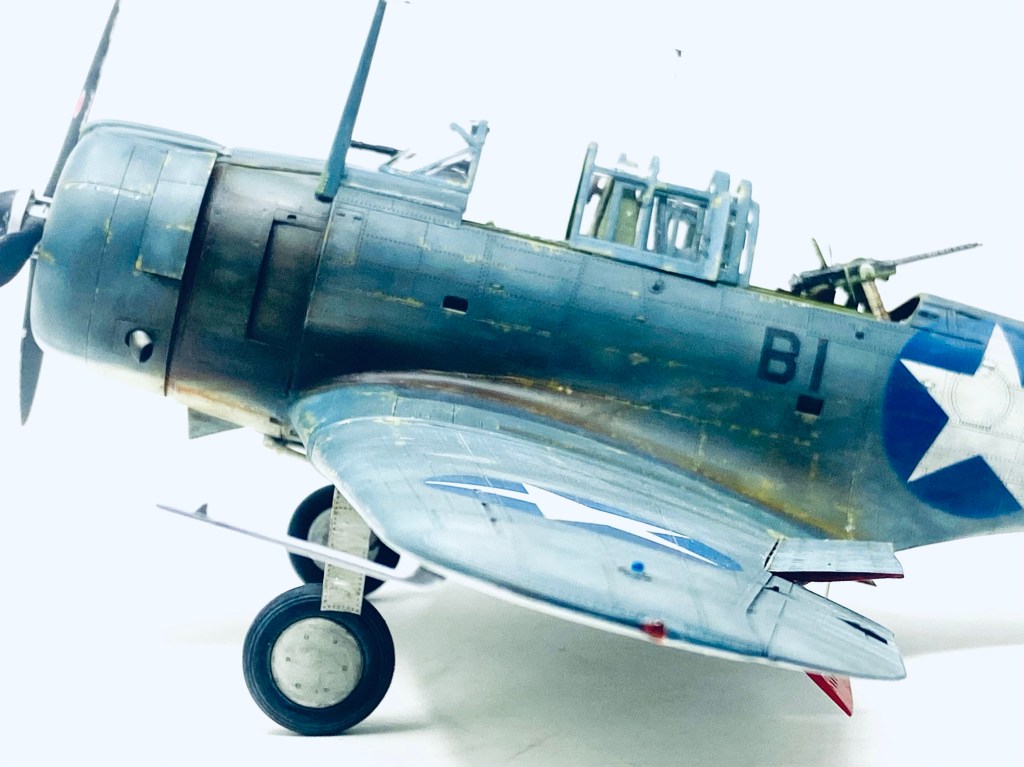
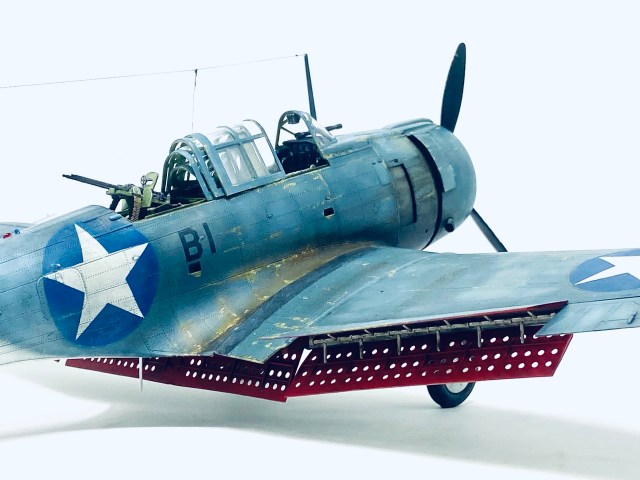
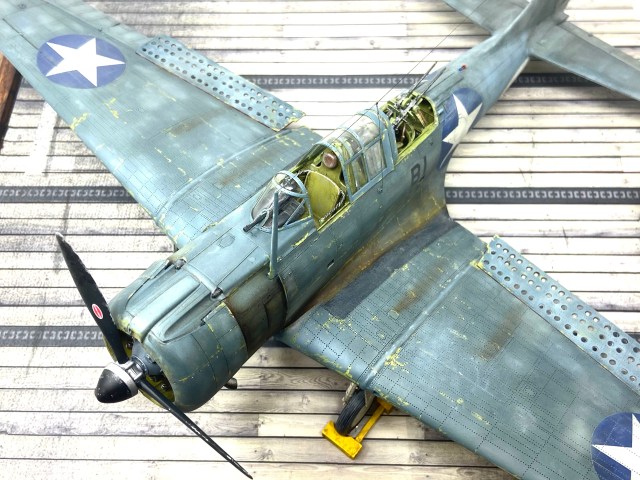
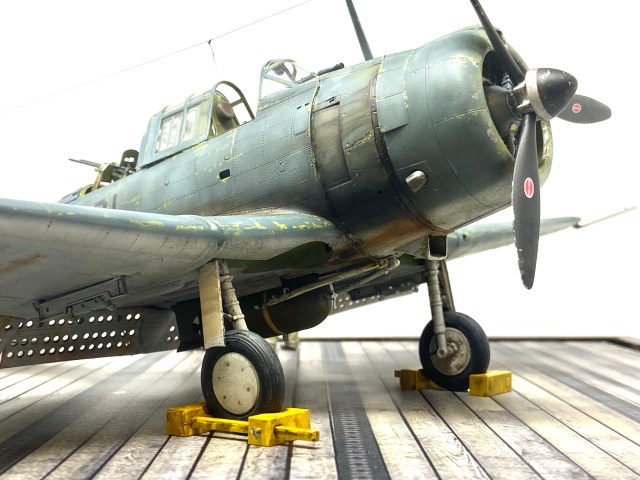
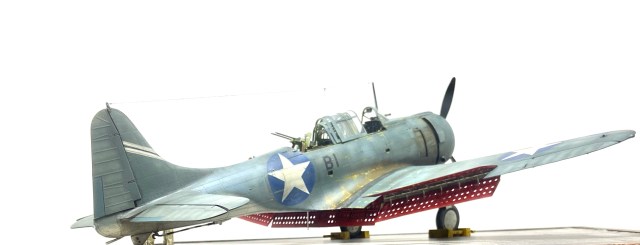
The Finished Model:
Here is the finished airframe with its canopy, dive brakes and landing gear attached:
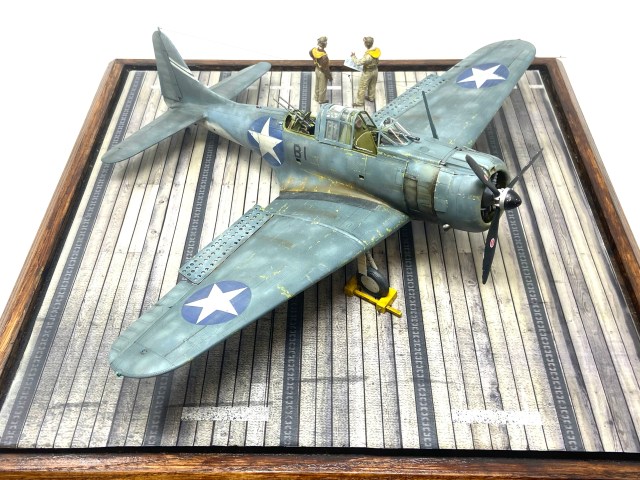
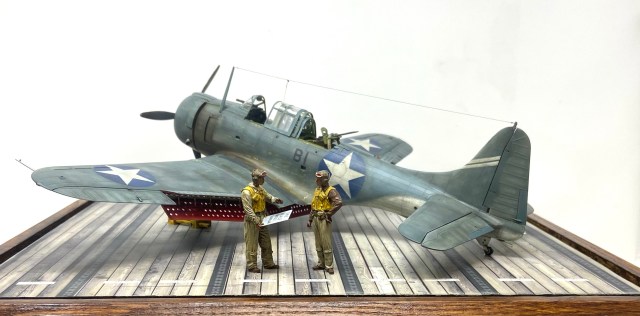
THE DISPLAY
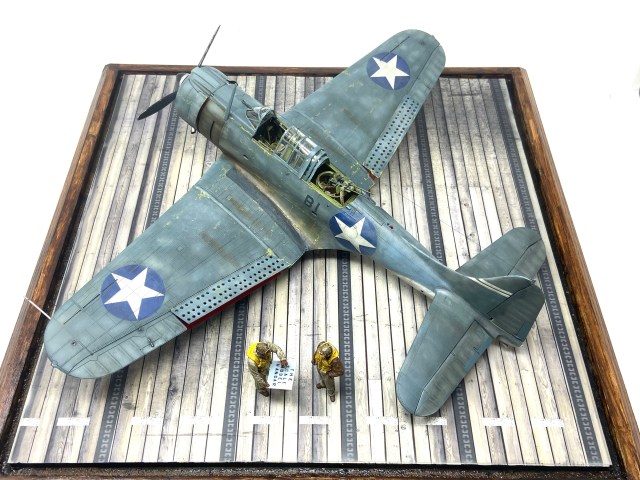
This model really lends itself to being displayed in context so what better to situate it on the deck of an Essex Class carrier?
I purchased an adhesive roll from Coastal Display Bases and mounted it on a custom made display case by my good friend Paul Thompson. I also added two US Navy Pilot figures from Black Dog Resin. These figures are superb! Beautifully sculpted with excellent detail.
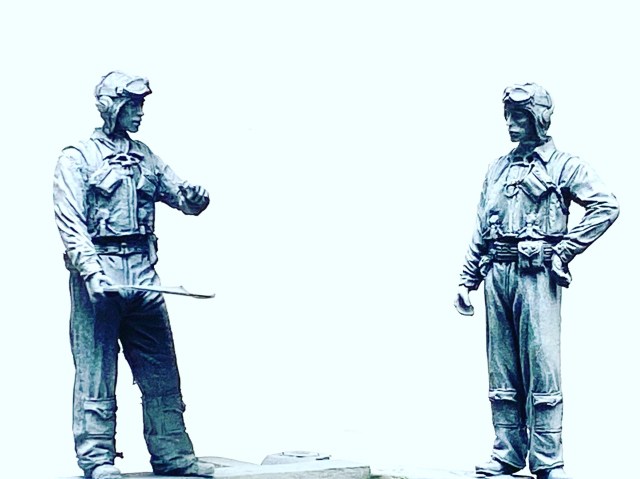
The figures were painted in acrylics and I added my own embellishment to the figures which you will see in the finished photos!
And so, here is my tribute to the brave men who fought at the battle of Midway…..


Well, there we have it! This is without doubt one of my most memorable and beloved projects. It sits centre stage in my studio display and makes me smile every time I look upon it. If this hobby is making feel that way I must be doing something right huh?
Thanks for stopping by and looking at my model. Take care and until next time Happy Modelling!
Darren.

Reblogged this on ausevor.
LikeLike
Darren
What a magnificent tribute to such a keystone victory in the war for the Pacific l
Everything is “just right”.
My late father served on a PT-Boat in the South Pacific. He would have gotten such a kick out of this.
Well done.
George
LikeLiked by 1 person
Thank you so much George! That’s very kind of you.
LikeLike