
Hello!
As I said in my last post I wanted to go look at a kit in the stash. This is what I found!
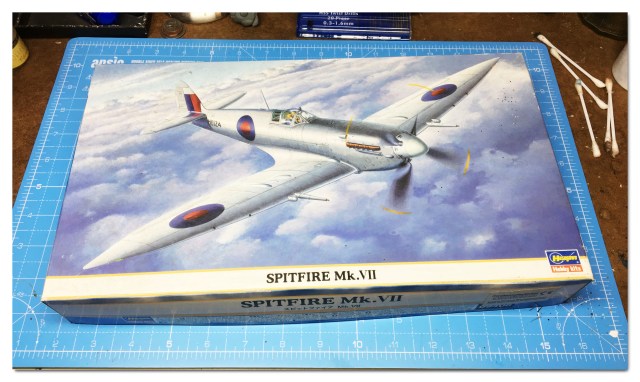
This kit comes as a Mk.VII, but Hasegawa give me all I need to build it as a Mk.IX. Now I know there are two opinions on this kit:
- It is too short! It is not accurate!
- It is a great kit! Good detail, Great fit and looks like Spitfire should!
I fall into the latter category and I will explain why. The 1/48 Hasegawa family of Spitfire kits are a joy to build. I love em! Yes, there are those accuracy issues that will never go away, but this is such a great kit. The quality of the parts and fit are exceptional, the decals always top notch, the details delightful. What’s not to like huh?
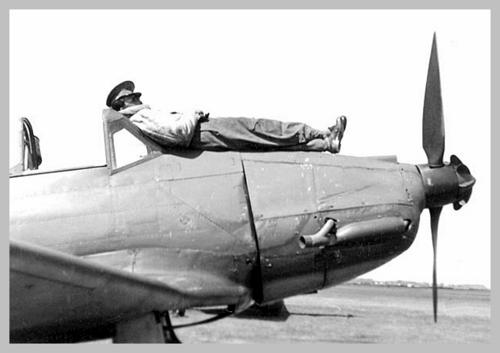
As many of you will already know, I am a Spitfire fanatic! I am never far away from building the next one and I was inspired to build this subject by seeing this beautiful model of a grey and blue Spitfire on my Facebook hub by Brewer Models:
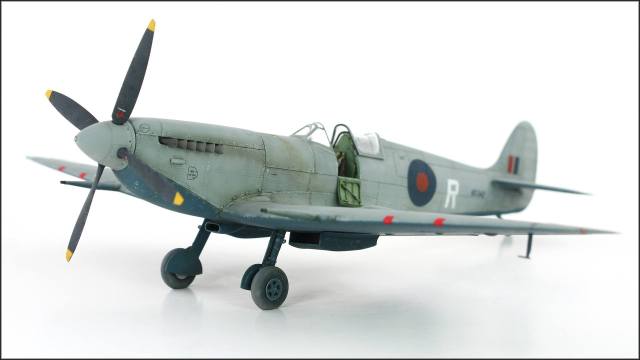
This really has a great look to it and I was so impressed at how the modeller made a plain scheme so interesting to look at. I knew I had my Hasegawa Mk.VII kit that I could utilise and I also remembered a set of spare markings from my Italeri Mk.IX kit that had the same colour scheme.
The markings I am using are for Spitfire Mk.IXc JL226, which belonged to 32 Sqn. RAF based in Foggia, Italy in 1944.

So without further ado, let’s build!
The fun starts with the “Office” This Hasegawa kit has a nicely detailed cockpit and needs little enhancement. The kit’s Instrument Panel or I/P has lovely raised details so it will benefit from some careful detail painting. Hasegawa do provide a decal to represent the dials and switches, but I like to go the extra mile to get a better look.
Here is a quick “How to” Guide on painting raised detail I/P’s that I promised to post:
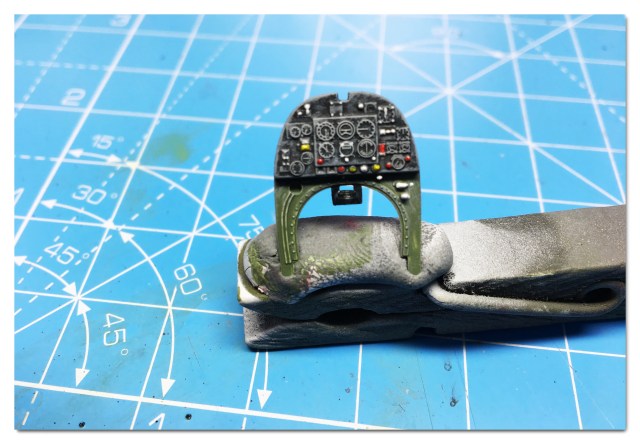
- The I/P as it comes off the sprue is tacked to a peg to hold it place whilst painting.

2. The Instrument face is painted with Tamiya NATO Black and the lower half in Tamiya Cockpit Green. The NATO Black has been thinned so the paint is light in texture and does not smother all of that detail.
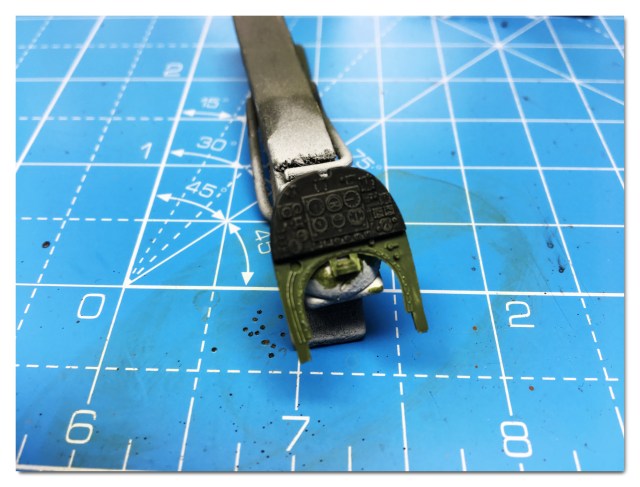
3. The raised details are Drybrushed with a light grey shade. Drybrushing is the technique of applying a tiny amount of paint to the brush and brushing the excess paint away from the brush until it is just about dry. This minimal amount of paint that remains on the brush is then gently and lightly brushed over the raised details so that it takes to only the raised details as in the photo below. It takes some practice to get the technique down cold, but it is a simple process once you are used to it.
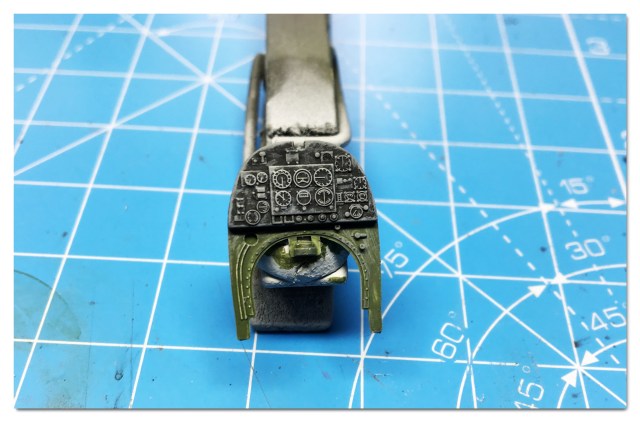
4.Now we add a little colour by picking out switches and knobs with oil paints applied with a fine pint detail paint brush. A clear matt finish is airbrushed over the I/P to preserve the details and age the panel.
5. Once the matt finish has cured, the last step is to add drops of gloss to each of the instrument dials. This is a good way to achieve a glass look to the dials.
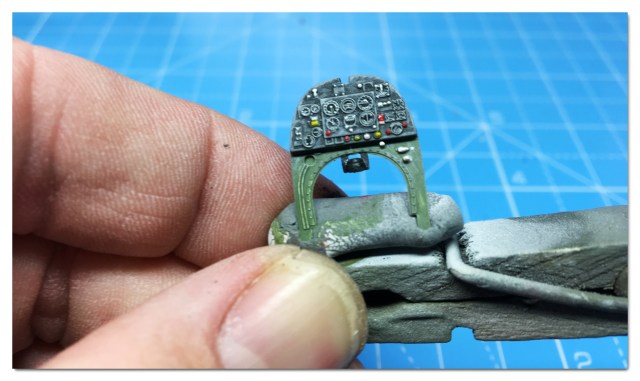
When the Gloss has dried the dials reflect the light to give the impression of glass.
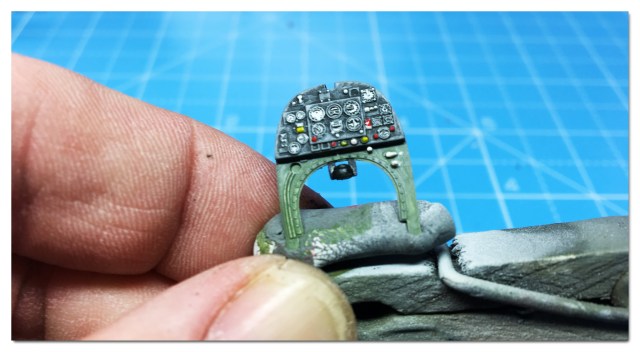
So there you have it! A hand painted I/P in five easy steps!
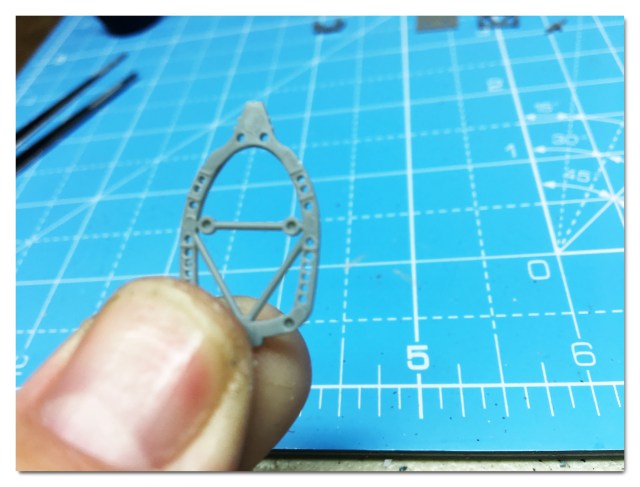
Now I have done that, I need to crack on with the rest of our “Office” Let’s begin with the cockpit framing. 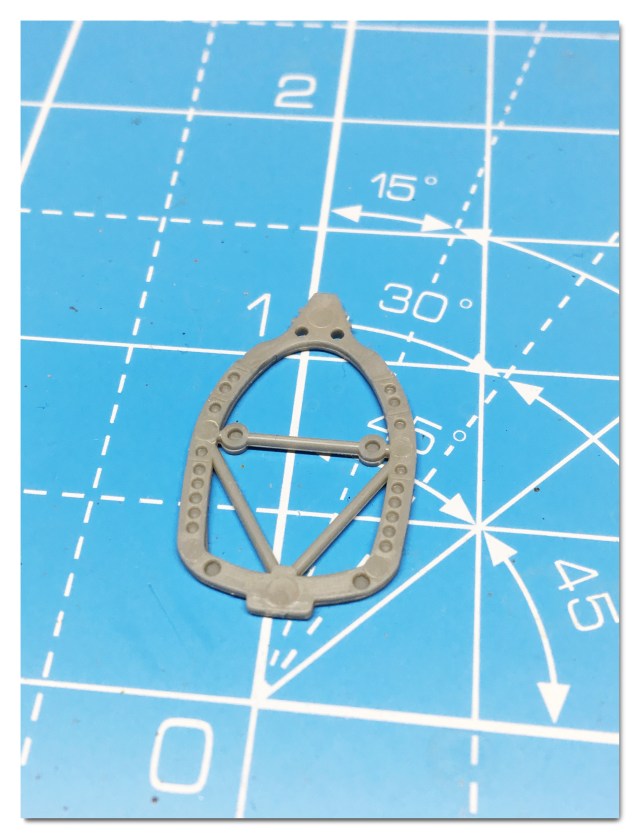
I have added a little more detail to this part by drilling out the holes in the frame. It may seem like going to a lot of trouble for one single part, but the difference you will see makes for a far more realistic appearance in the finished model.
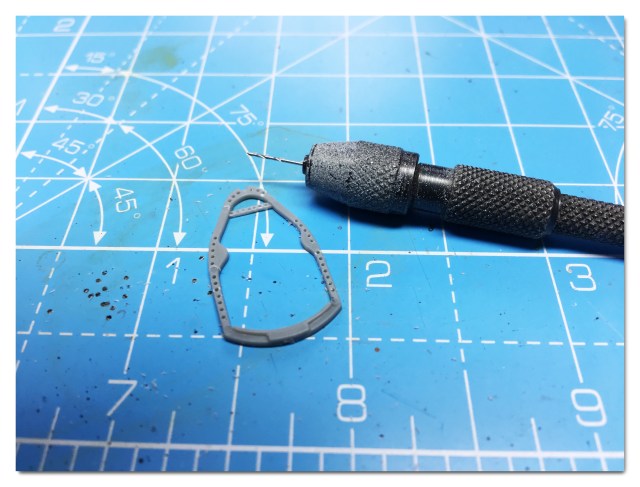
Another frame is drilled out. Tedious but ultimately rewarding work!
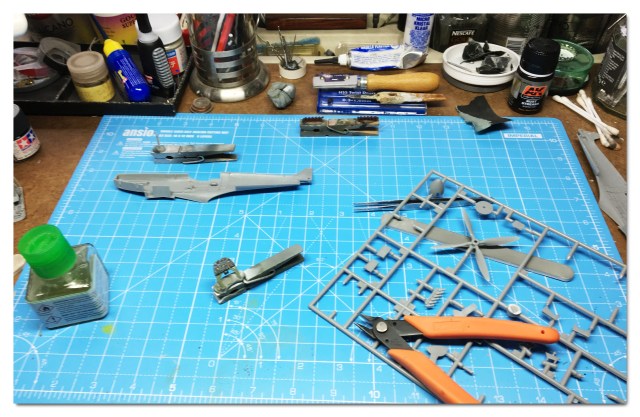
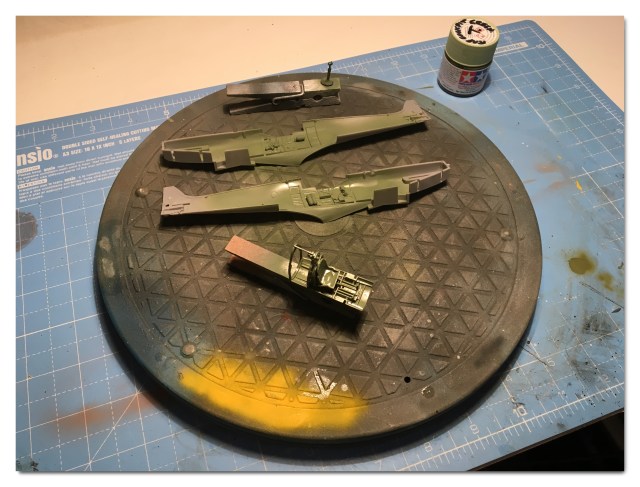
We move onto the fuselage and it’s interior…………..
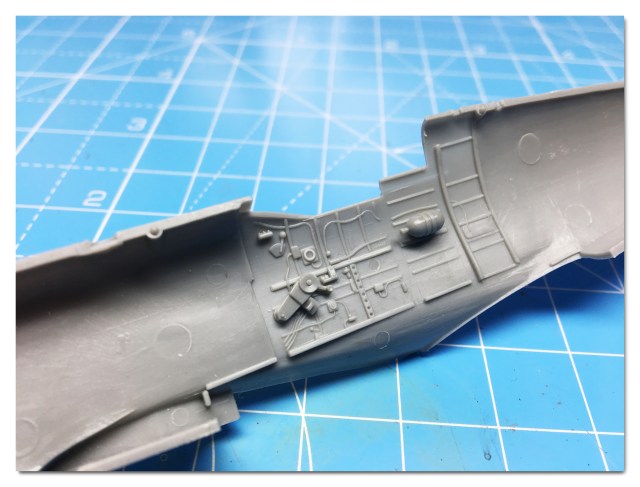
This model has some nice interior detail parts that are added to the inside of the fuselage. I find it is easier for me to glue all the parts on and paint them in situ after a coat of Interior Green is airbrushed all over the interior.
Here is the port sidewall:

And this is the starboard sidewall detail.
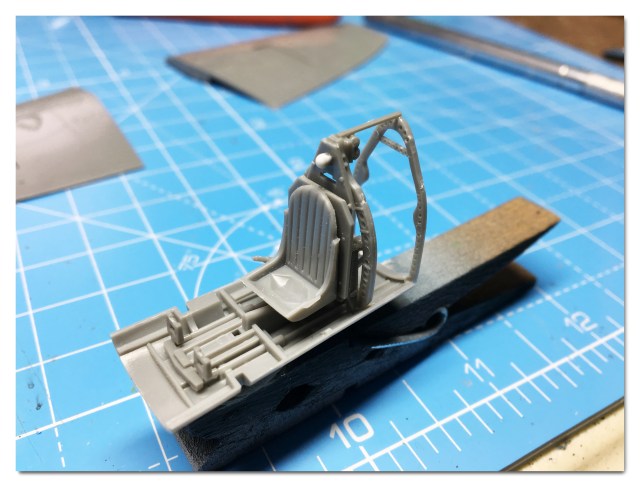
Here is the seat, cockpit floor and pre-drilled framing. A closer look above the seat at the pilots headrest shows us a quite undersized part.
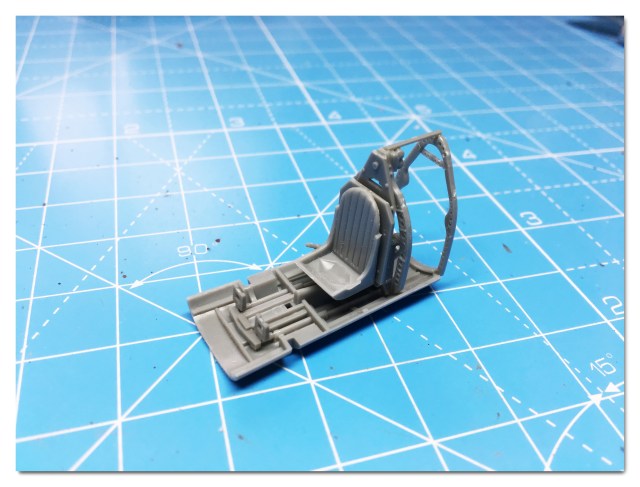
Here I have cut the original headrest away and I have added a larger part that looks more in scale to my eye!
Now the interior parts are airbrushed with Tamiya Cockpit Green and I will add more detail to them by drybrushing and detail painting.
I hope you have enjoyed this instalment. I will post more of this build as it continues. Time for me to take a break now!
Take care and Happy Modelling!
Darren.

Thanks Darren! I think the cockpit in the A6M5 kit I want to start soon will be perfect to practice this on.
LikeLiked by 1 person
You’re welcome Dan! I’ll look forward to seeing how you get on.
LikeLike
Pingback: Ready for Inspection: Spitfire Mk.IX – THE SCALE MODEL HANGAR