I must say I am loving this build! The Hasegawa family of Spitfire kits are a sure way to put a smile on this modellers face!
Since my last post I have now completed the cockpit and I have assembled the airframe, everything is going together rather nicely now!
Here’s what I got up to this time…….
I have painted all the cockpit interior details and once dry the whole area was drybrushed in a light grey shade. This brought out a decent level of detail, however it still did not give me a sense of depth so I used my enamel panel line wash here to make some shadow and dirty things up a little. I think it has worked rather well.

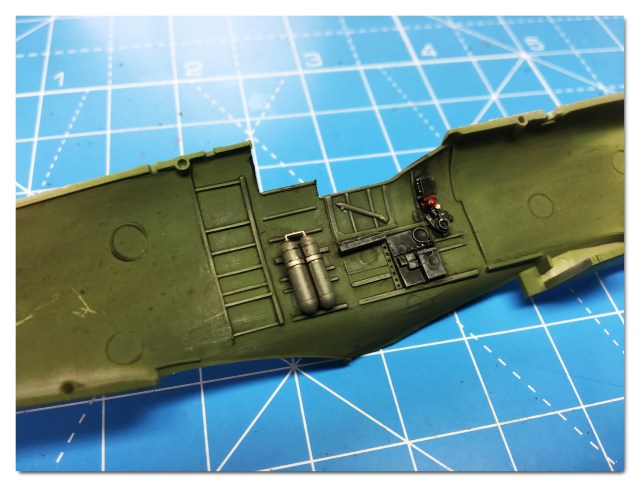
The exhaust stacks were treated to several coats of paint and weathering to get to this stage. Paints used were Iron, Rust and Dirty White, the weathering was an enamel rust wash. Then more drybrushing was applied with Dirty White paint and finally the exhaust tails were filled with Nato Black.

The control column has been drybrused and washed after painting.

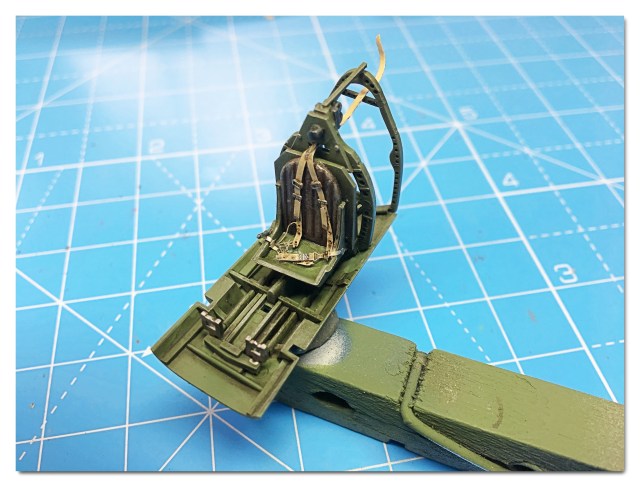
Here the seat and floor have had the same treatment of drybrush and wash. I have also added an Eduard seat harness.
My mate Harry. He always comes down to the studio to see what I’m up to and keep me company!

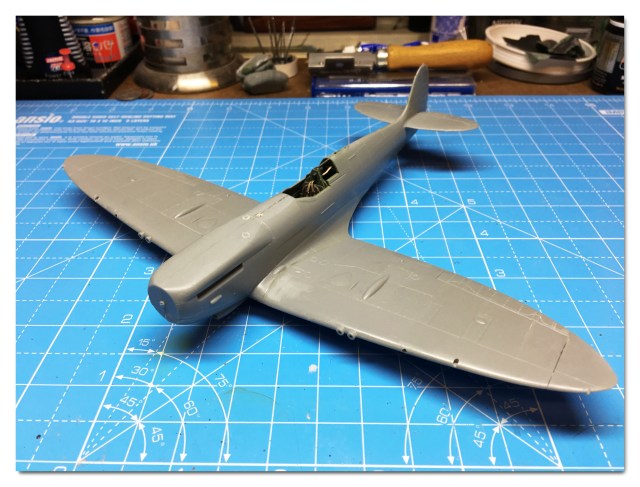
The Airframe done! So the office is installed and the fuselage and wings are assembled together. The fit on this kit is superb! No filler required on these wing roots. Great!
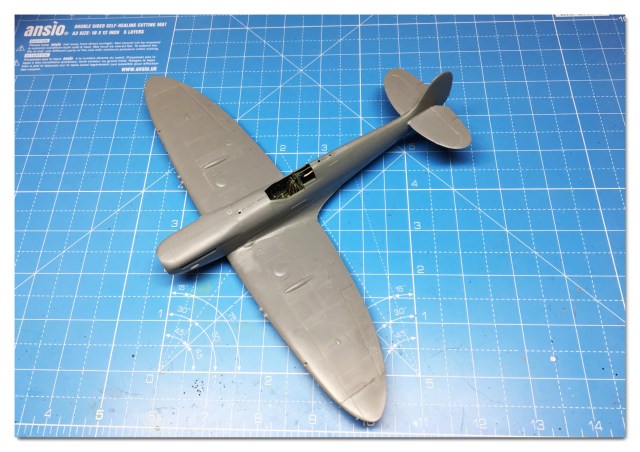
The I/P I took all that trouble with really pops when it catches the light!
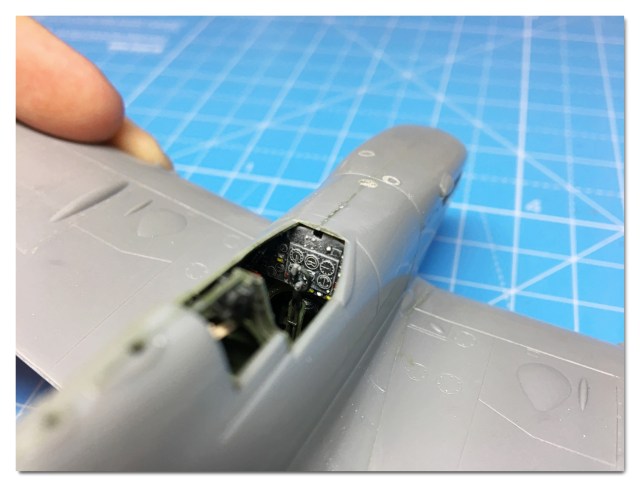
I need to do a little cleanup here and there before paint, but she’s basically good to go!
I’ve enjoyed my time in the studio with this kit today, I shall look forward to getting some paint on this one next time!
That’s all for this time. I’m off to take Harry for a walk and think about how to fix that Corsair I’ve been working on!
Take care and Happy Modelling!
Darren.

Pingback: Ready for Inspection: Spitfire Mk.IX – THE SCALE MODEL HANGAR