
Have you ever seen a kit from your past and felt regret that you didn’t do a good job?
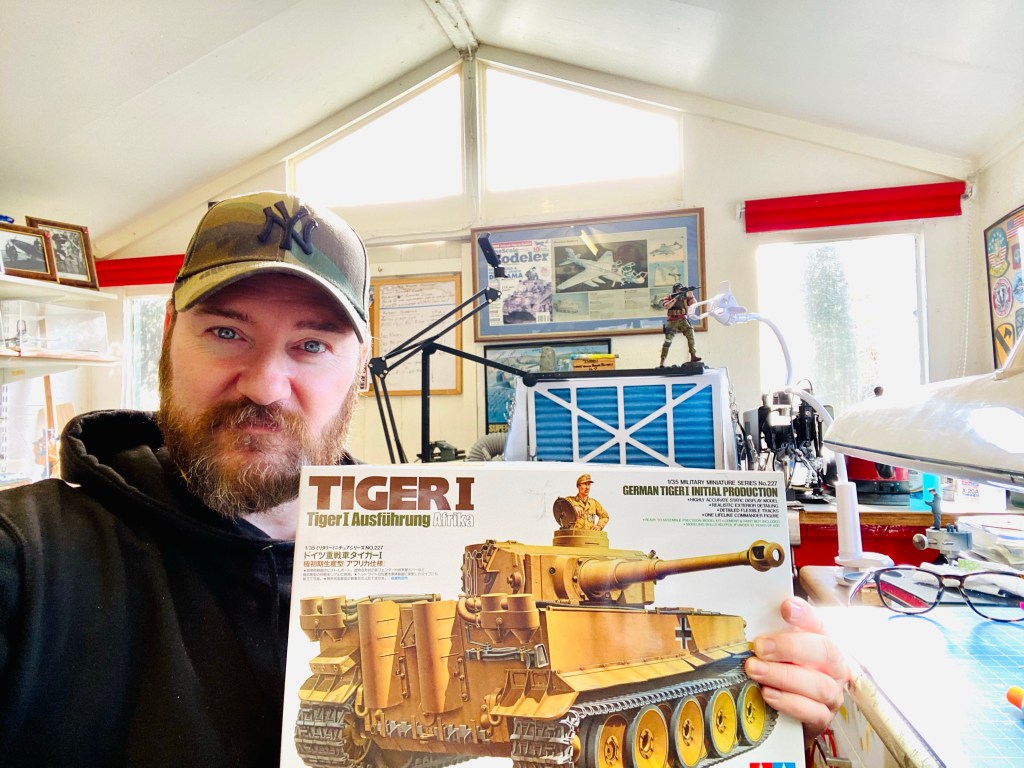
Well, that’s what happened to me one day when I was surfing the web doing research on Tiger tanks and I saw a fantastic build of Tamiya’s 1/35 Tiger I AFRIKA. The whole look of the model I was looking at was simply inspiring and I thought back to my own efforts on that same mode years before.
The truth is I was never really happy with my previous attempt at this kit and I always intended to visit it again. Seeing a beautifully painted and weathered example before me fired my imagination and before I had finished my afternoon cup of tea a Tiger I had been ordered and it was on its way!
While I awaited the arrival of my Tiger I, my attention turned to research again and I studied photographs of Tiger tanks in Tunisia and weathering techniques for desert armour builds. One book I found very helpful was AK Interactive’s DAK vehicles book:

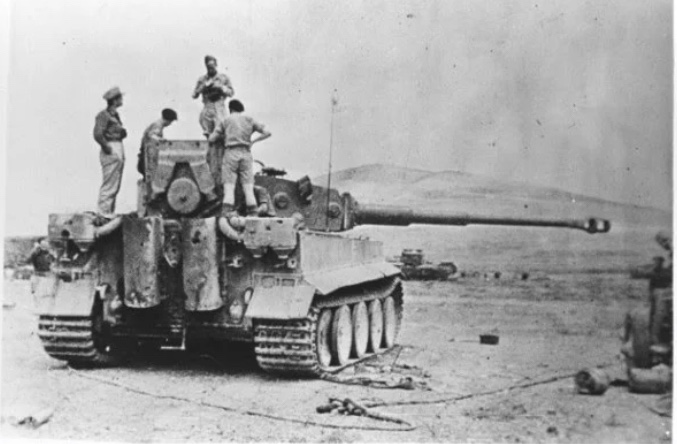
I also had some photos from Tigers in Tunisia in 1942:
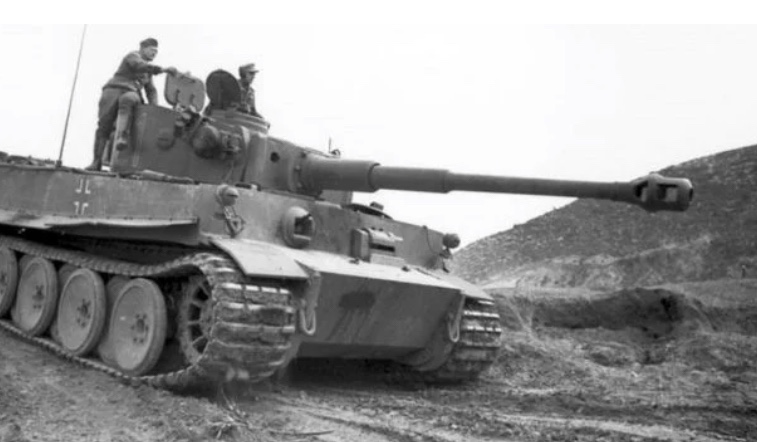


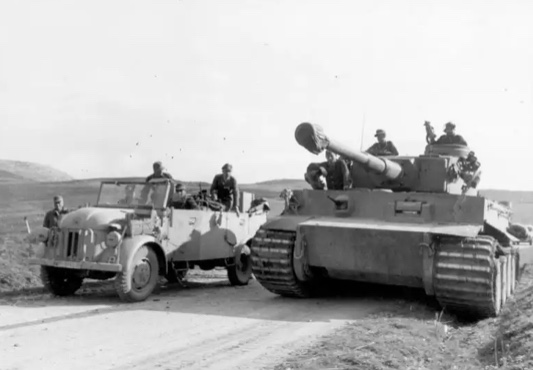
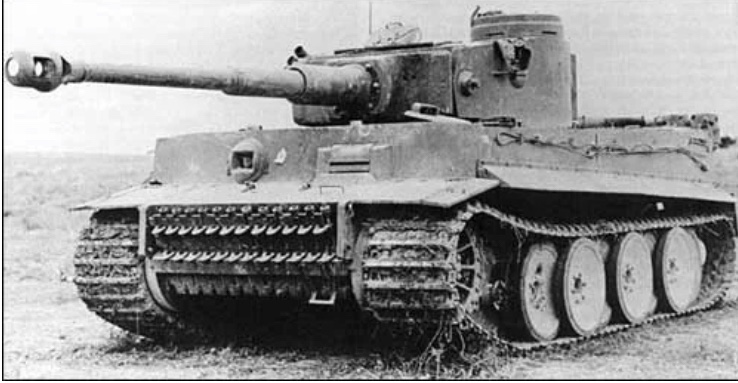
As you can see, Tigers in the desert campaign were operating in harsh conditions and weathered easily.
The trick with this project was to not over-do the weathering , so a lot of trail and error was involved in this build. Luckily I was able to take my time with this project and try new techniques.
The Kit:
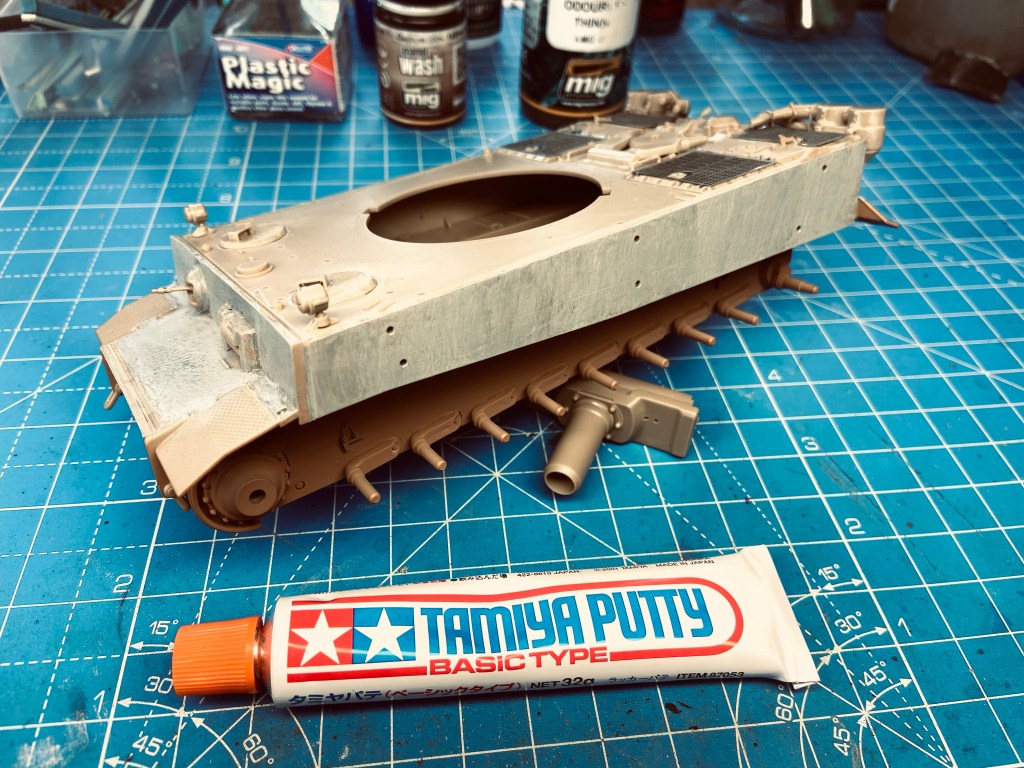
Tamiya’s Tiger I needs no introduction. It’s a solid, easy to build model kit flawlessly engineered for crisp detail and ease of assembly.
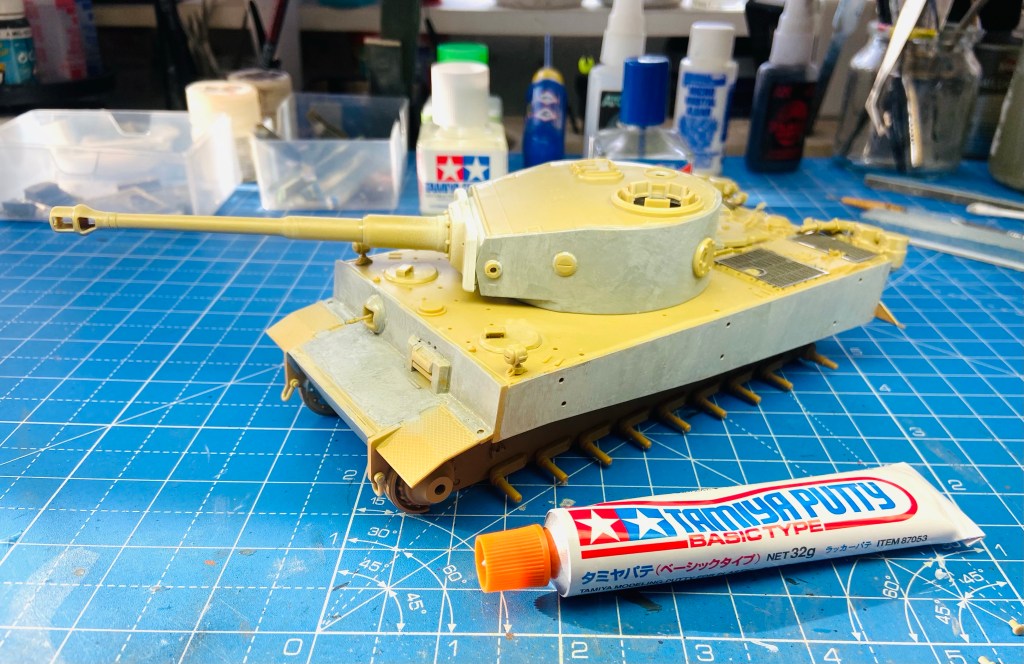
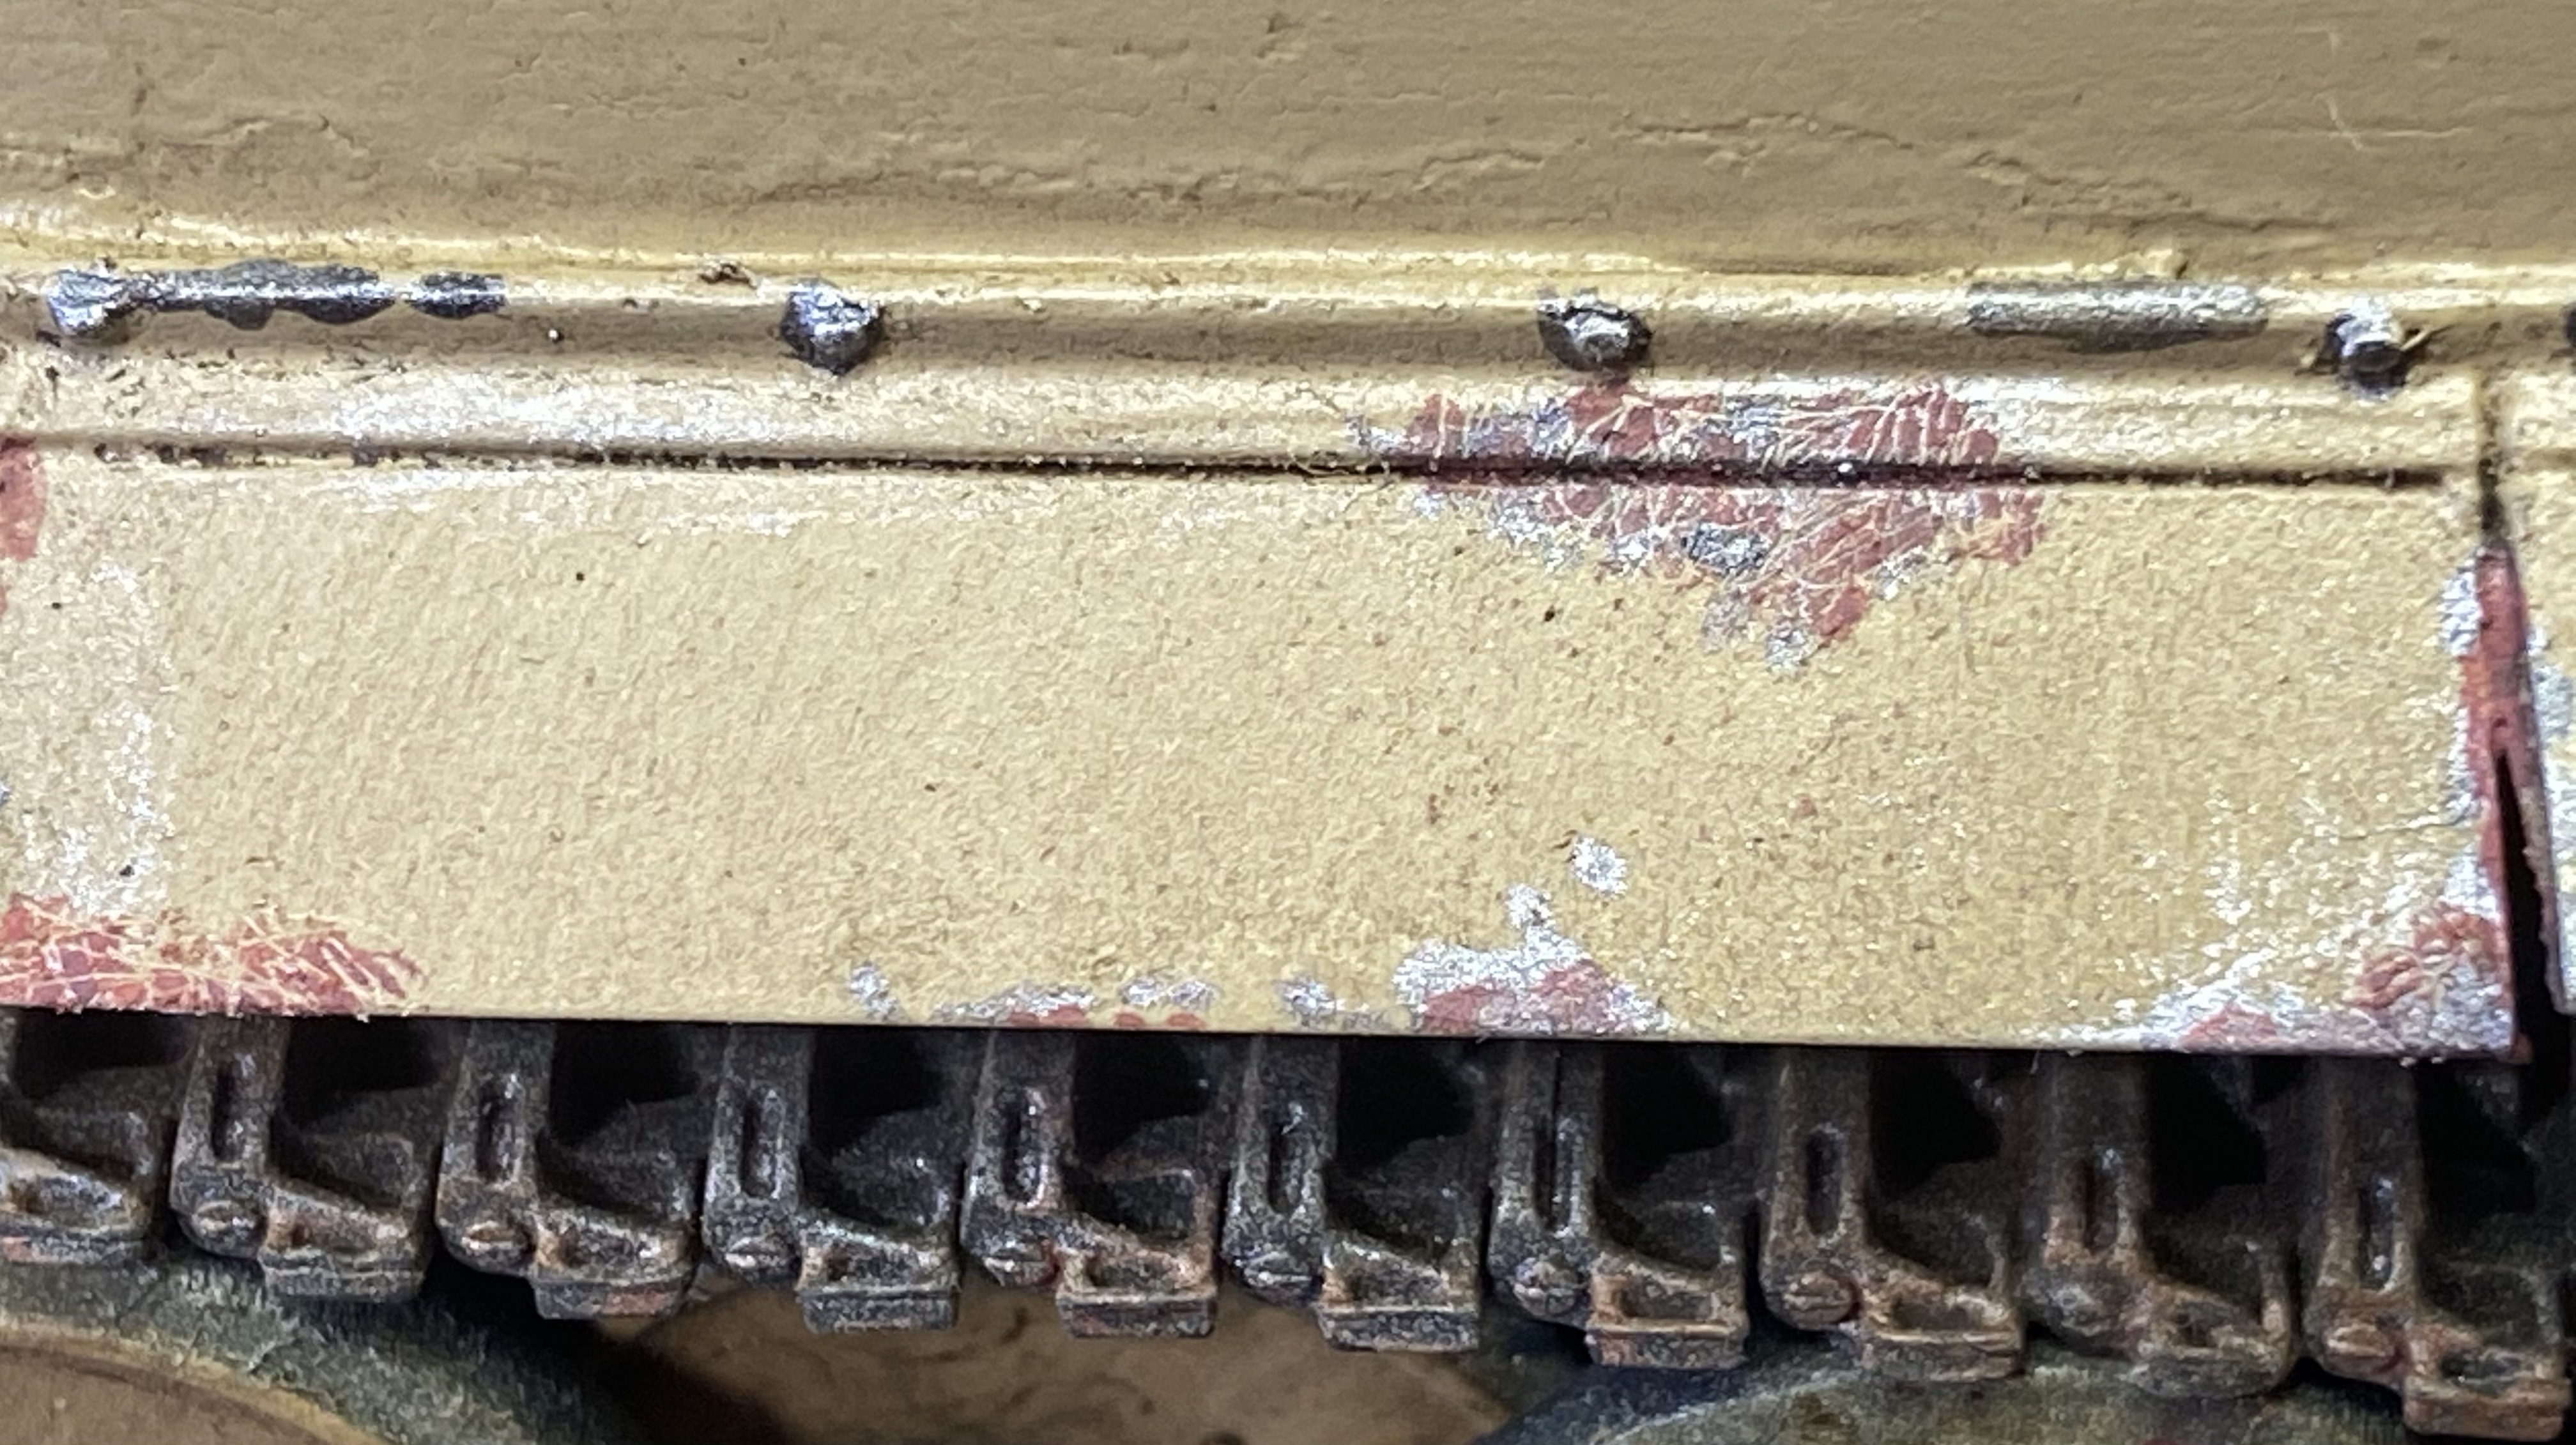
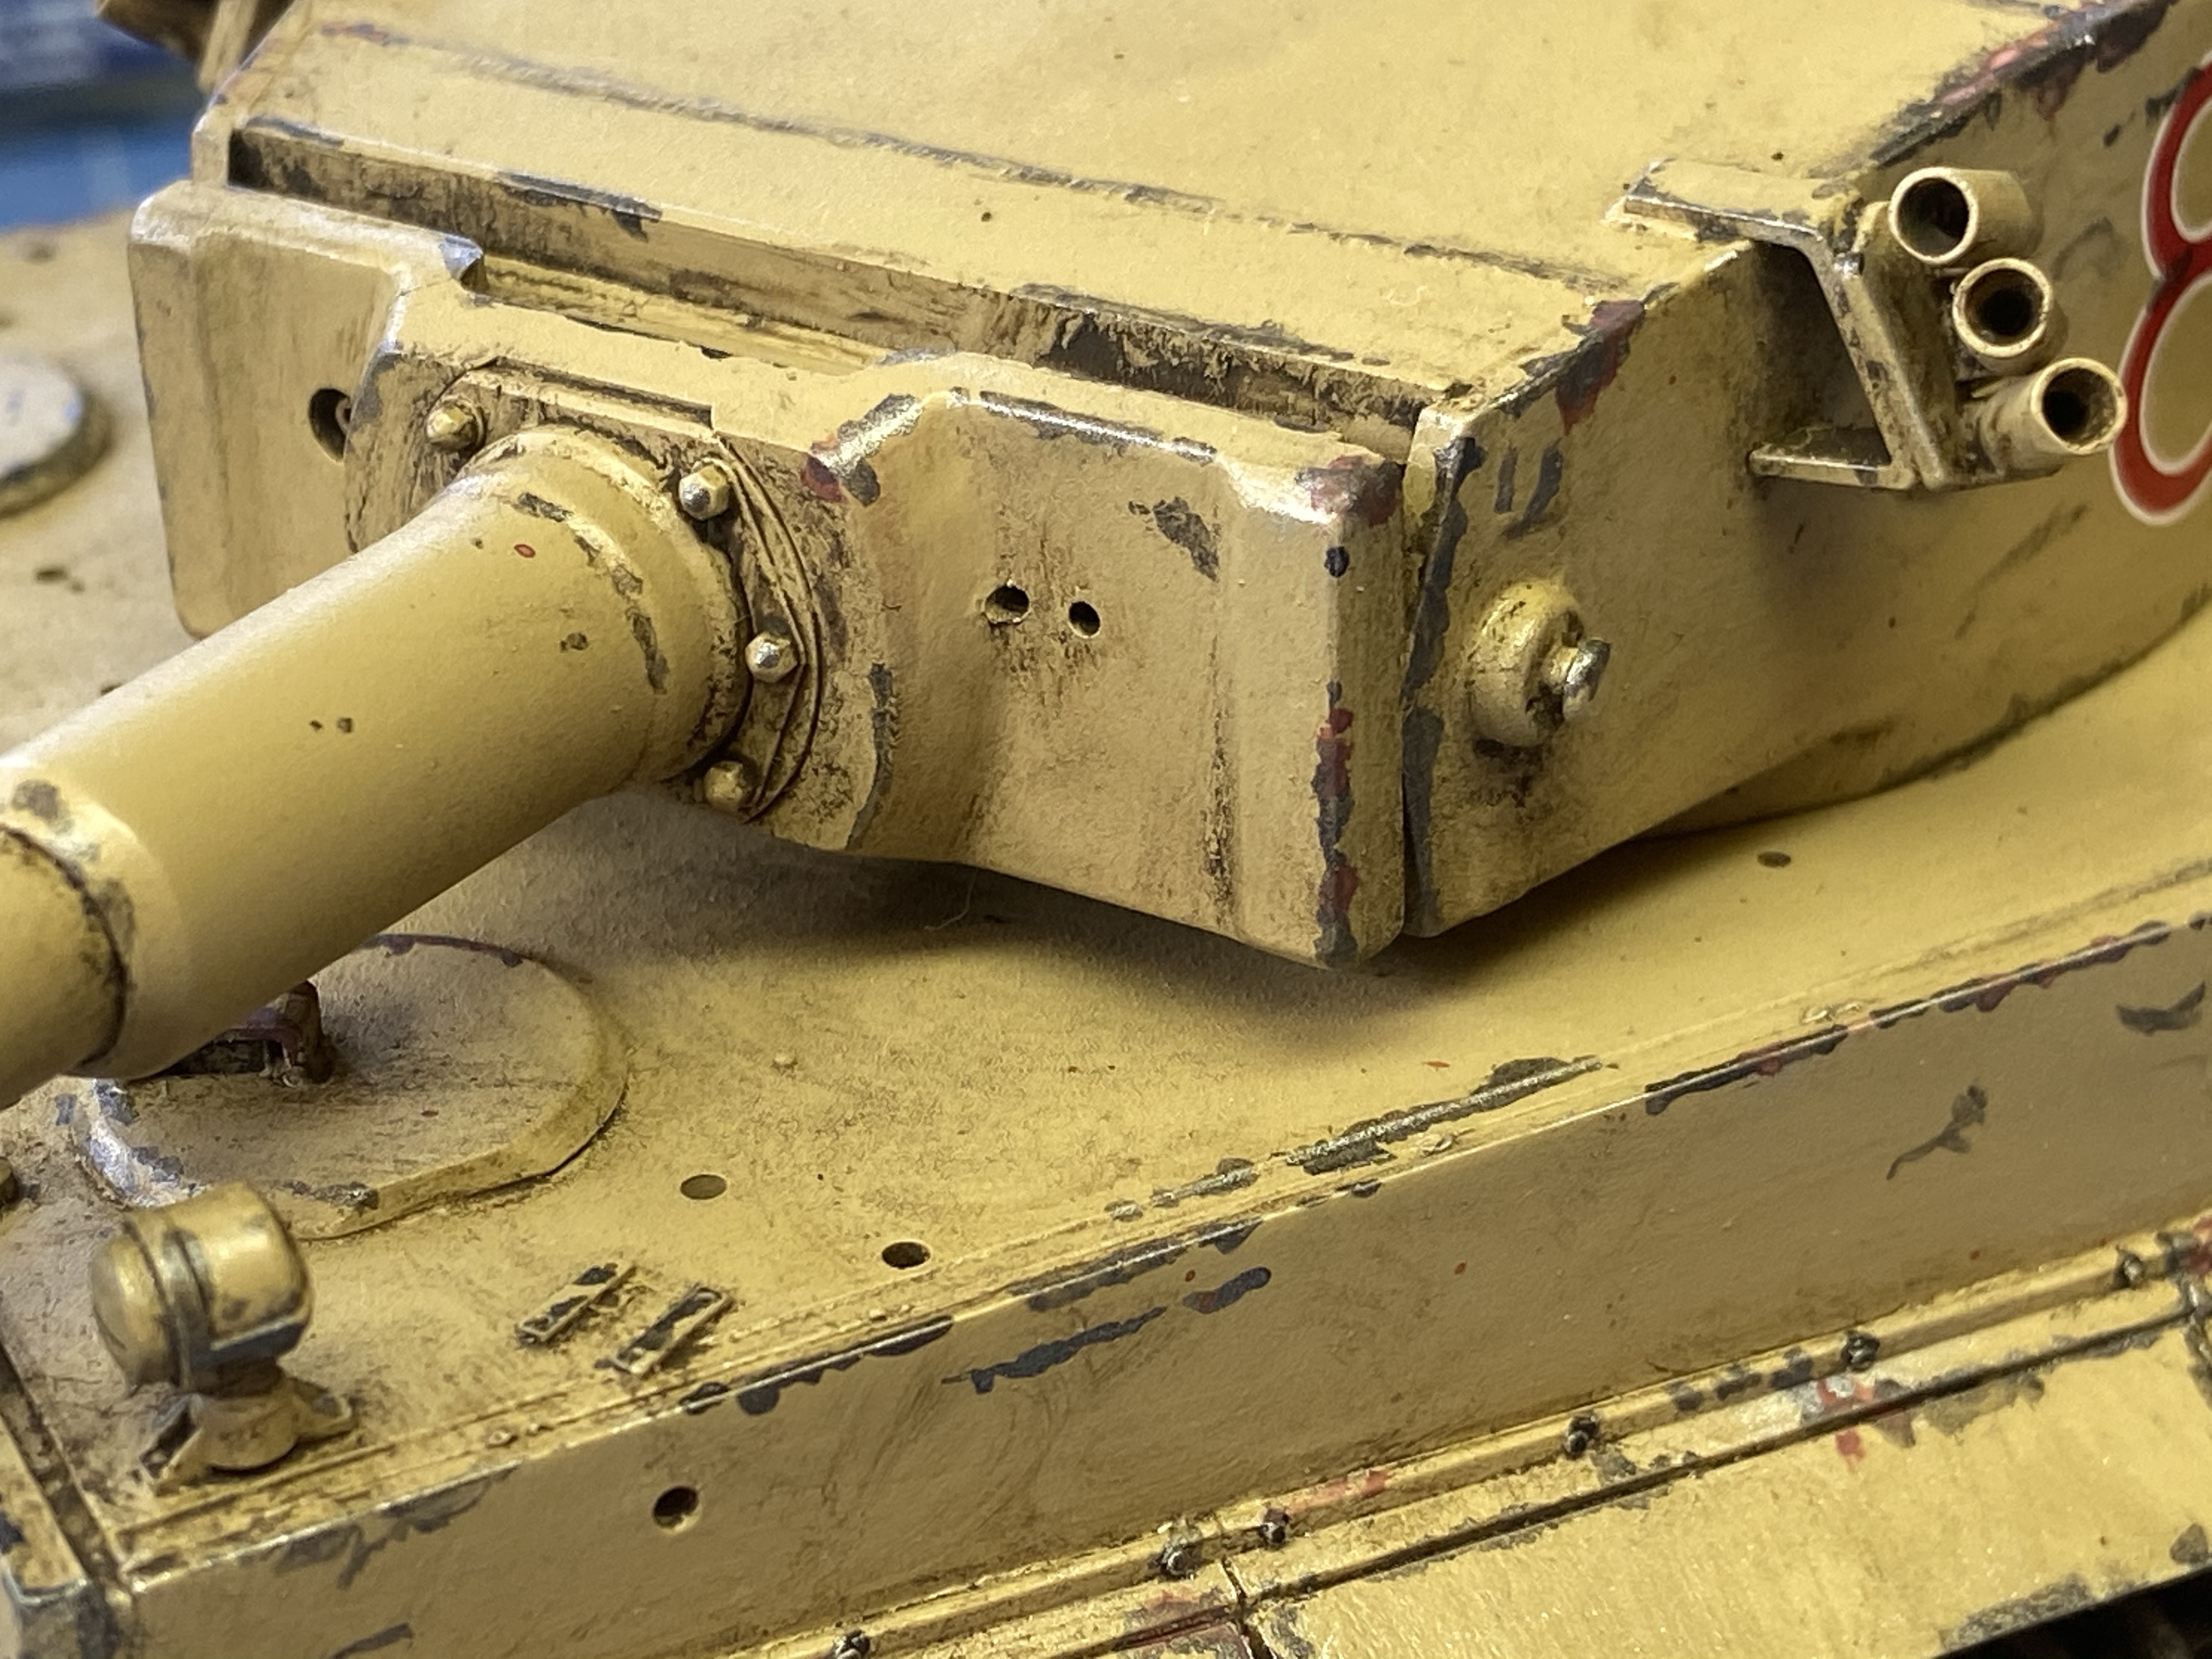
I made short work of building the tank and once assembled, I set about adding texture to the tanks armour. For this I used Tamiya putty thinned with Tamiya liquid cement and I stippled it on with an old paint brush. Once it had cured, I sanded off any high spots with a sanding sponge.
Time to paint!
Now we were ready to paint I thought I would experiment with a little pre-shade work :
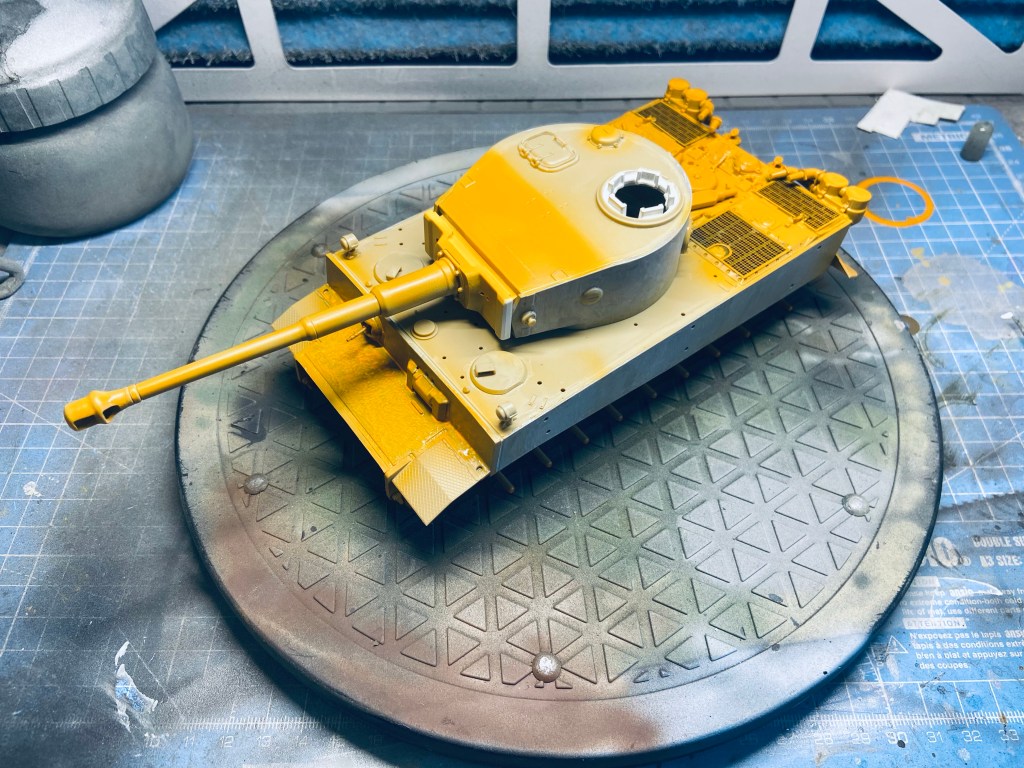

The “hot” yellow/ orange acrylics were sprayed onto the high weather areas of the tank to darken the main colour, in this case Tamiya Dark Yellow 2-XF-88:
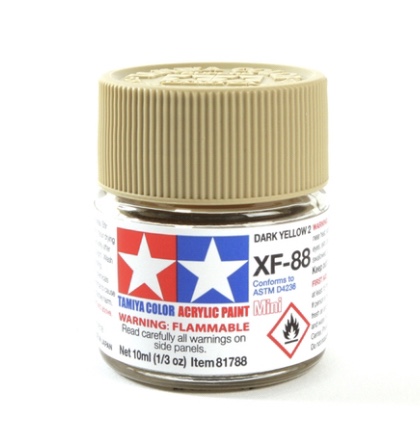
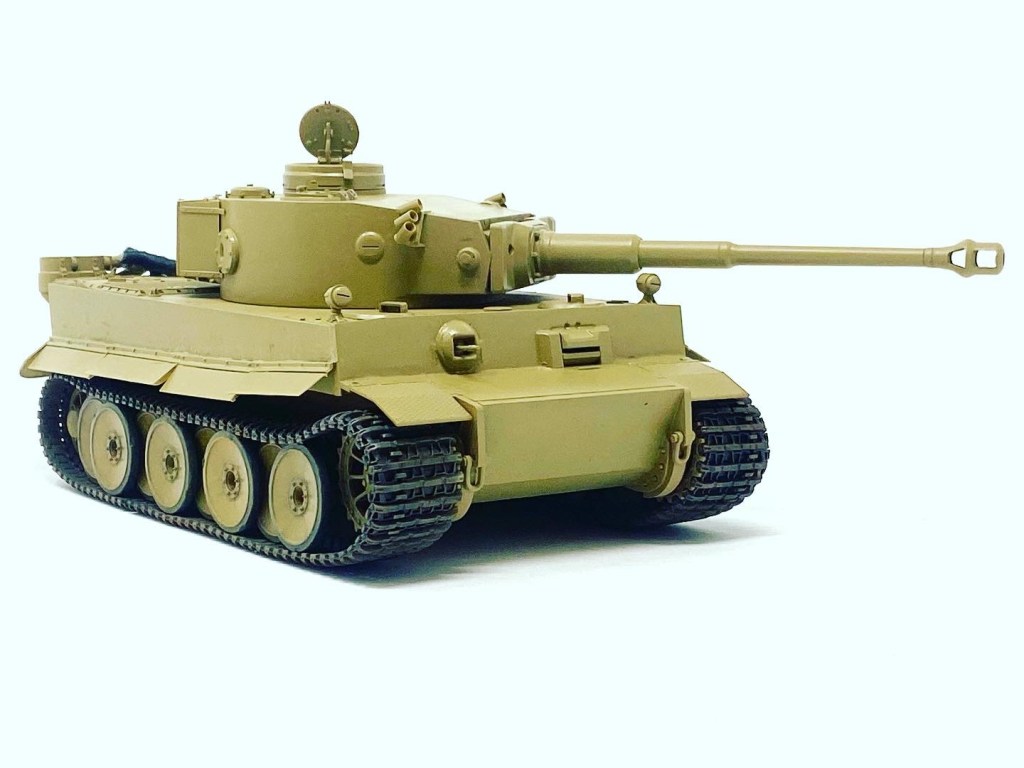
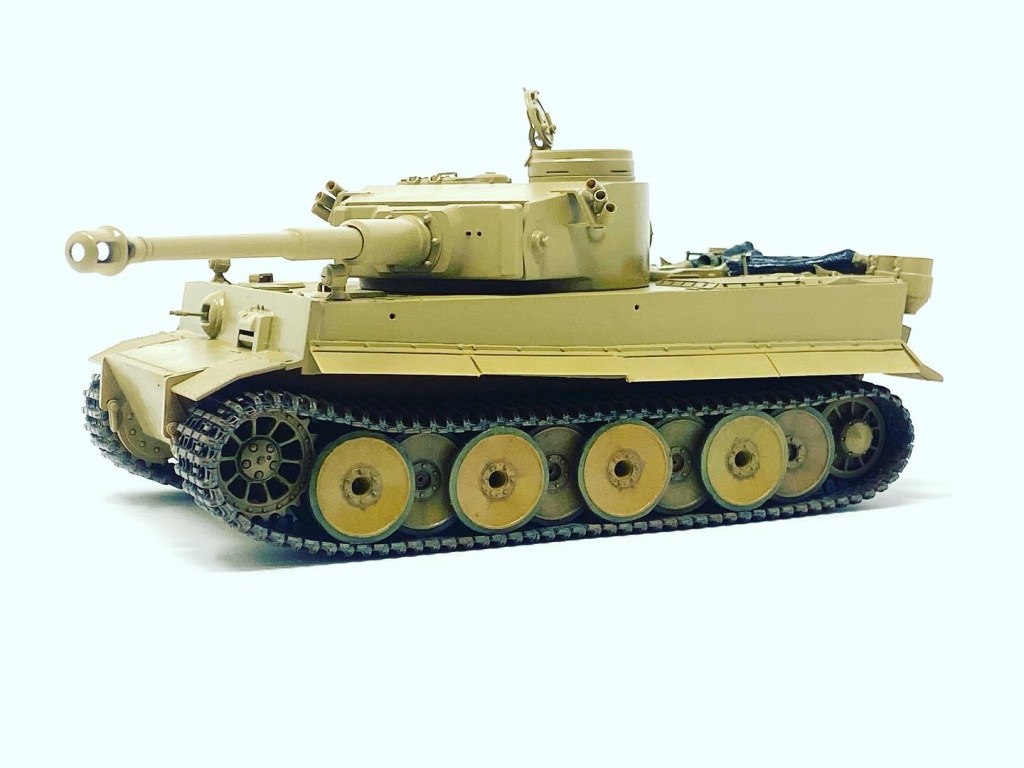
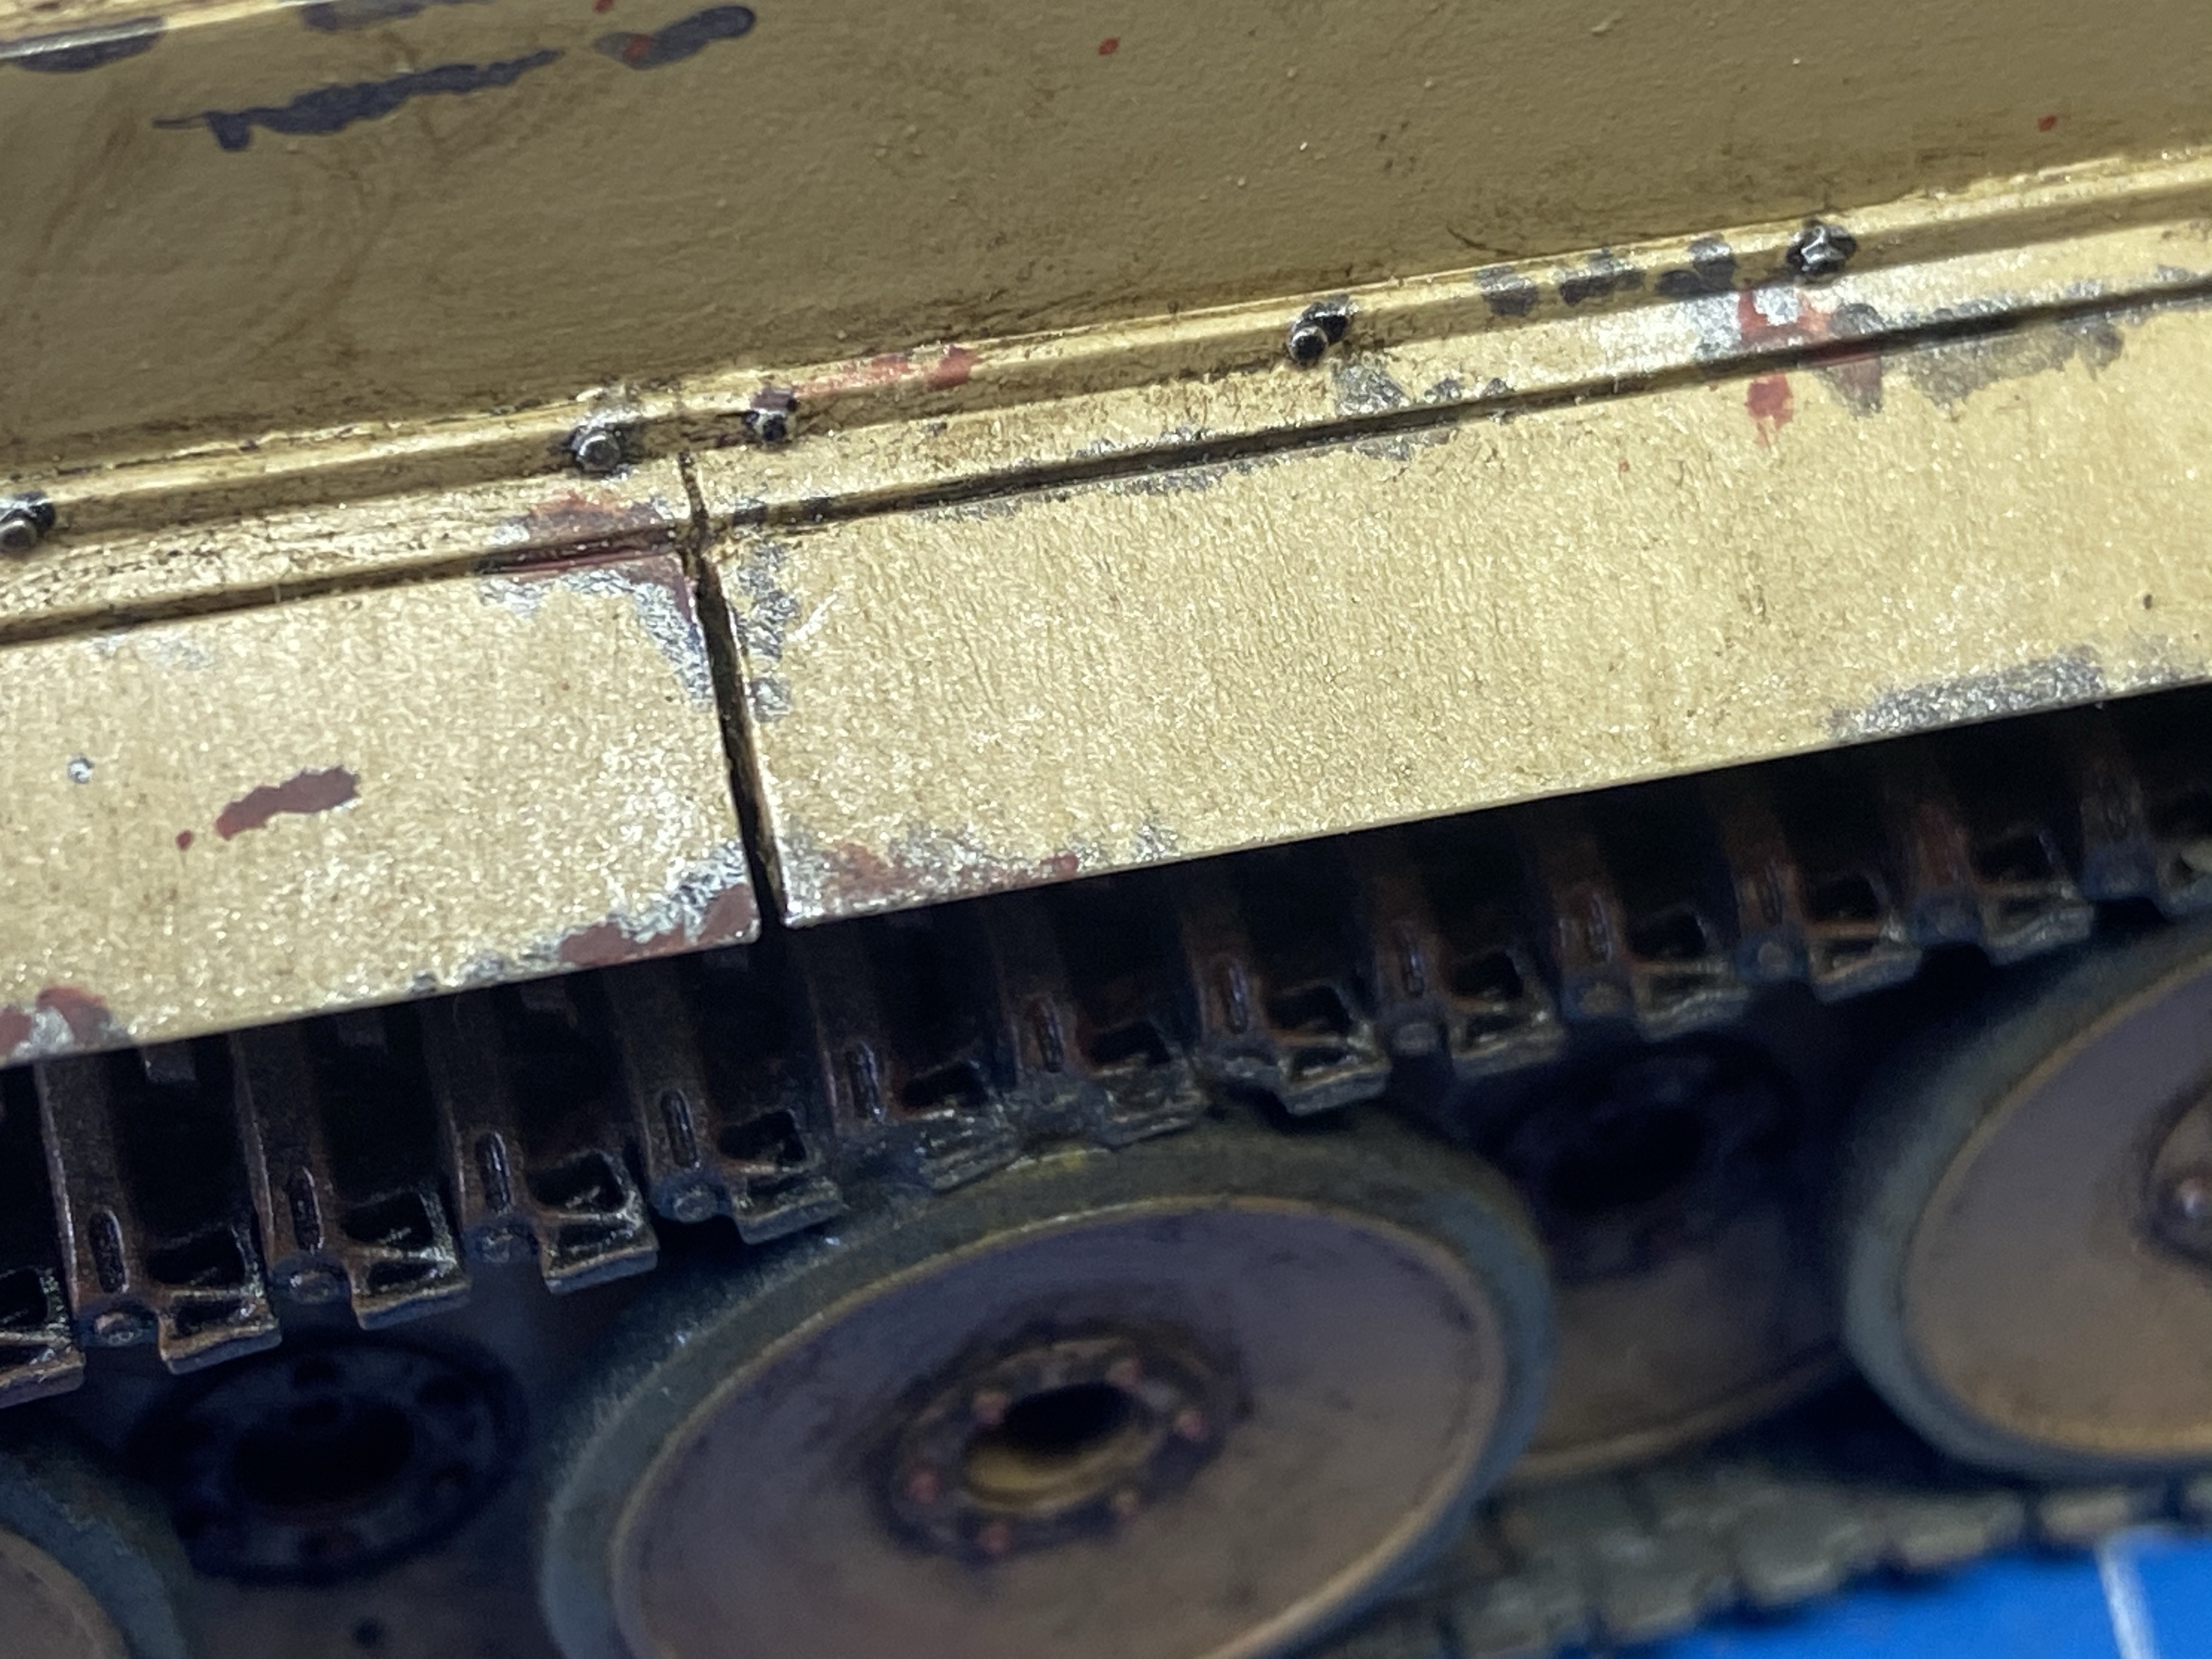
This new shade works really well for German desert armour subjects and I can heartily recommend it. Below you can see the model after painting was completed. I also painted and the road wheels and attached the kits rubber band tracks.

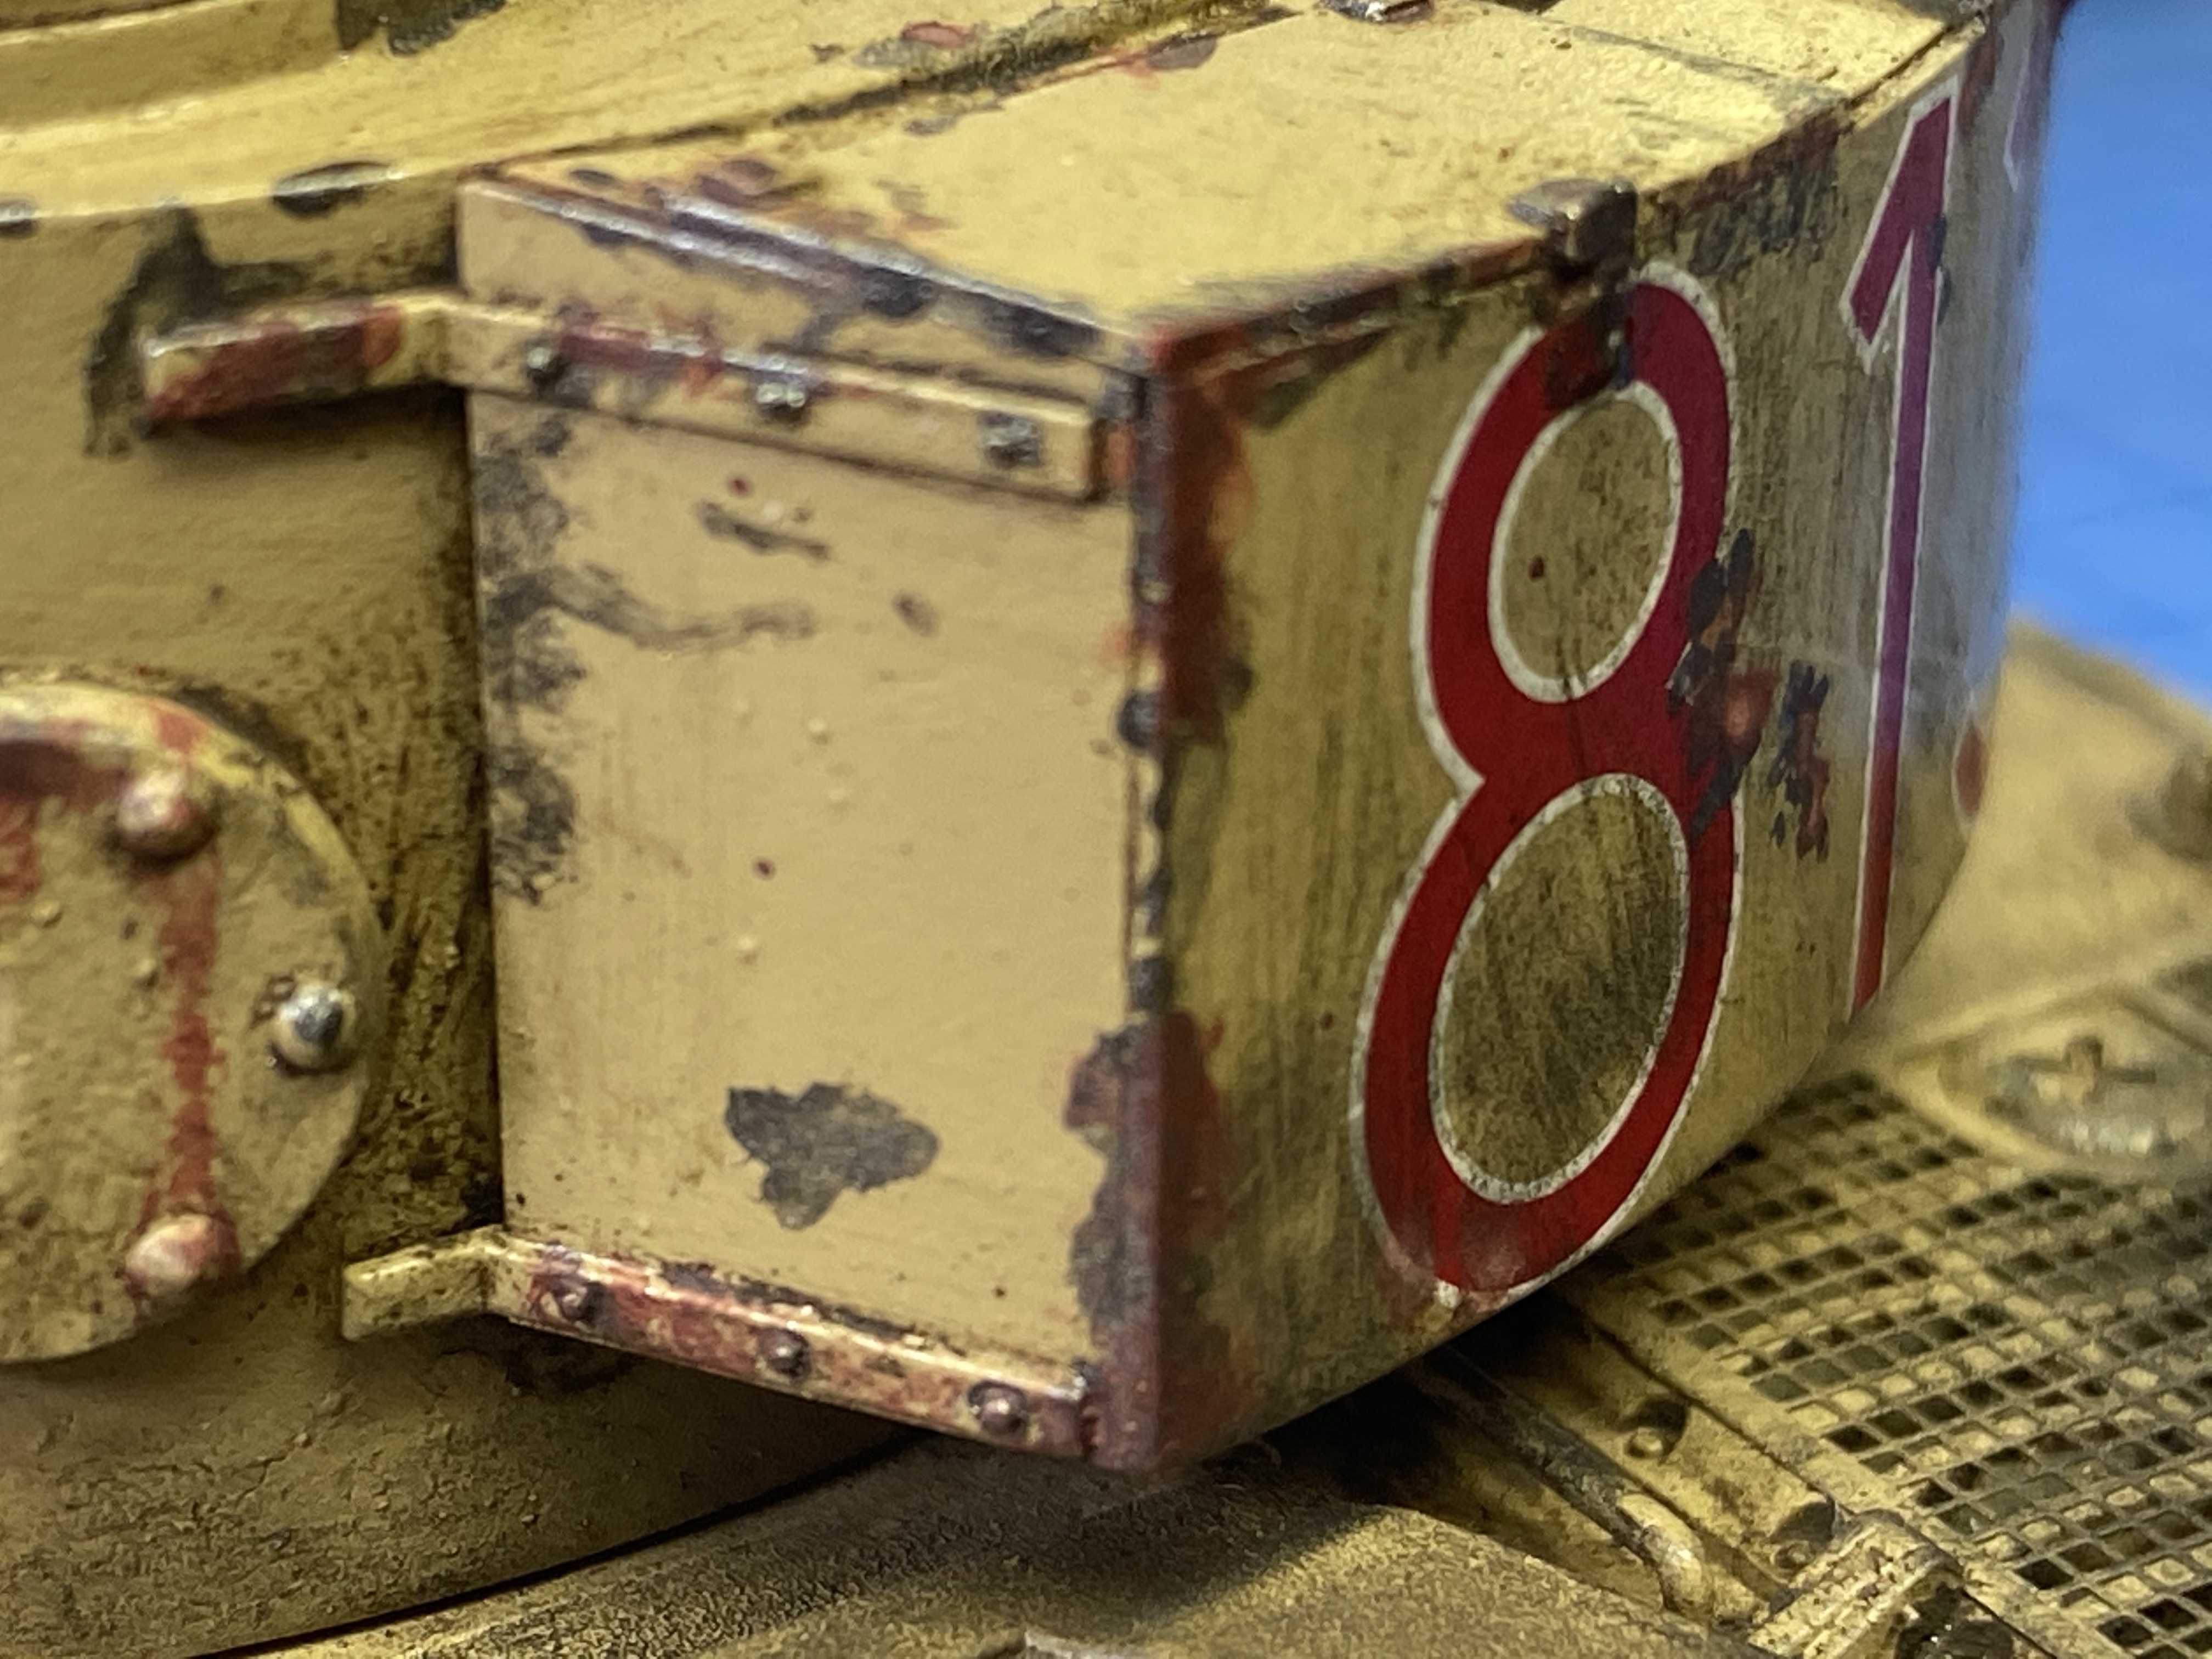
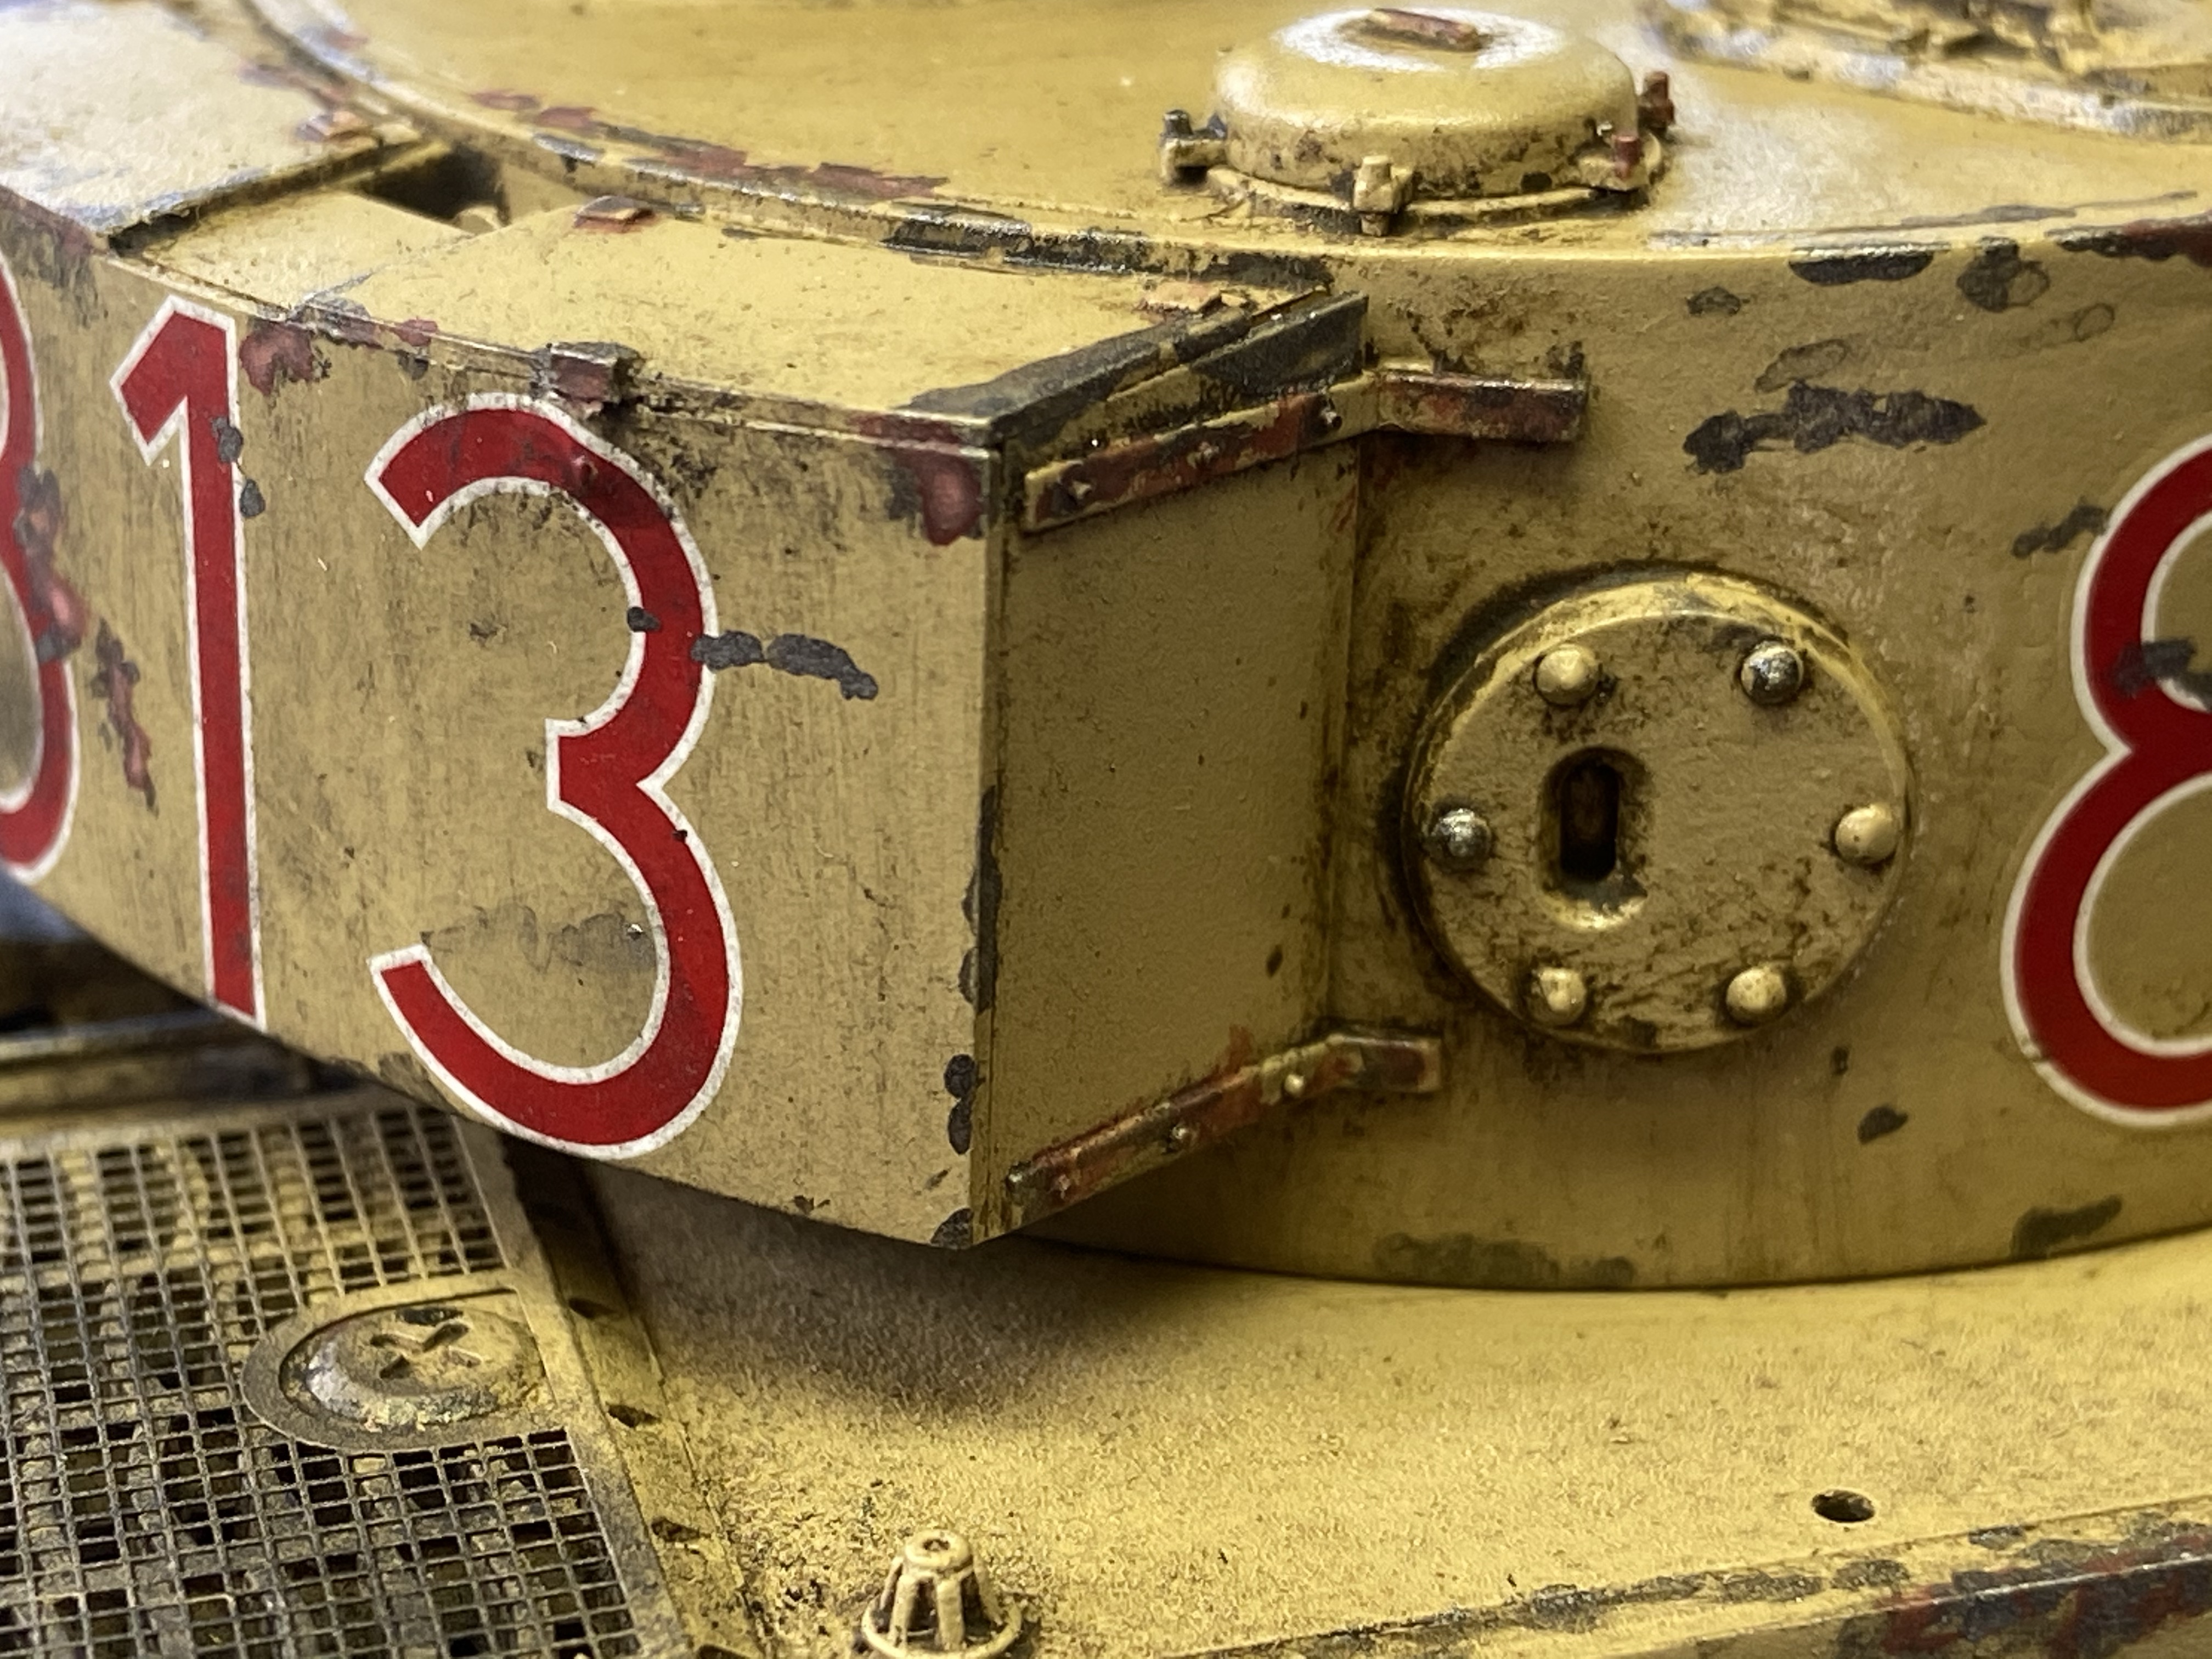
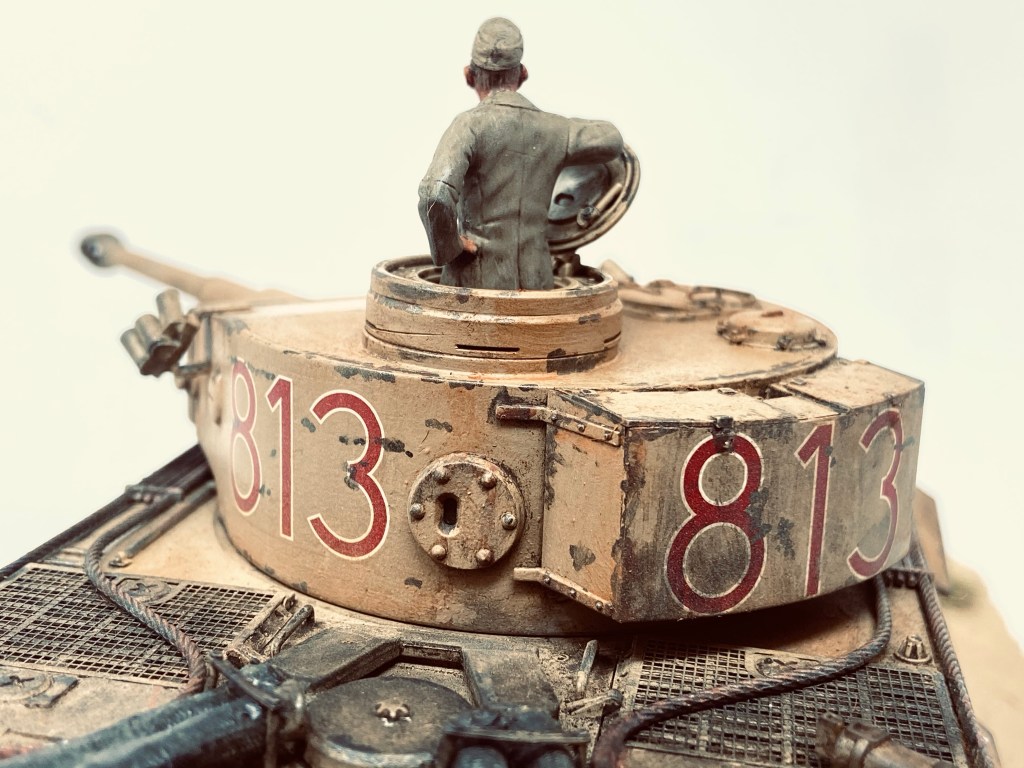
After a clear gloss coat had been applied and left to fully cure, I added the kit decals with some help from Microset solution. To protect all the work done this far I sprayed the entire model with another coat of acrylic clear gloss varnish.
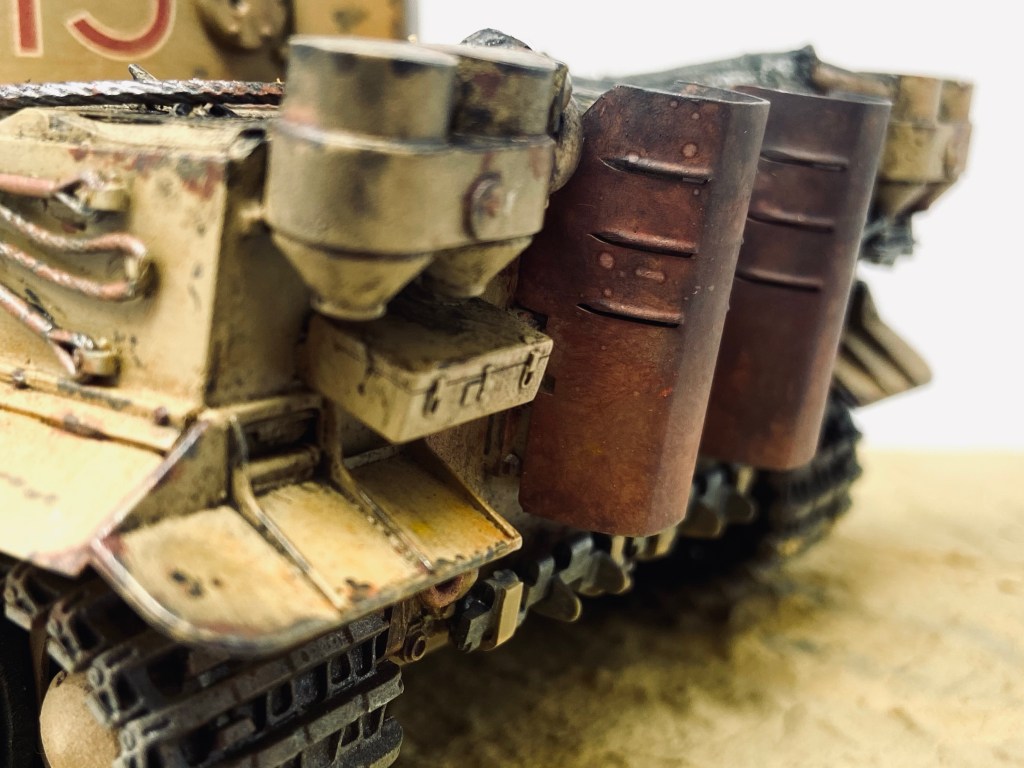
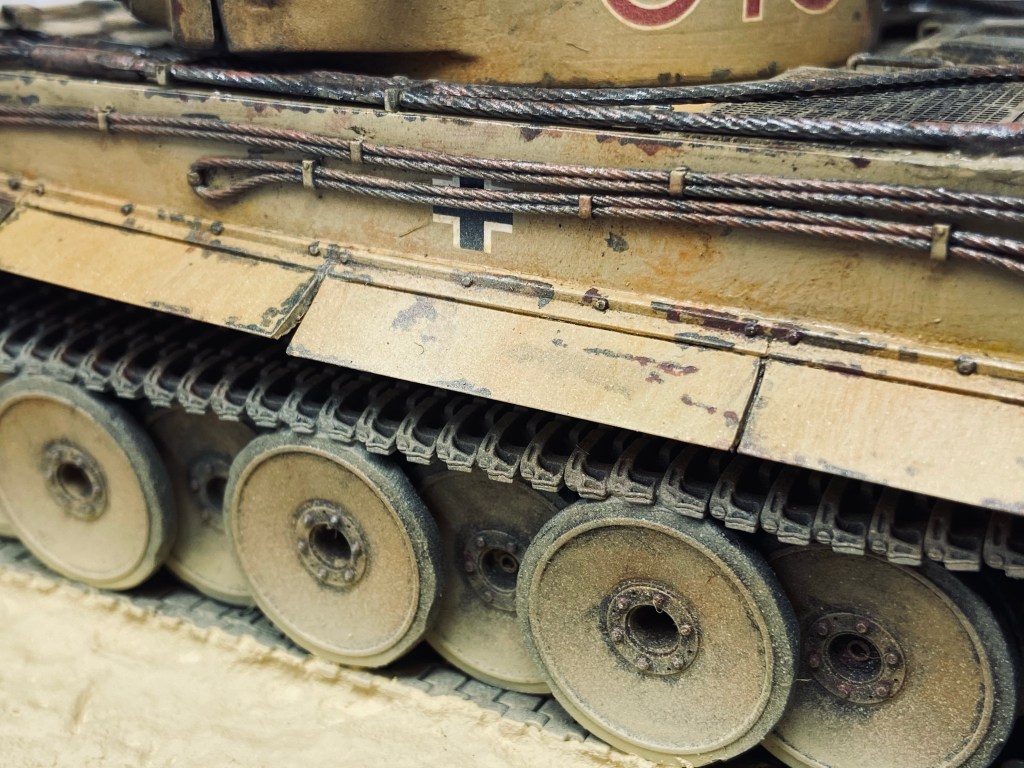
Let weathering commence!
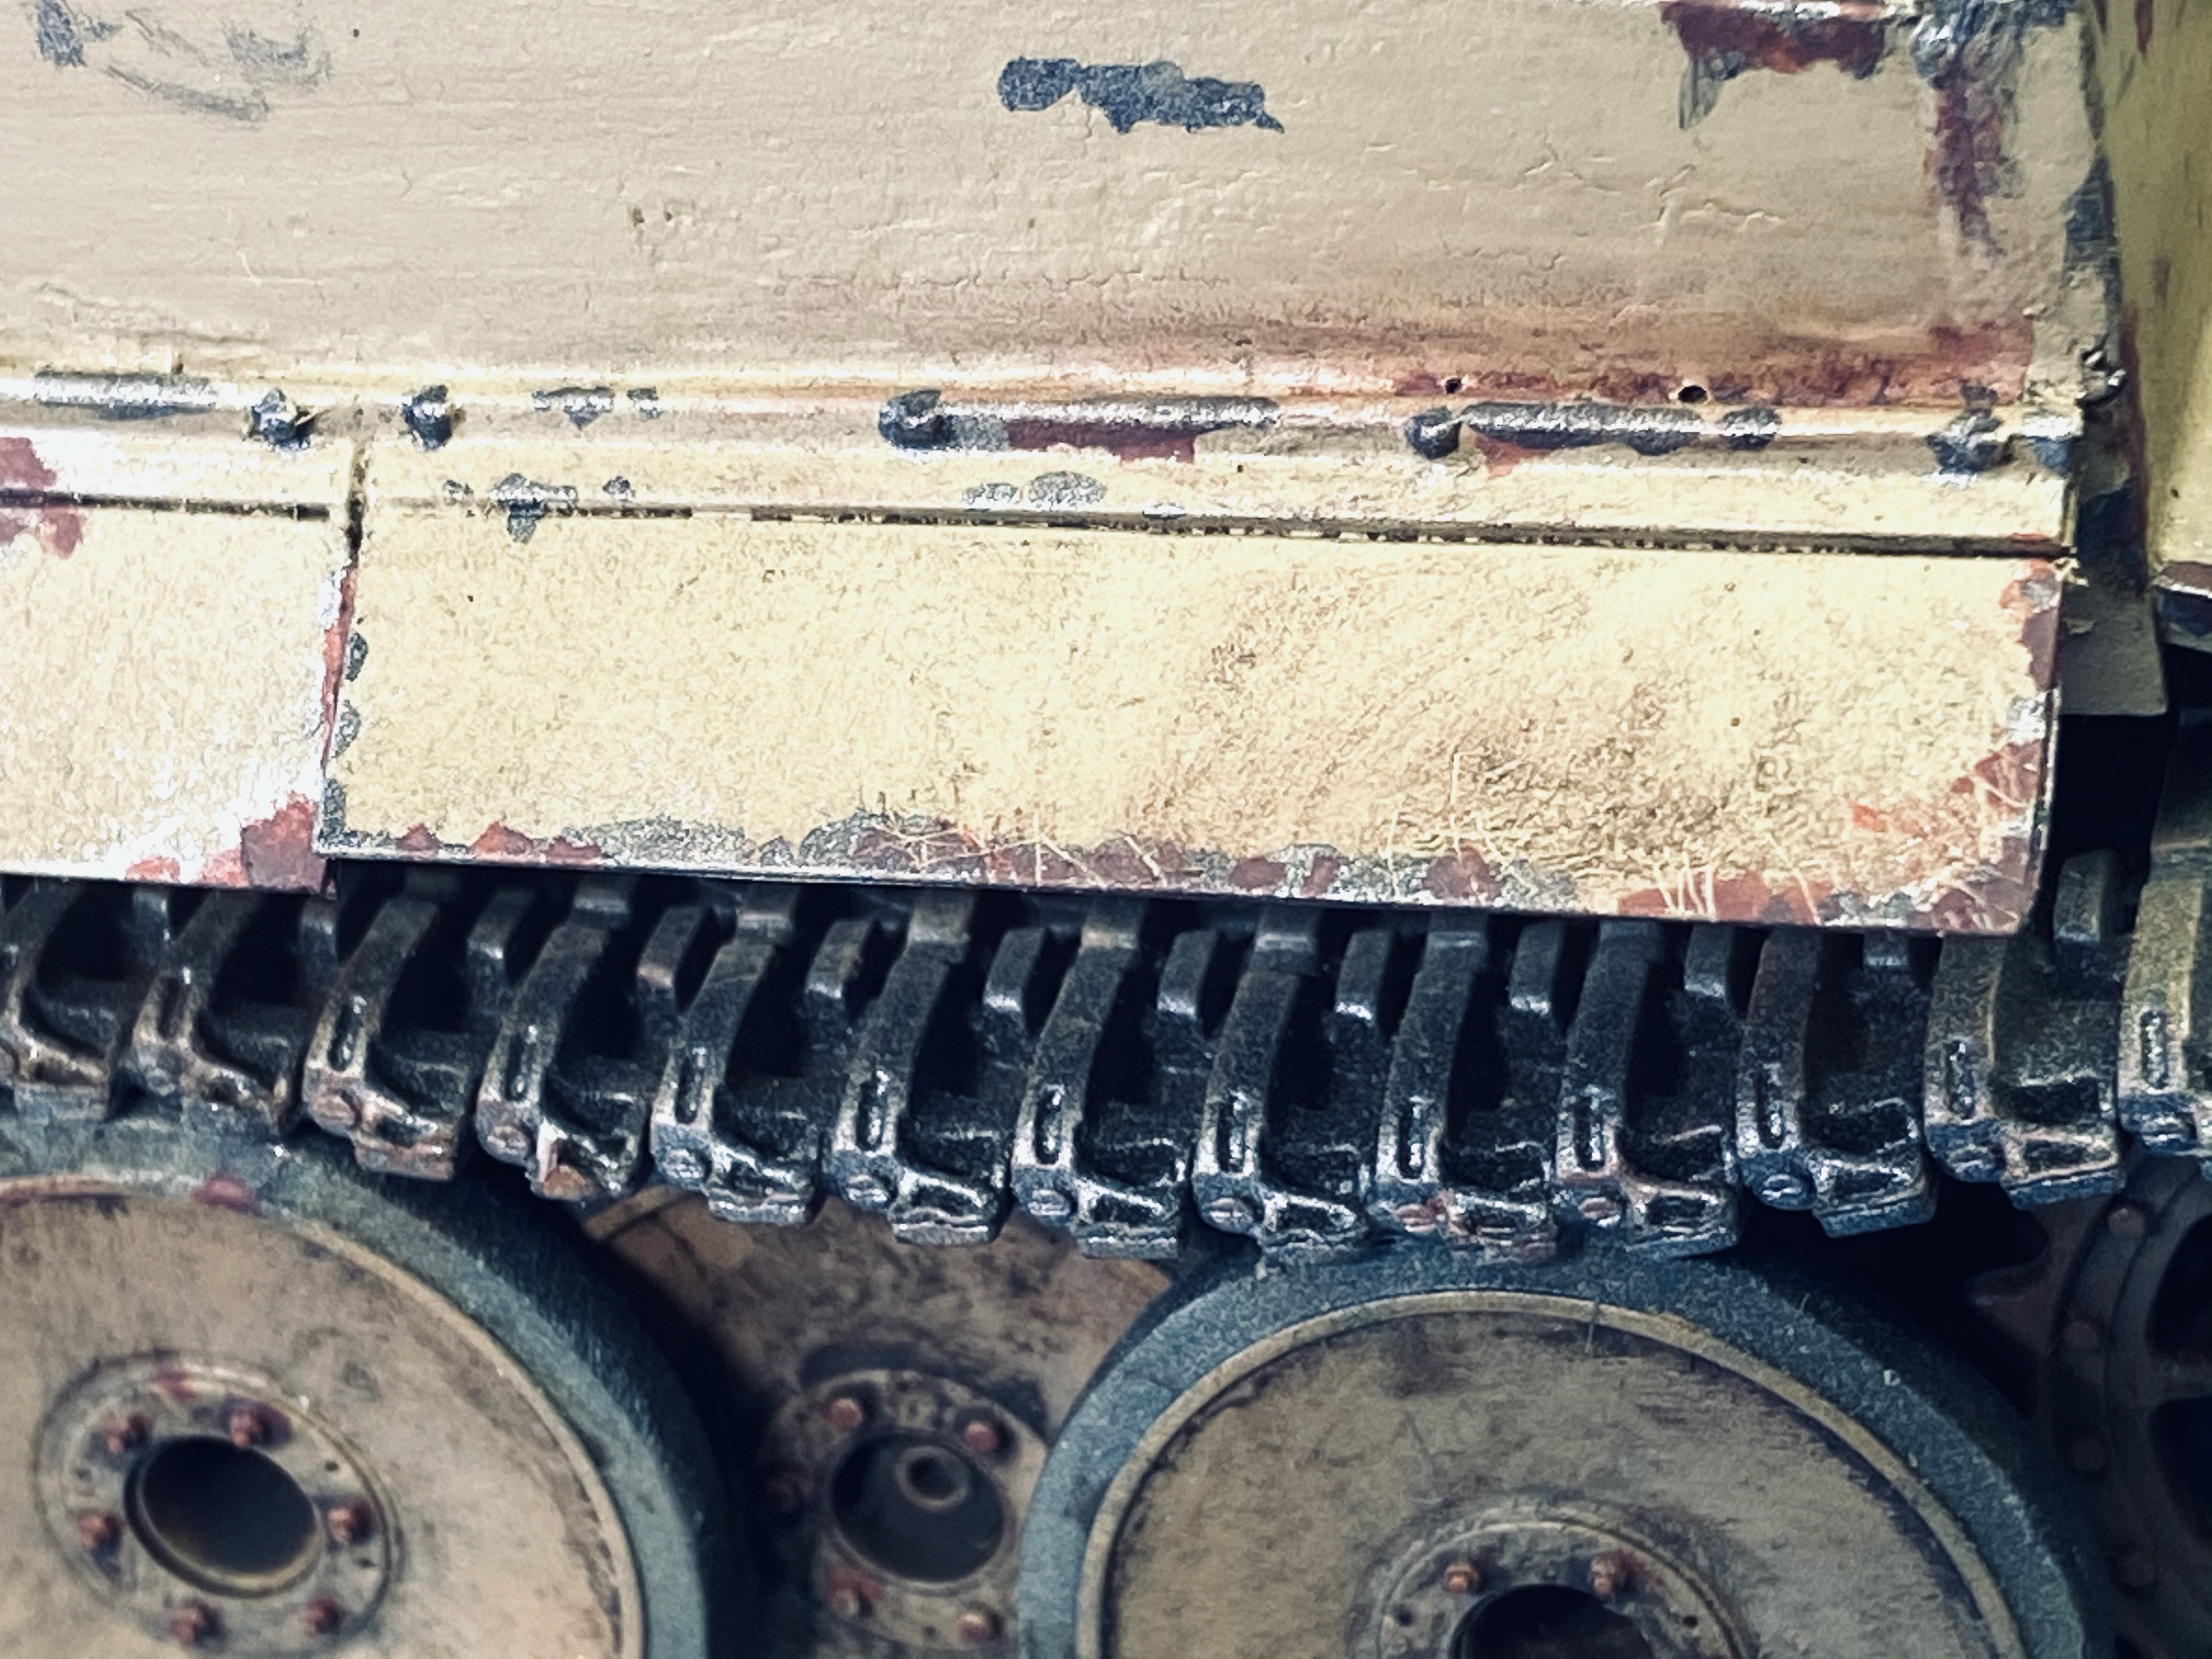
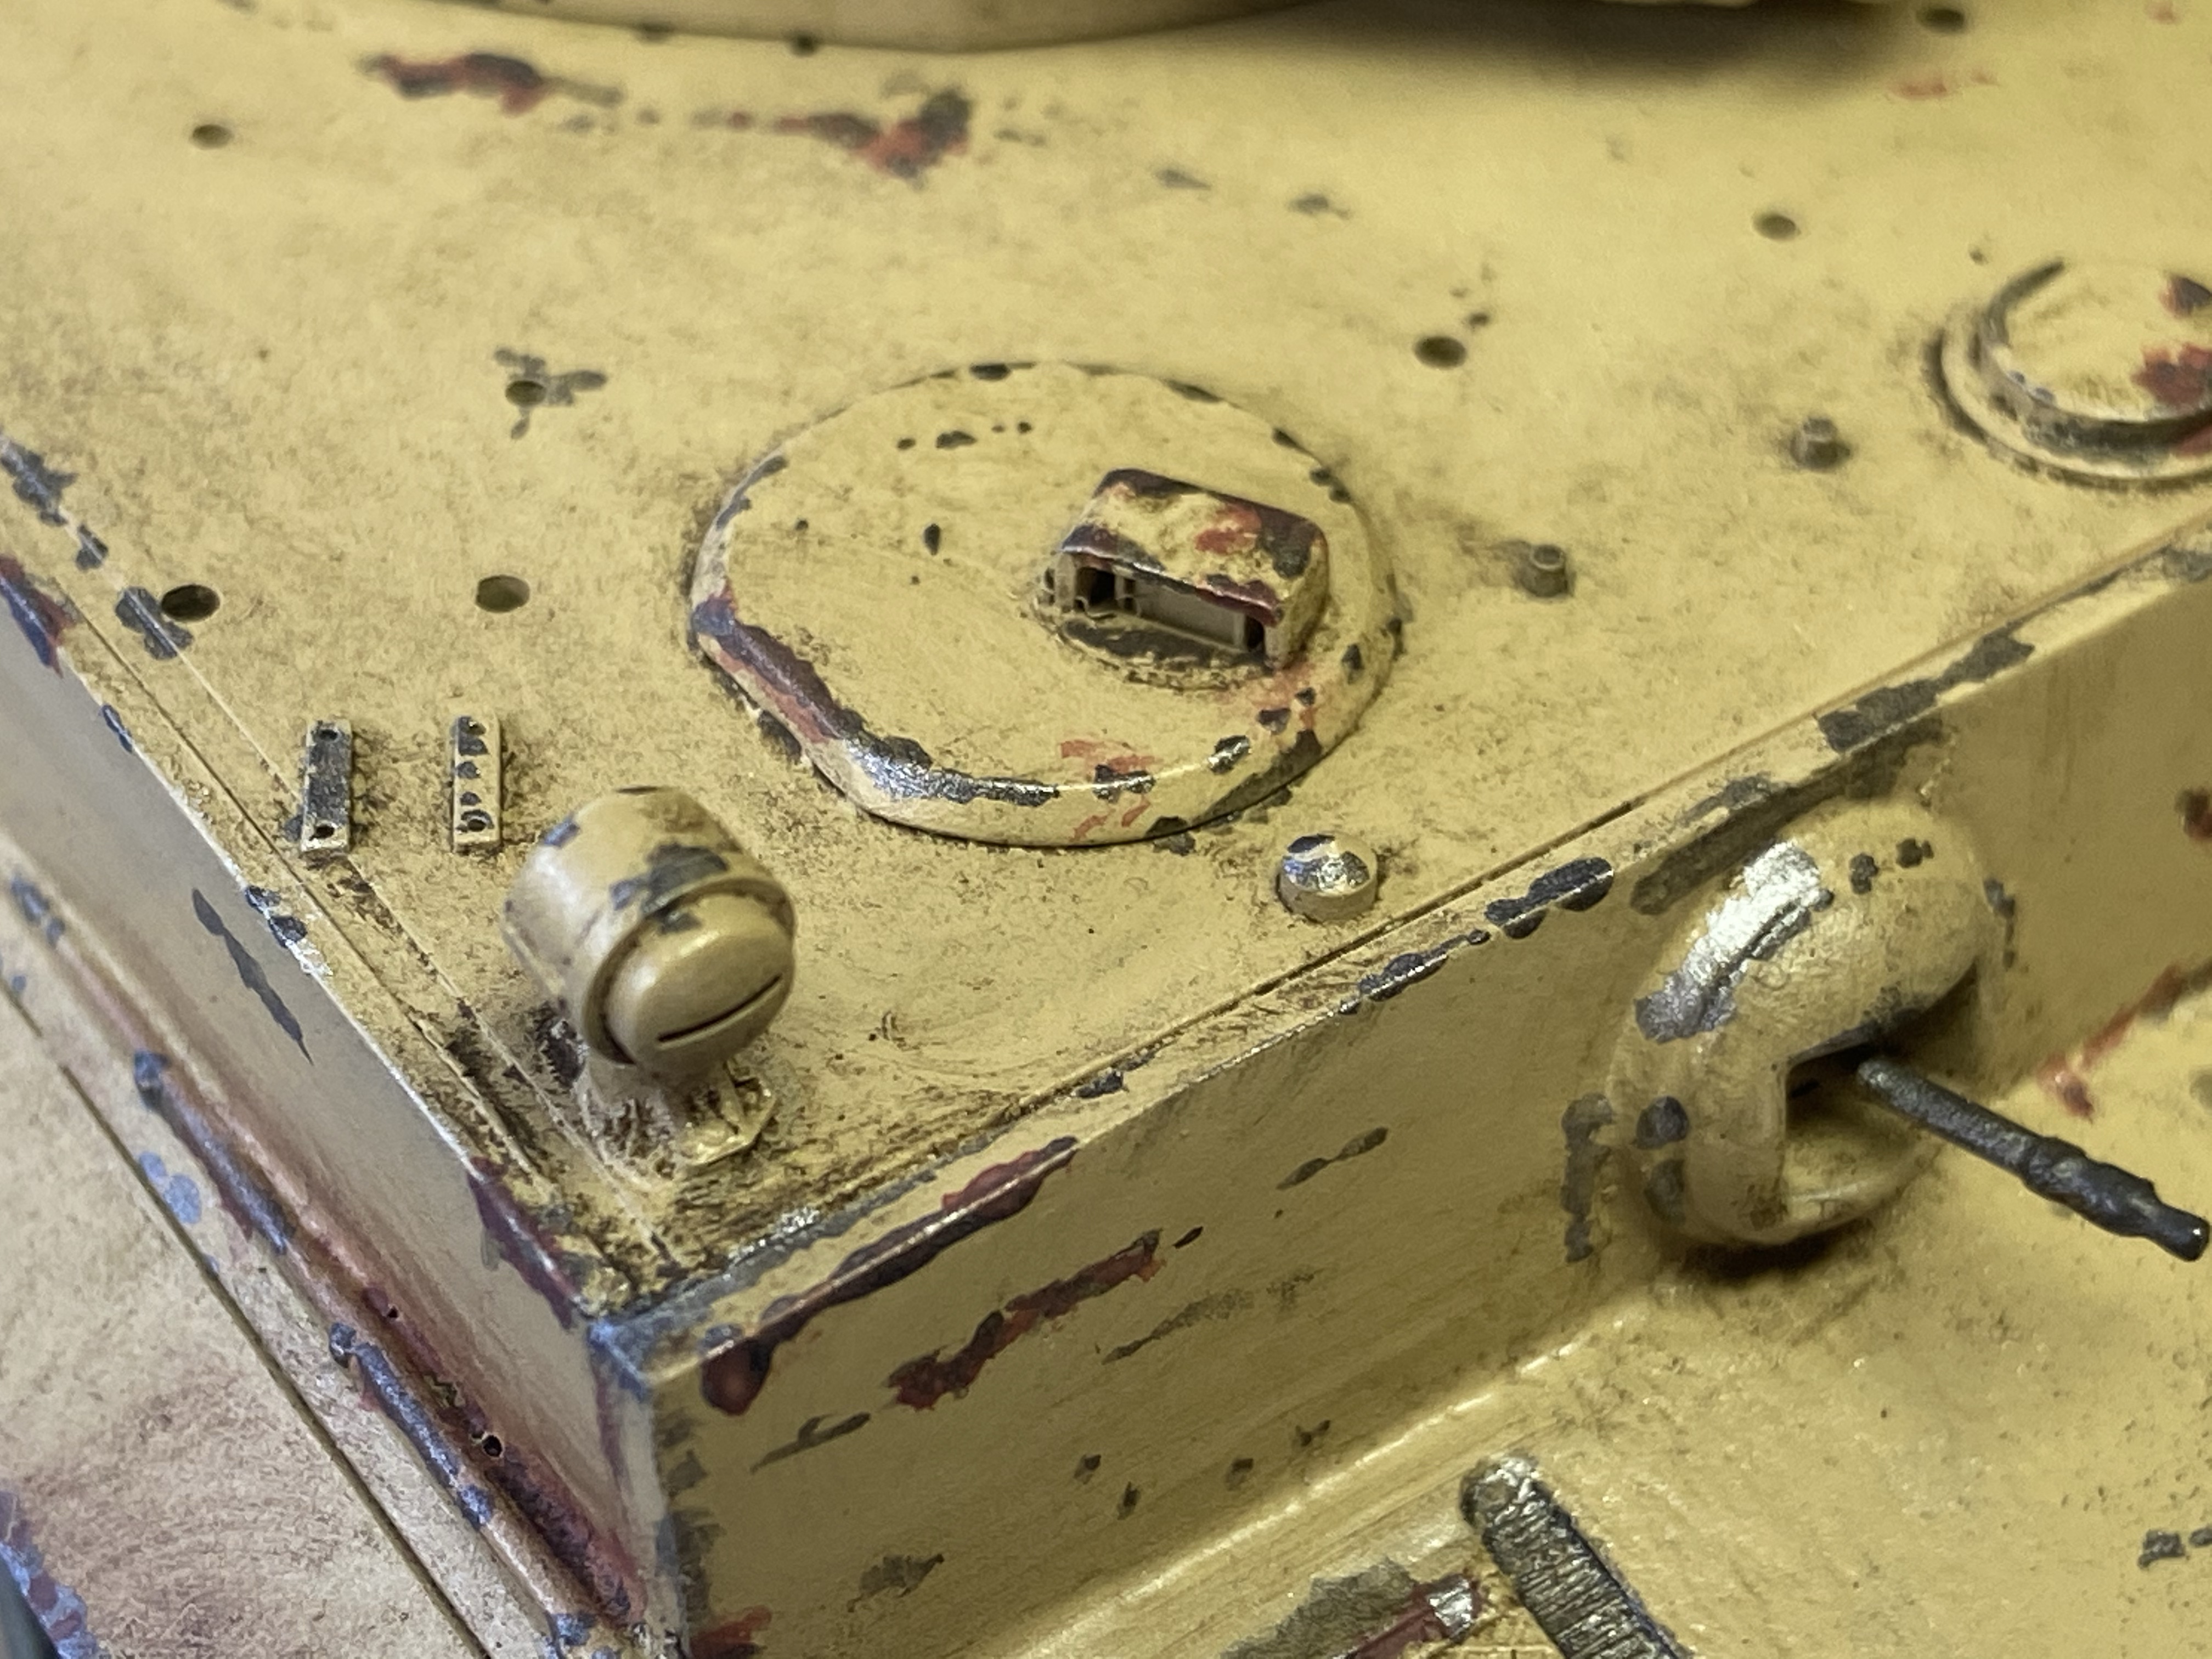
To weather this model I used a combination of Mig Ammo DAK Brown enamel wash, AK Interactive weathering pencils and Tamiya acrylic metallic shades to add paint chipping by hand…

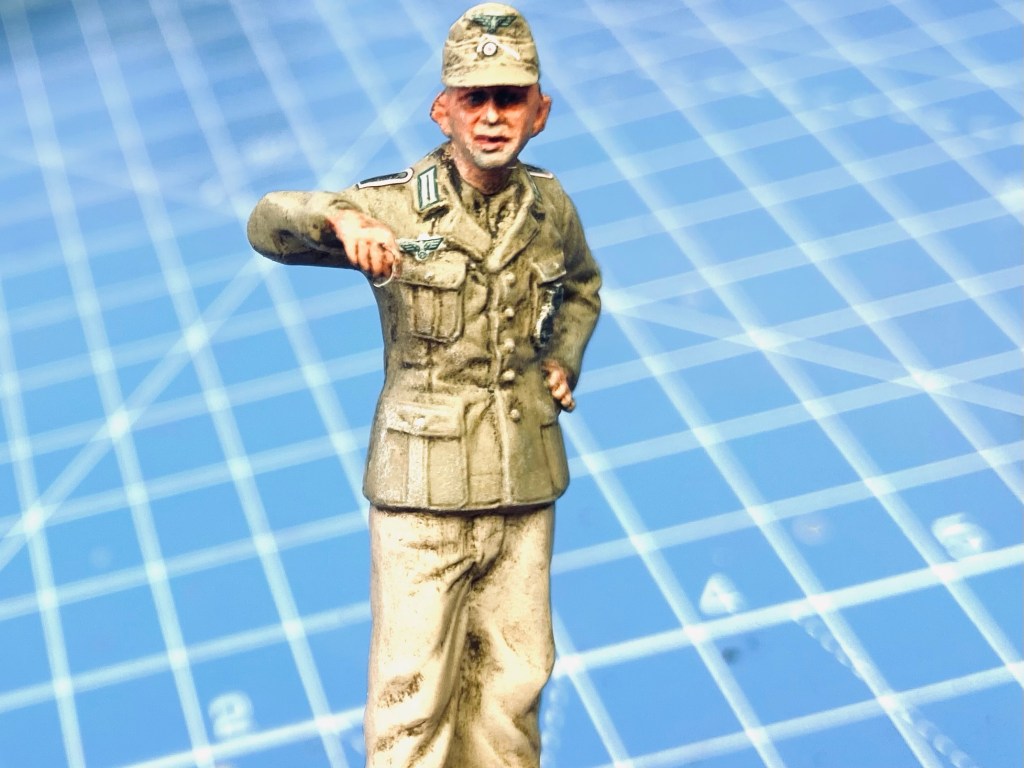
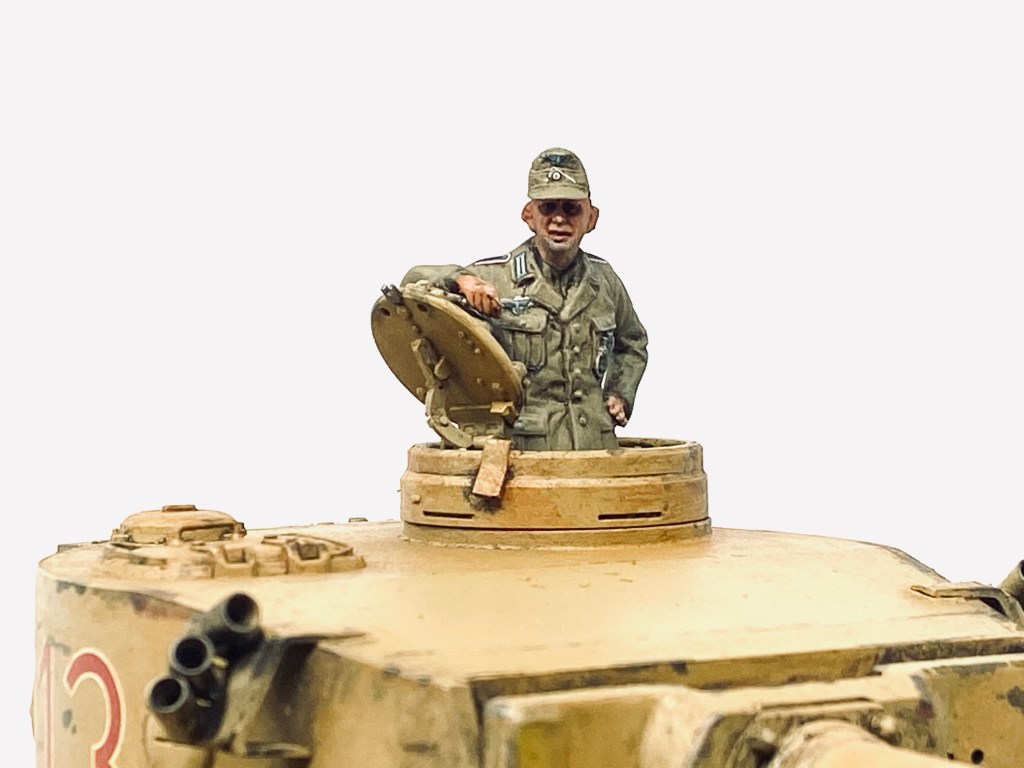
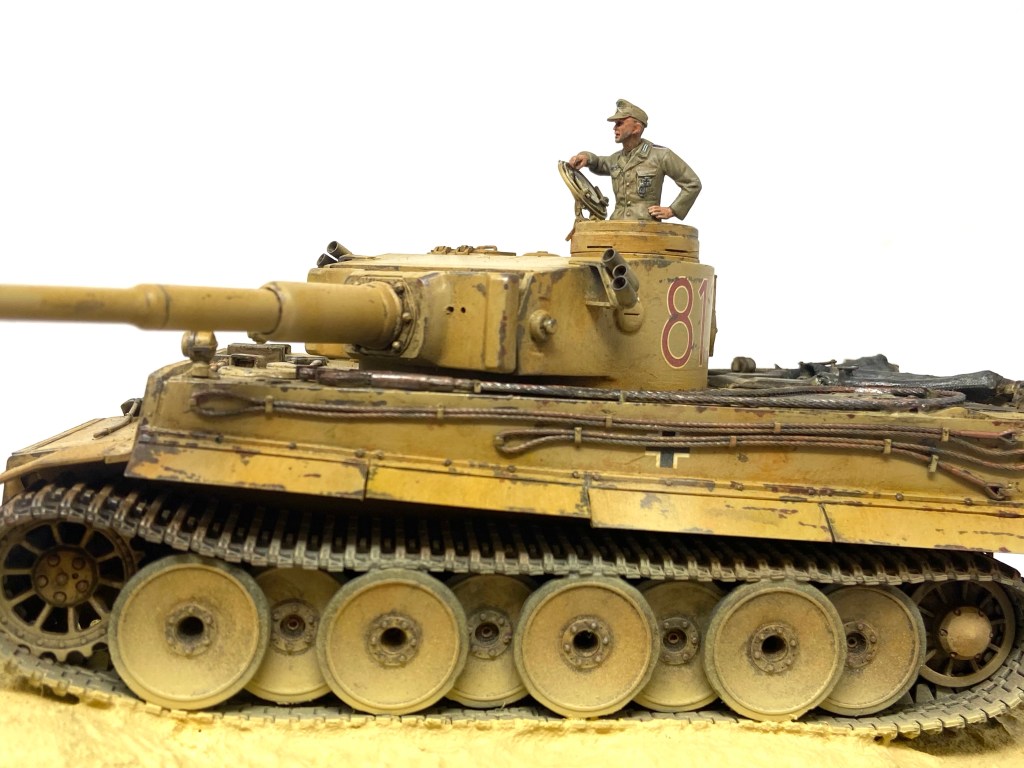
As well as improving on my armour painting and weathering techniques, I also wanted to improve on my figure painting. Putting the extra effort into the kit figure provided by Tamiya was a challenge for me, but with a lot of reading up on figure painting techniques I managed to struggle through and produce a finished figure that I can be happy with.
Here’s how the figure looked during and after painting:


My next task was to ponder how I might present this model? I went a simple idea of a desert terrain base on top of a wooden plinth. As always, I turned to my good friend Paul Thompson who crafted a superb plinth to display my model on!
My work was complete and ready for display……


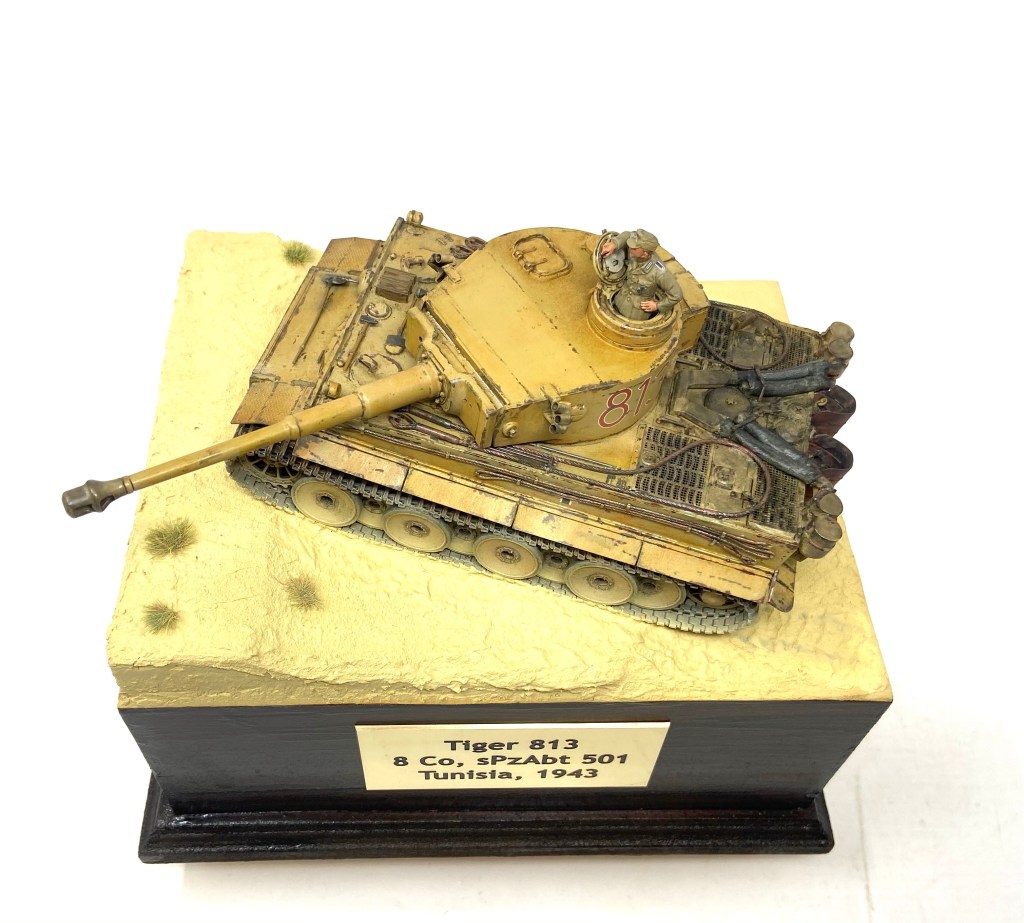


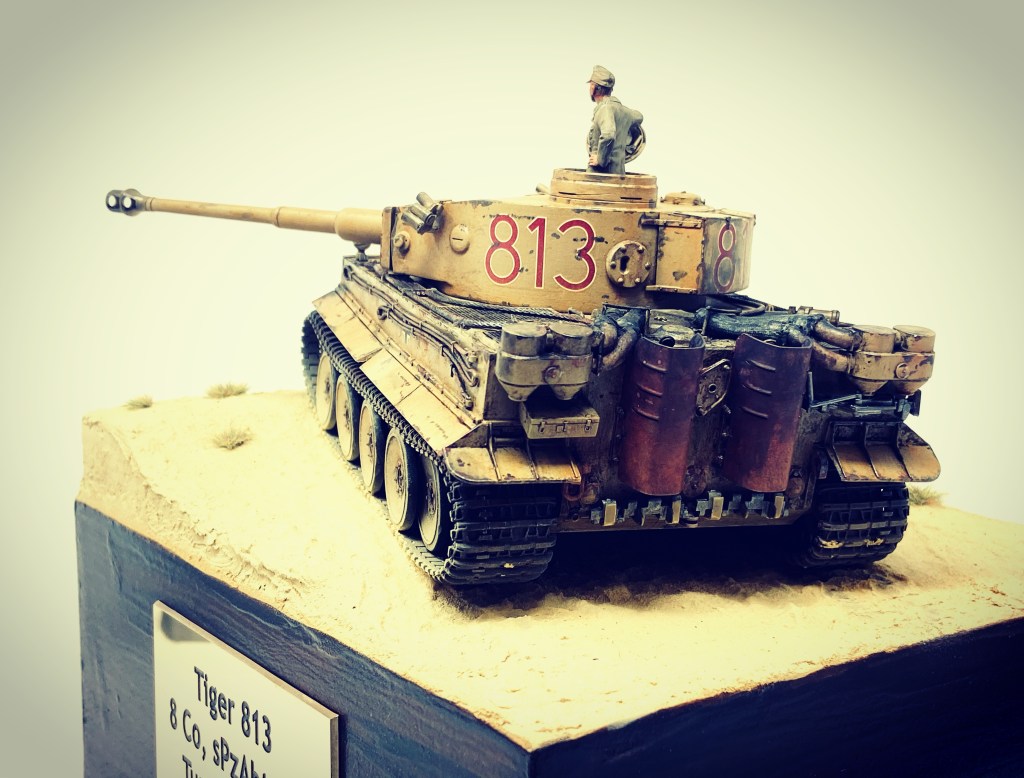
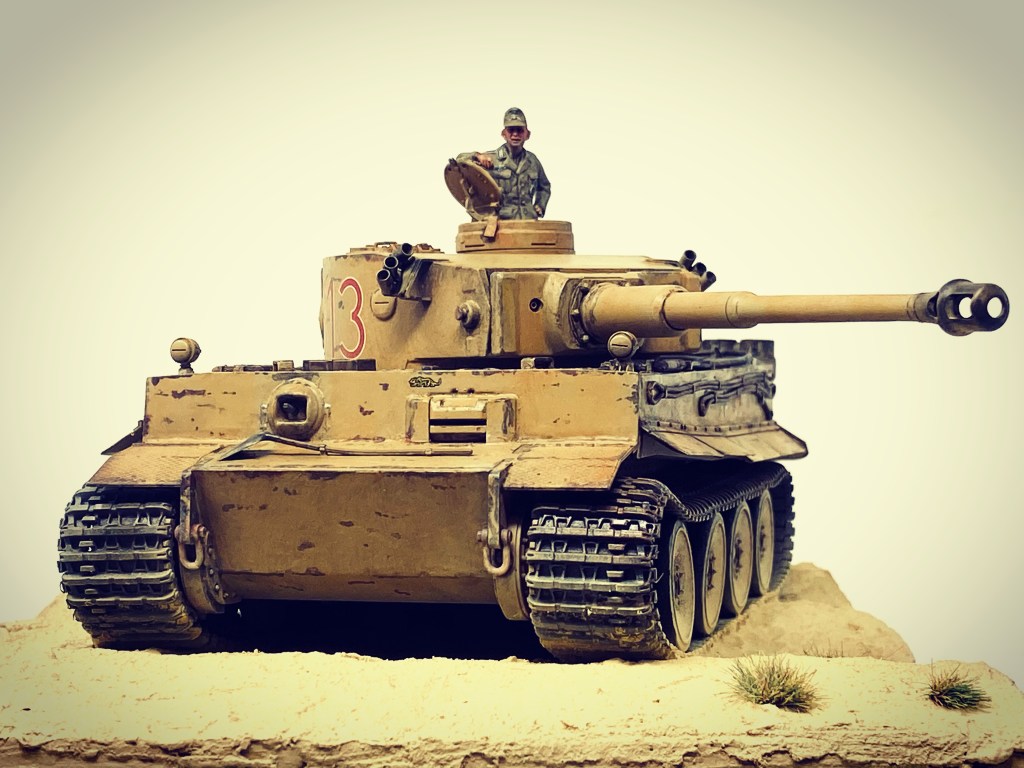


I really enjoyed this one and it is now a firm favourite armour build!
I hope you have enjoyed seeing my revisiting an old kit and and bringing out the best of it with experienced eyes and modern techniques.
Take care and Harry Modelling!
Darren.

Excellent idea and build. There is a model in my display case that I built well but finished terribly. My plan is to strip it and do it right.
LikeLiked by 1 person
Thanks! Yes it is very rewarding to have another go at a model that one could build again.
LikeLike
Reblogged this on ausevor.
LikeLike
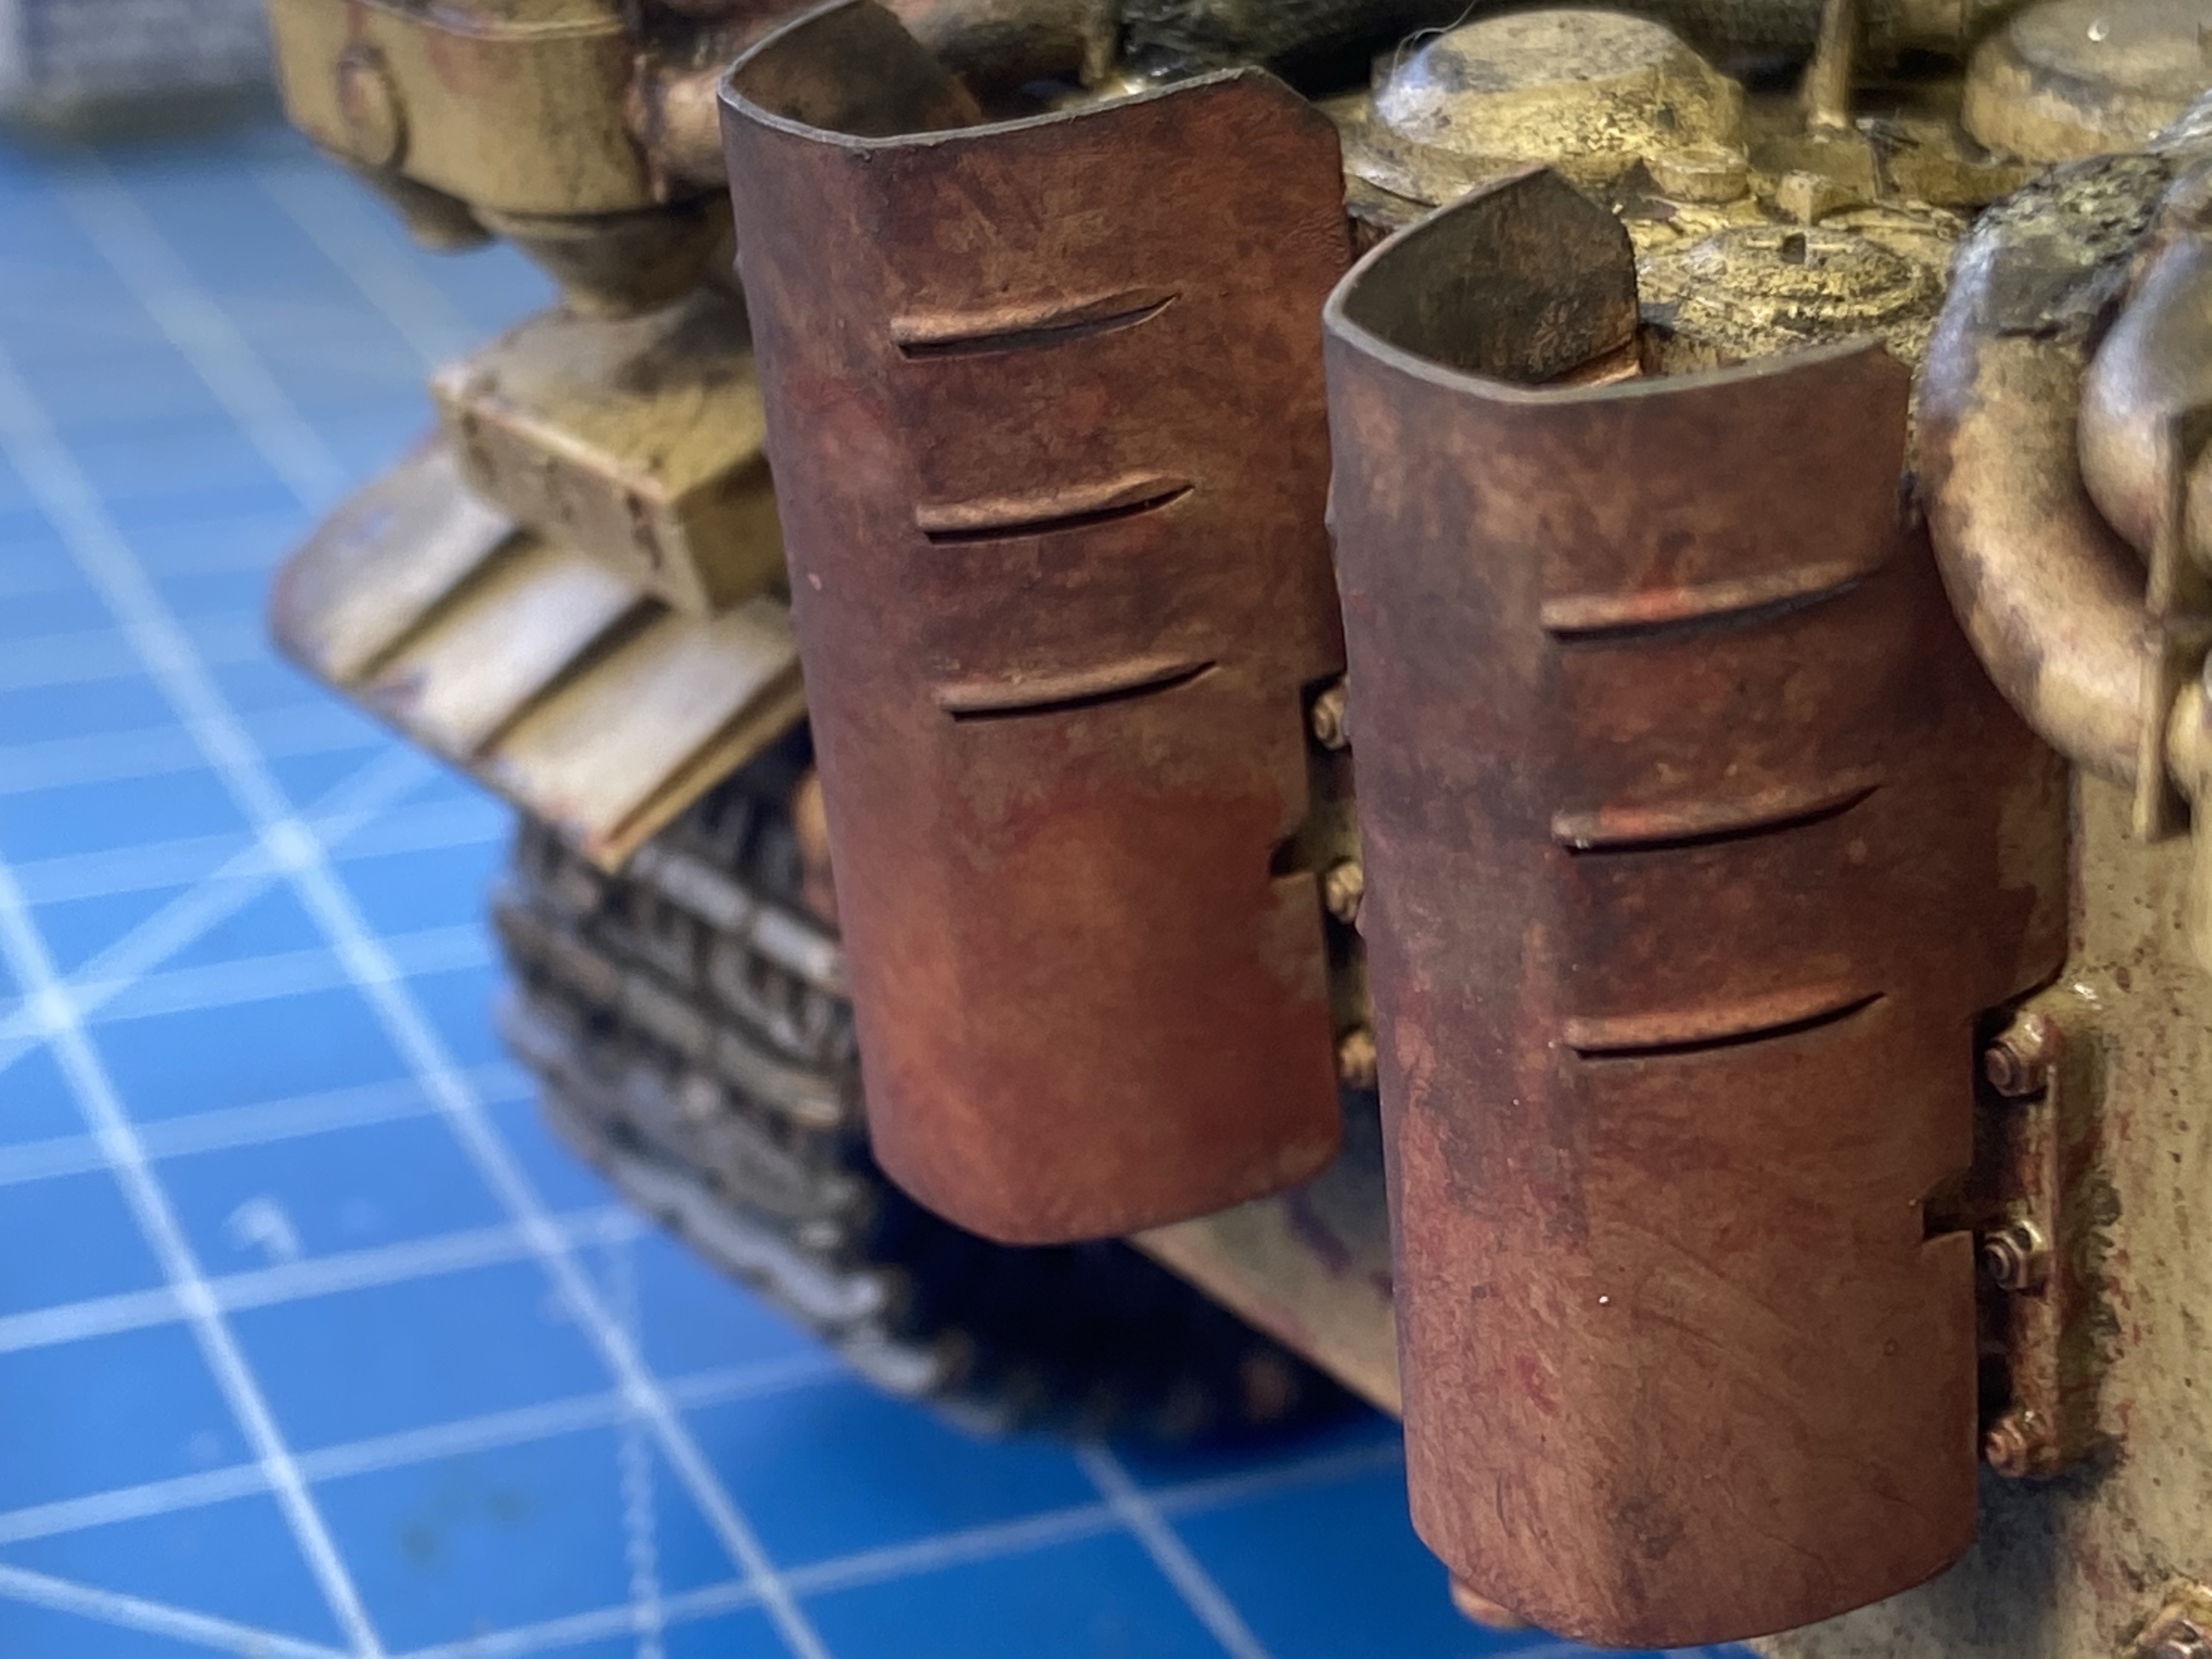
wow, this is stunning! I am inspired and will try to achieve even a 1/10 of your result on my little 1/56 scale 3D printed Tiger. I particularly like the exhausts. Thanks for sharing and inspiring. I hope you don’t mind that I use your photos as reference work for me to try and mimic – very beginner so won’t even be close. But inspired nonetheless.
LikeLike