
Hello and welcome back to the Hanger!
This one is special. This build is for my buddy Rob.
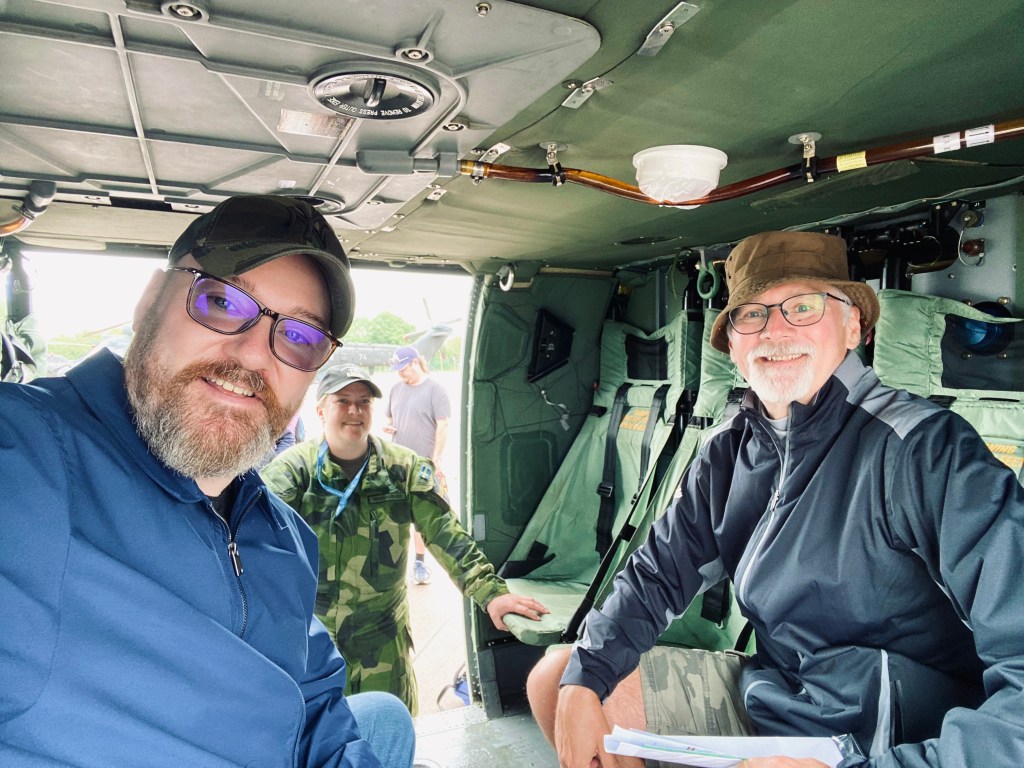
Rob and I have been on several road trips together to see Air Shows and Model Shows around the UK. During our discussions on military history, aircraft and scale modelling Rob once told me that he saw very few models of aircraft from his native South Africa and that he’d like to see more of them built. I decided there and then that if I ever came across a cool kit with SAAF markings in the box I would build it for him.
A couple of years later, I found an Eduard 1/48 Spitfire Mk.Vc that had SAAF markings as one of the decal options in the box and clearing my studio bench of all other work I set about building a model Spitfire that I could be proud of presenting to my friend.
The Kit:

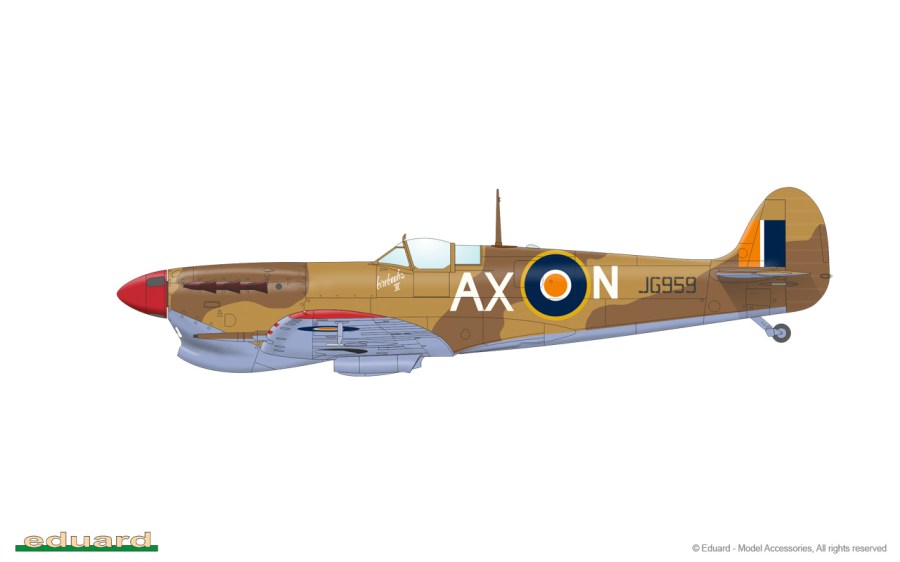
Unless you have been living under a scale modelling rock for the past few years you will undoubtedly be aware that the Eduard 1/48 series of Spitfire’s are of the highest quality in terms of design, fit and detail. The profipack boxing are also good value as they include Colour Photo-Etch detail parts, a masking set and an extensive choice of decal options. Naturally I went straight for the SAAF option for this project. Here is a little history about JG959 and her pilot:
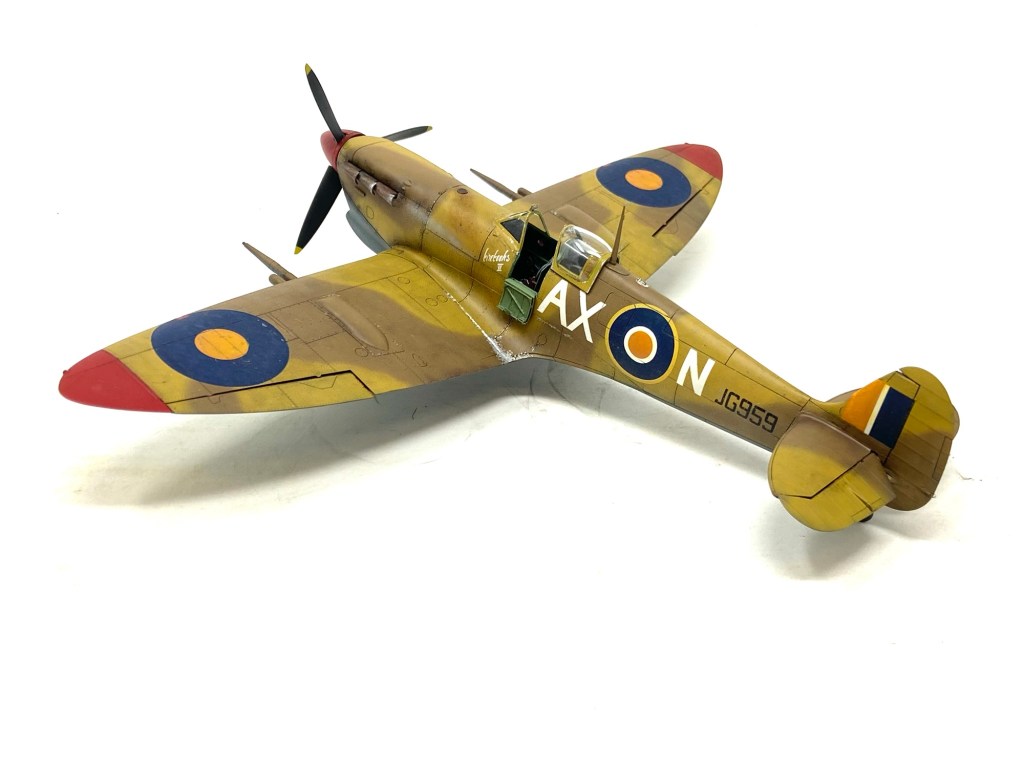
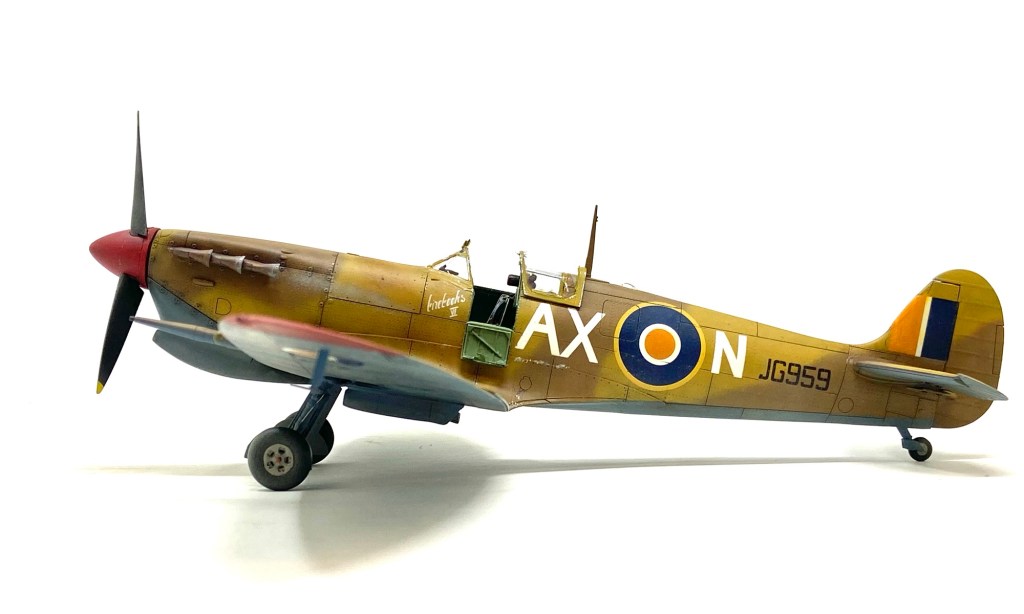
Supermarine Spitfire Mk Vc , Serial Number JG959:
Spitfire JG959 was flown by McClellan Eric Sutton Robinson , known to mates as “Robbie”. He was born on February 26th 1919 in Johannesburg, South Africa.
Robbie’s first operational unit was No. 1 Squadron SAAF, flying Hurricanes. He was assigned to the unit in August 1942 and remained flying with it for a year. On November 2nd, 1942 he achieved his first combat success when he shared a victory over a JG 87. Afterwards, he undertook a conversion course to fly the Spitfire Mk.V. Between January and April 1943 he added another five victories to his score.
After this Robbie ran into bad luck when on July 14th, 1943 he was shot down by friendly fire from a USAAF P-38 Lightening and he was forced to bail out over the Mediterranean Sea. Fortunately he was fished out of the water by the crew of a Greek destroyer. In September 1943 at the end of his tour of duty Robbie was sent back to England where he was posted as a flight instructor at No.11 OTU. On November 14th 1944, he collided mid-air with one of his students flying a Kittyhawk. Robbie’s aircraft crashed and he was killed.
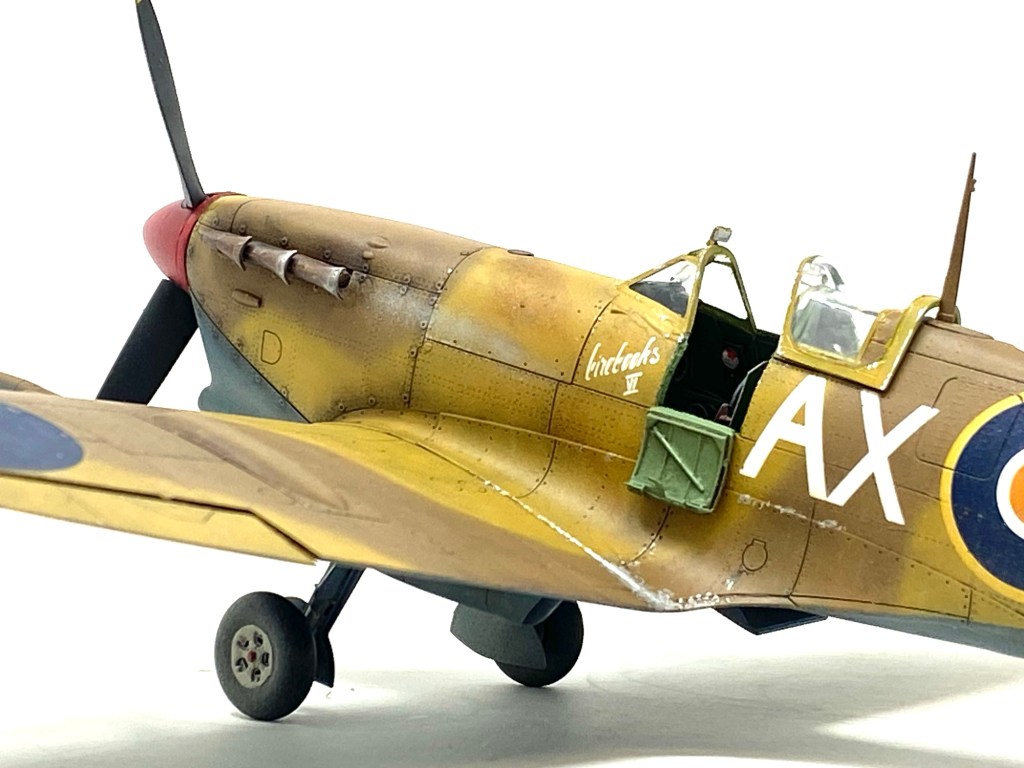
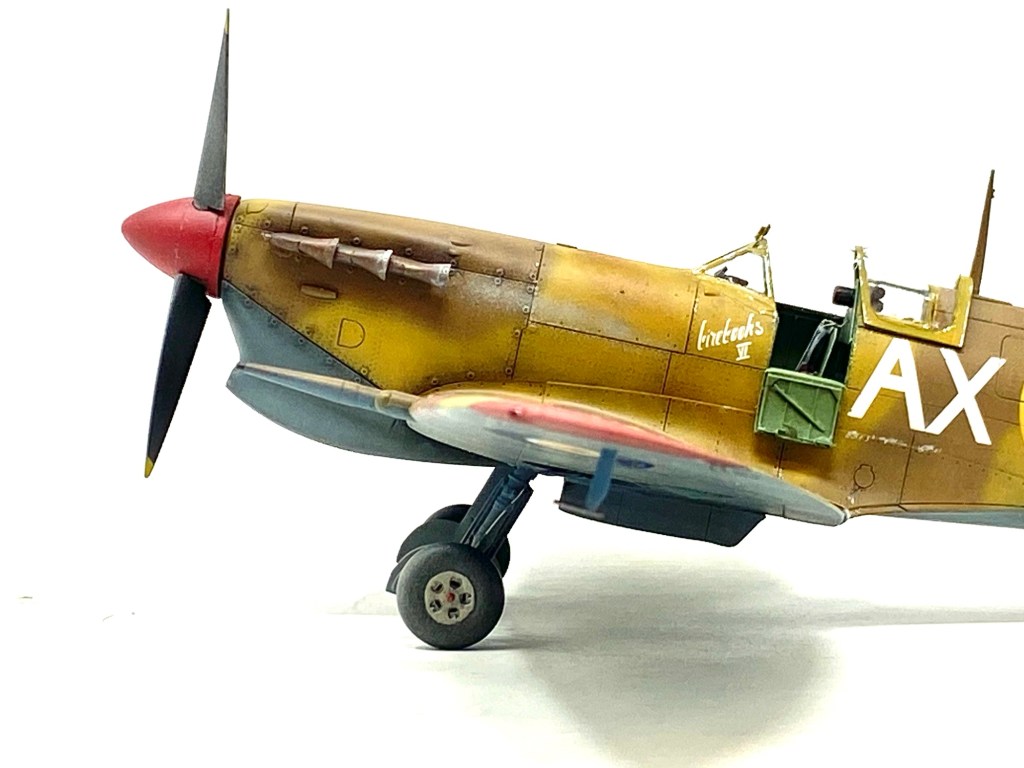
All of Robbies Spitfires carried the inscription CireCooks on the port side which was a combination of his and his fiancés names. Number VI indicted that this was the sixth aircraft christened with this name. On April 22nd, 1943, flying Spitfire JG 595, Robbie shot down two Bf 109F’s. During his combat career Robbie shot down a total of five enemy aircraft plus one probable and one aircraft damaged.
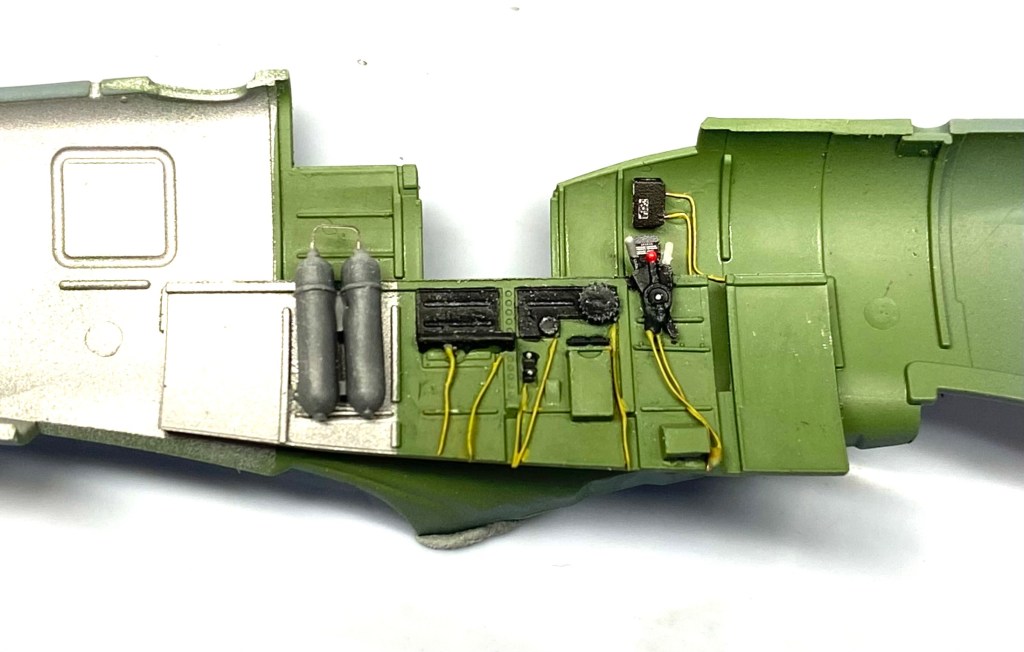
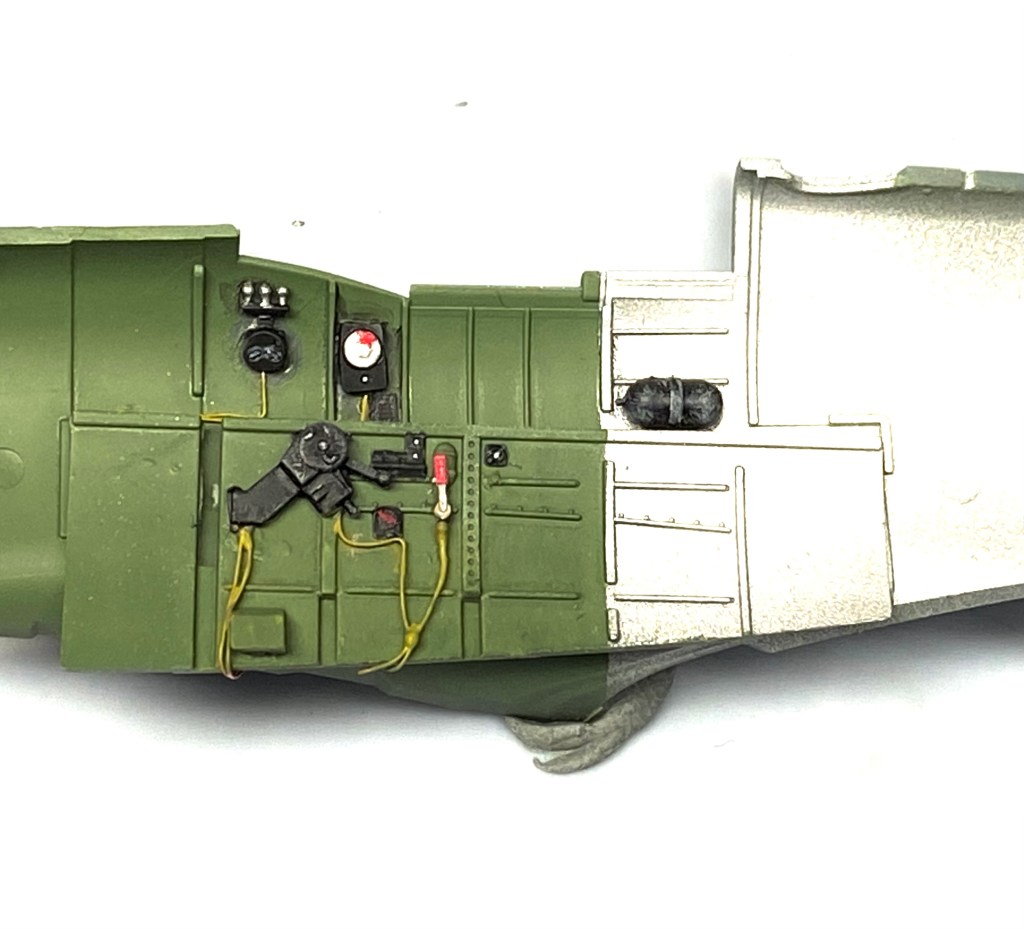
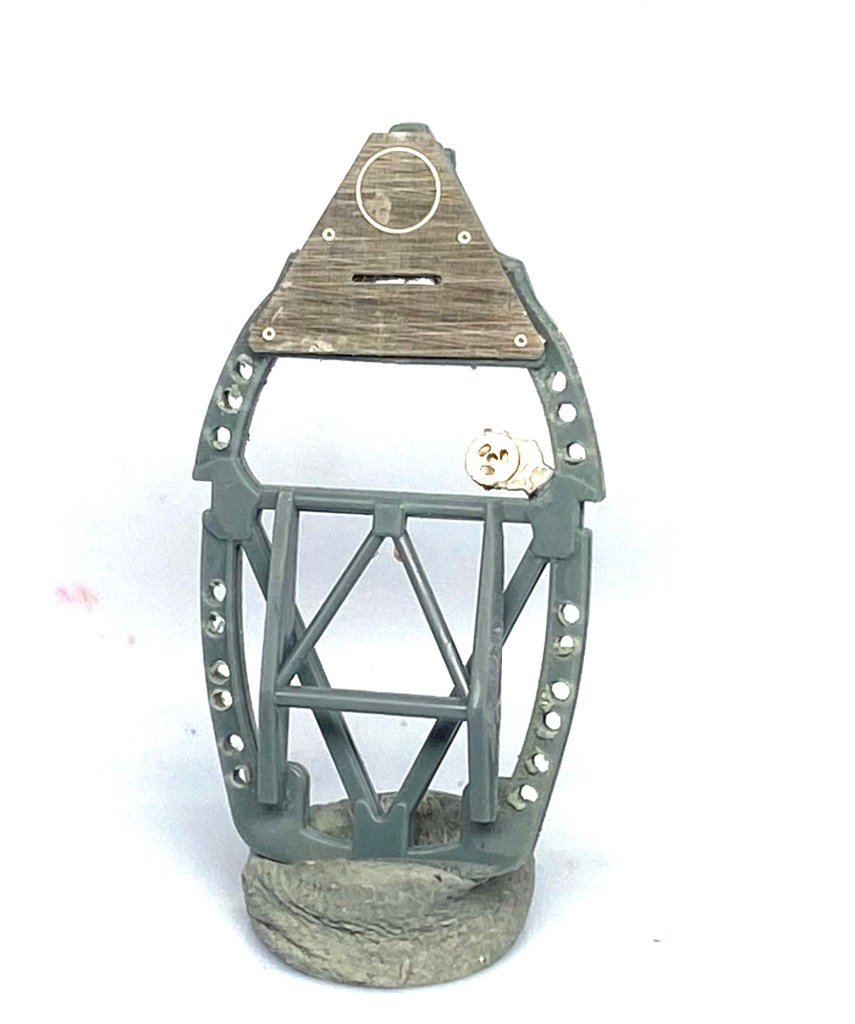
Cockpit Assembly:
As is the norm with aircraft models work commenced in the cockpit. I took the liberty of adding some extra detail in this area by drilling out lightening holes in the cockpit’s fuselage frames and adding some cables to give the “office” a busy look. The Eduard photo etch parts were easy to apply to the model and came pre-painted which saved me some time.


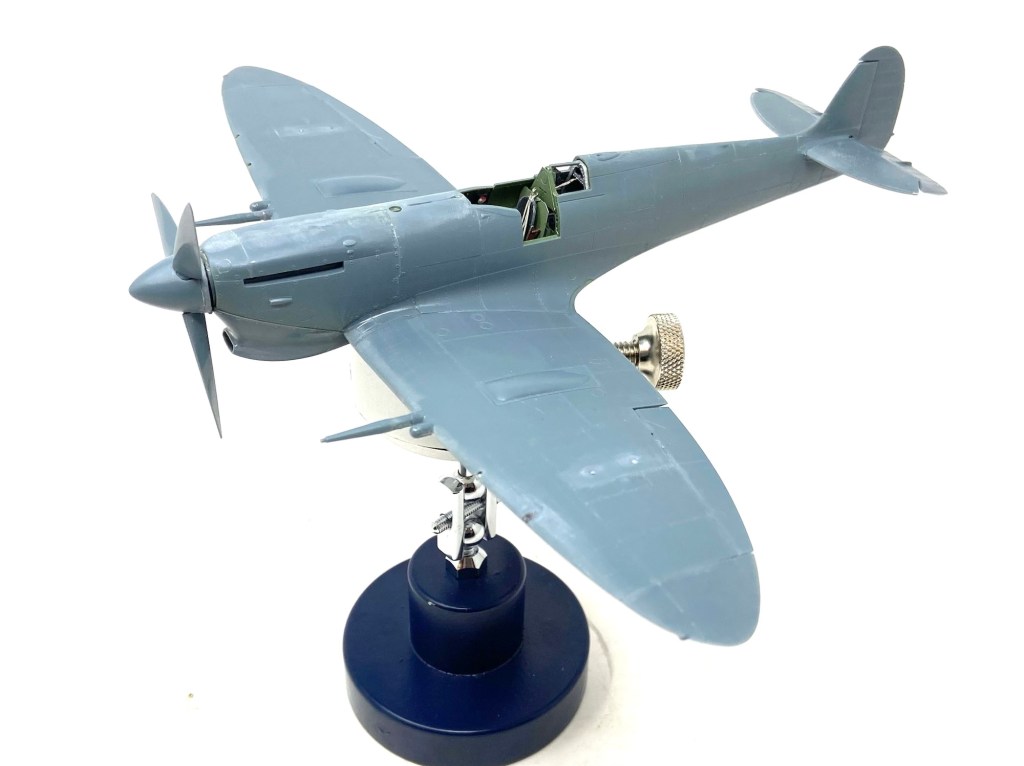
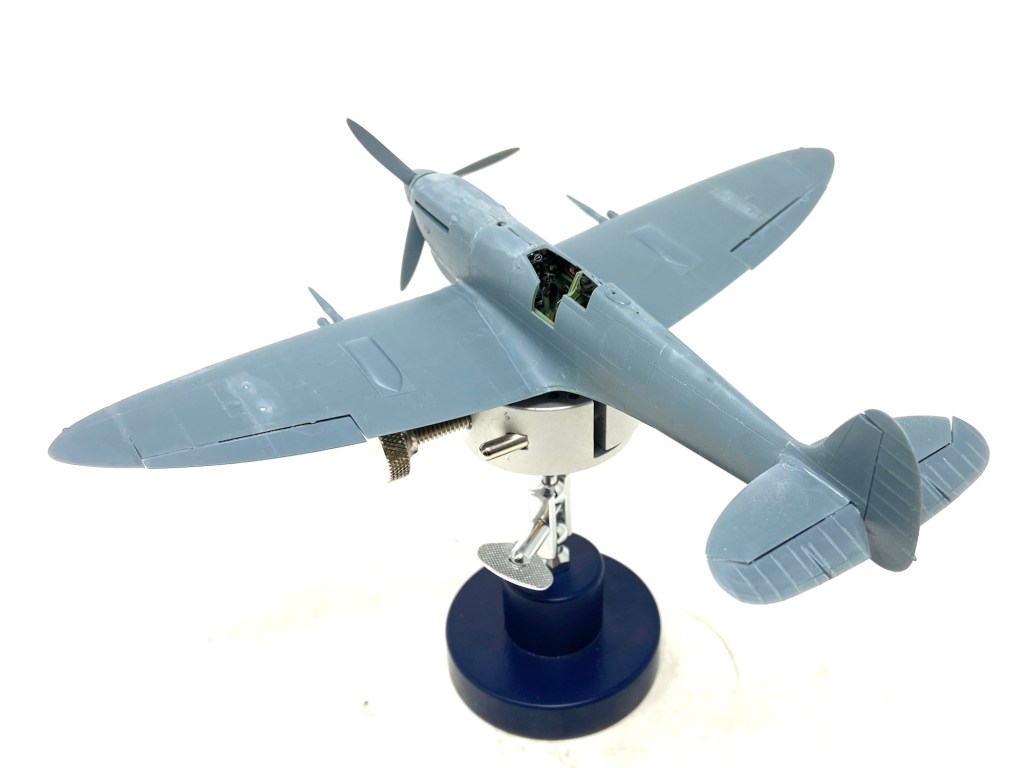
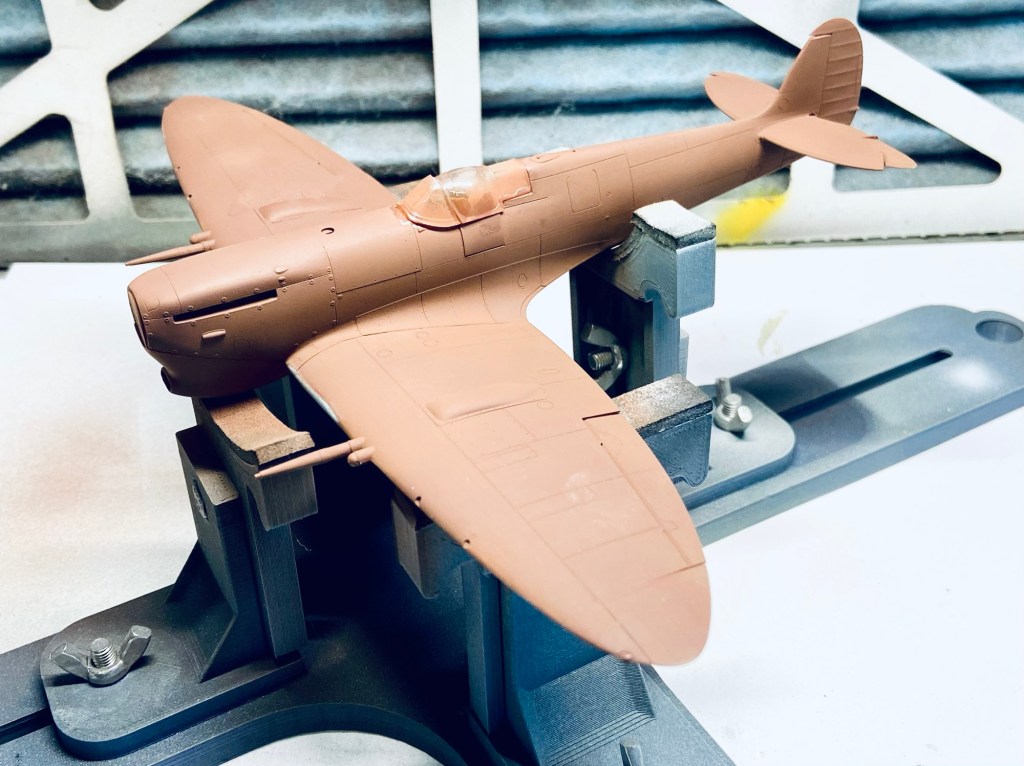
Airframe assembly and painting:
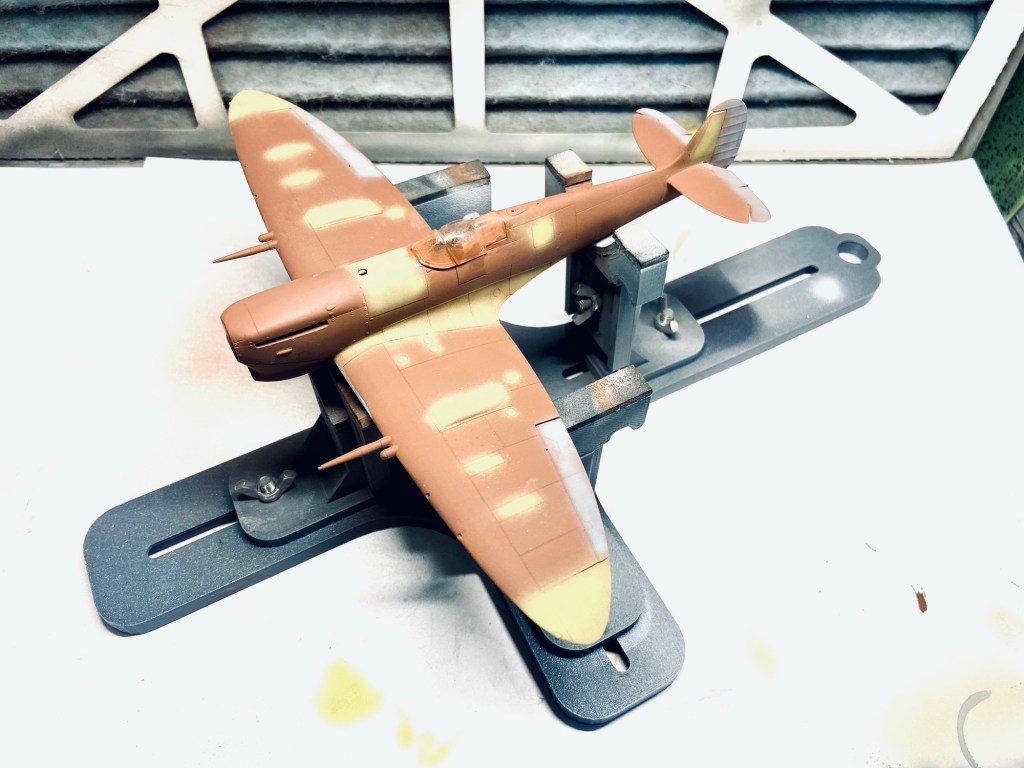
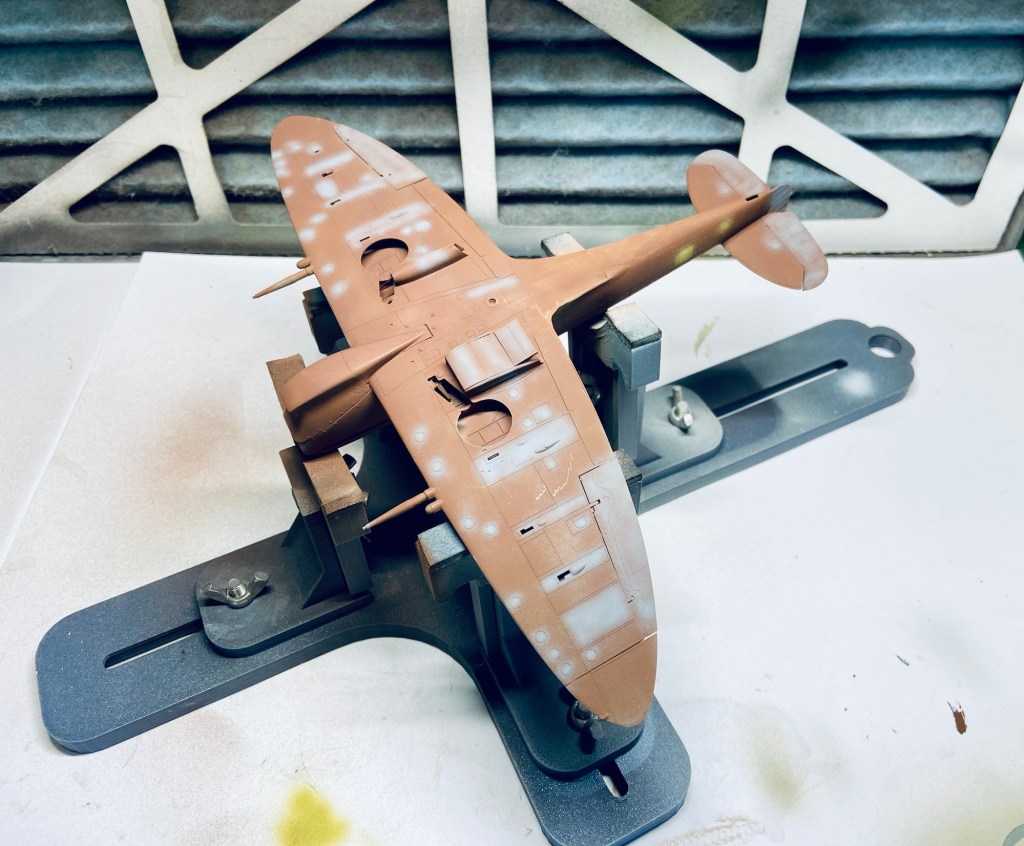
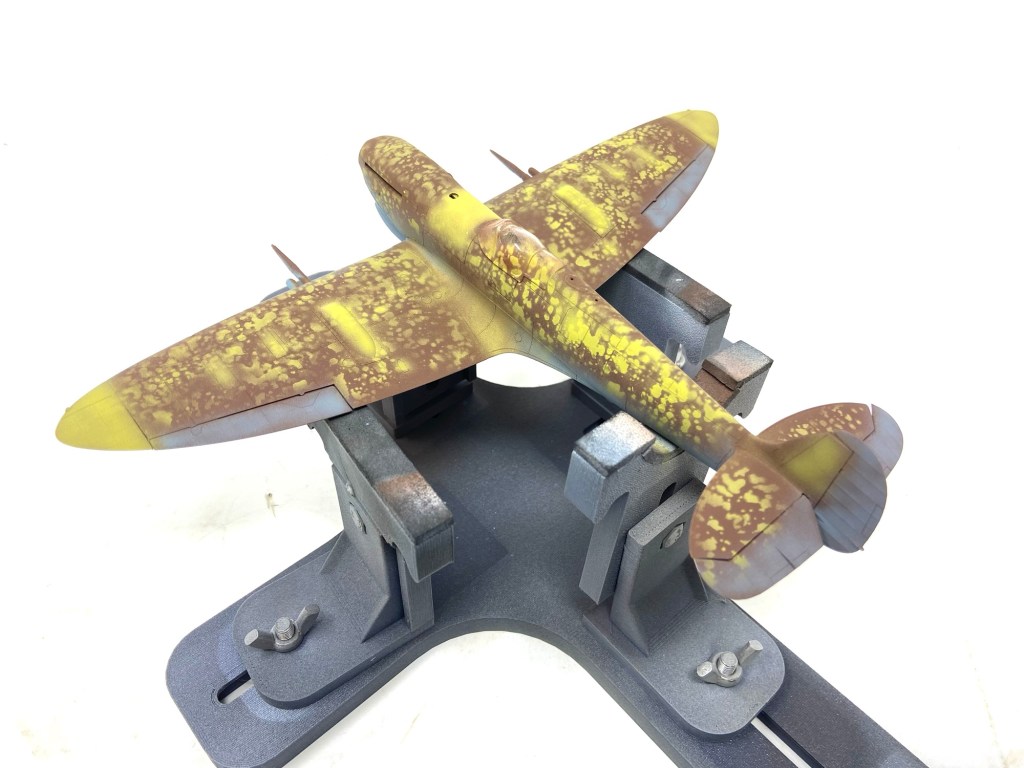
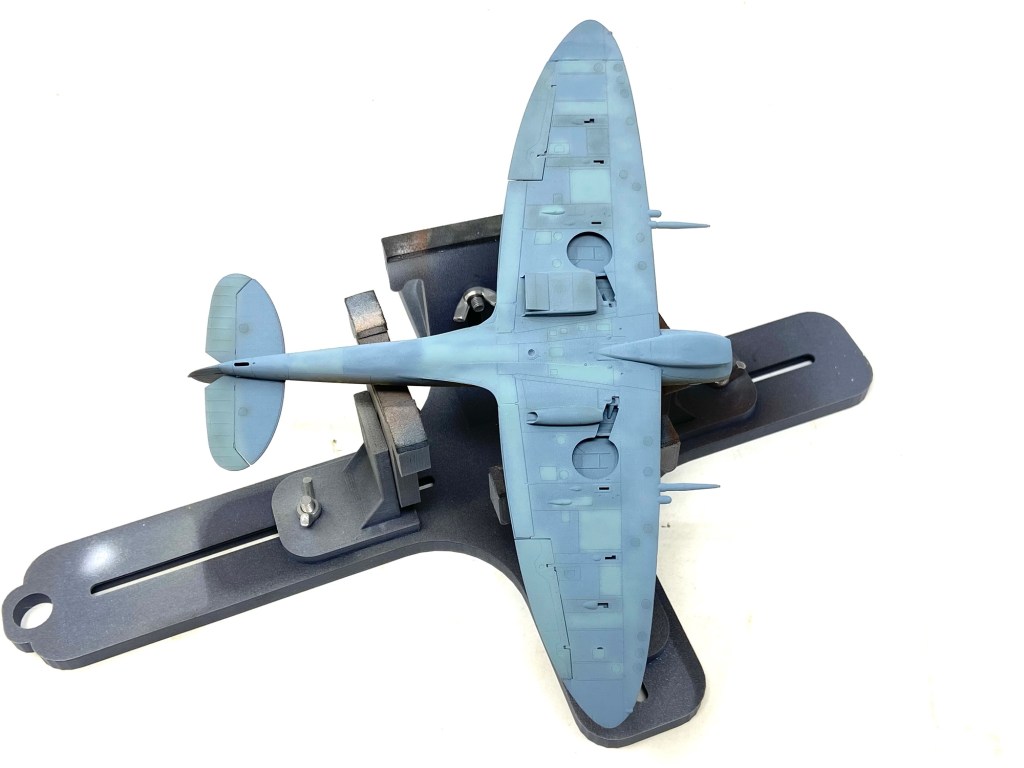
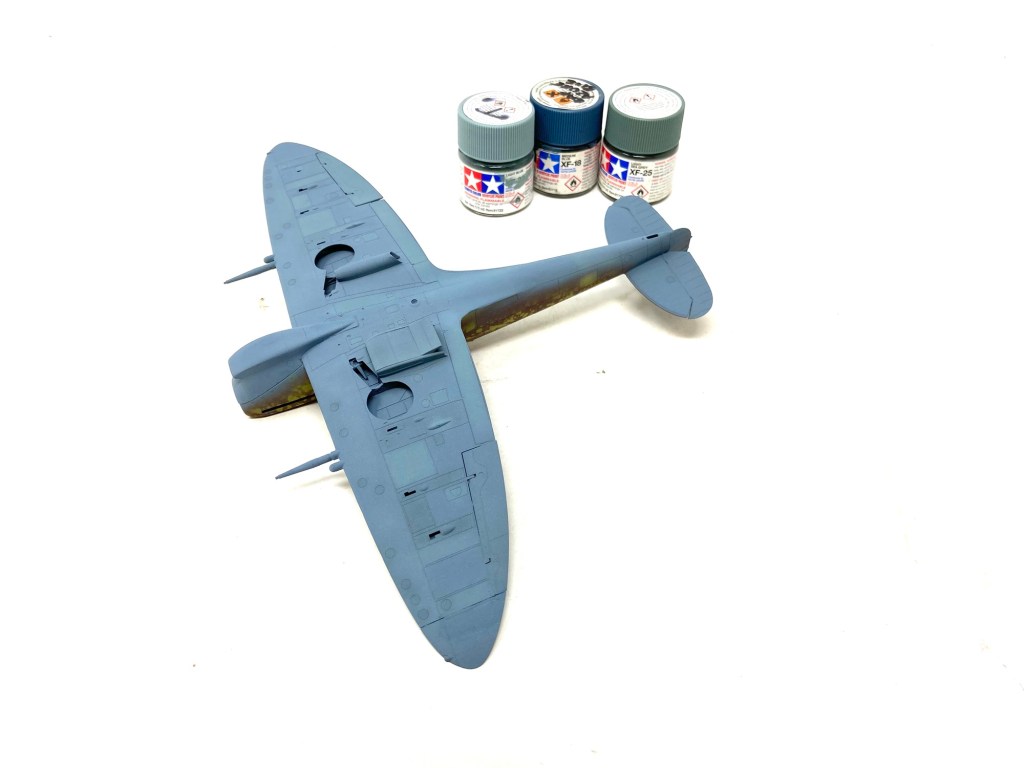
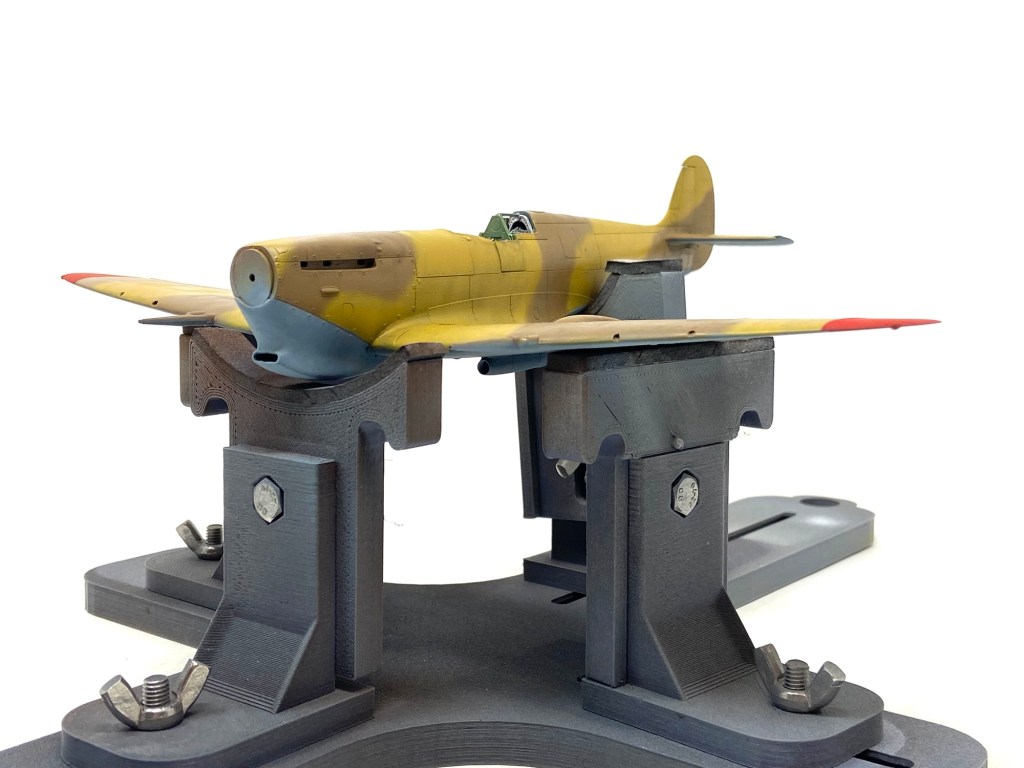
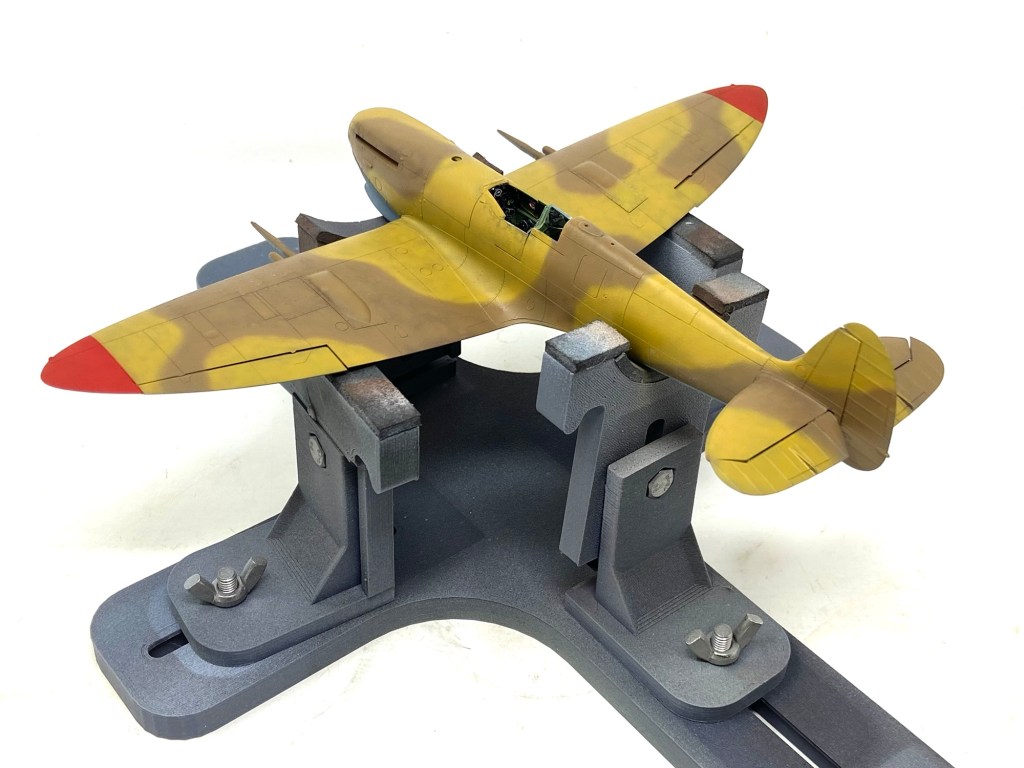
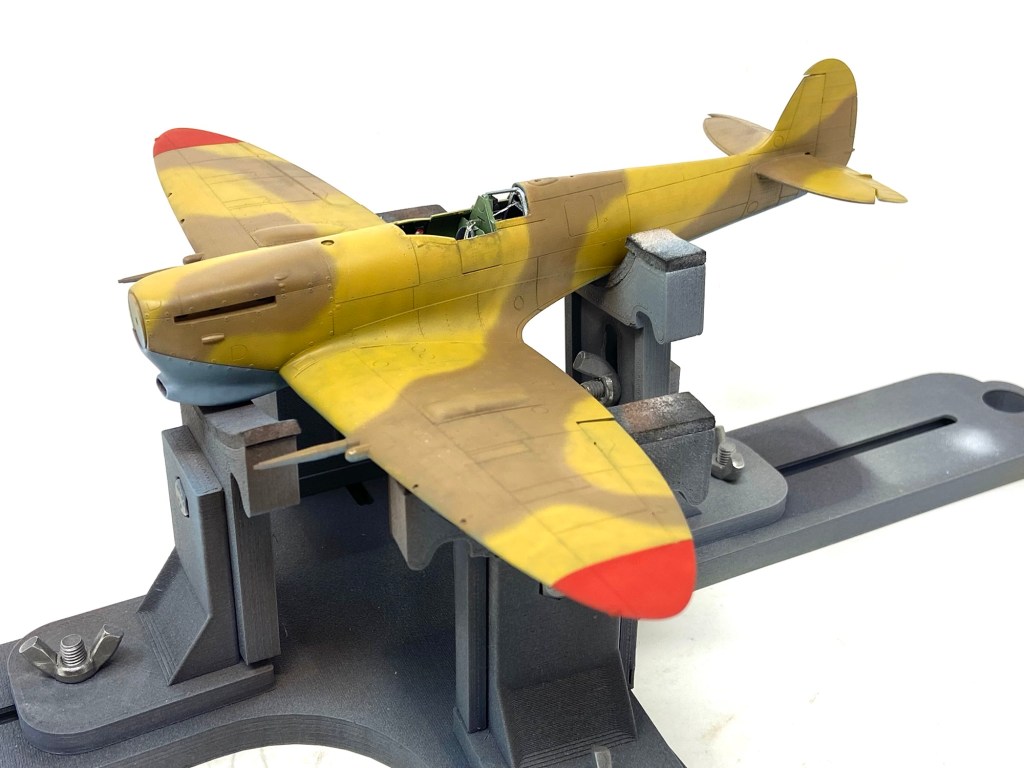
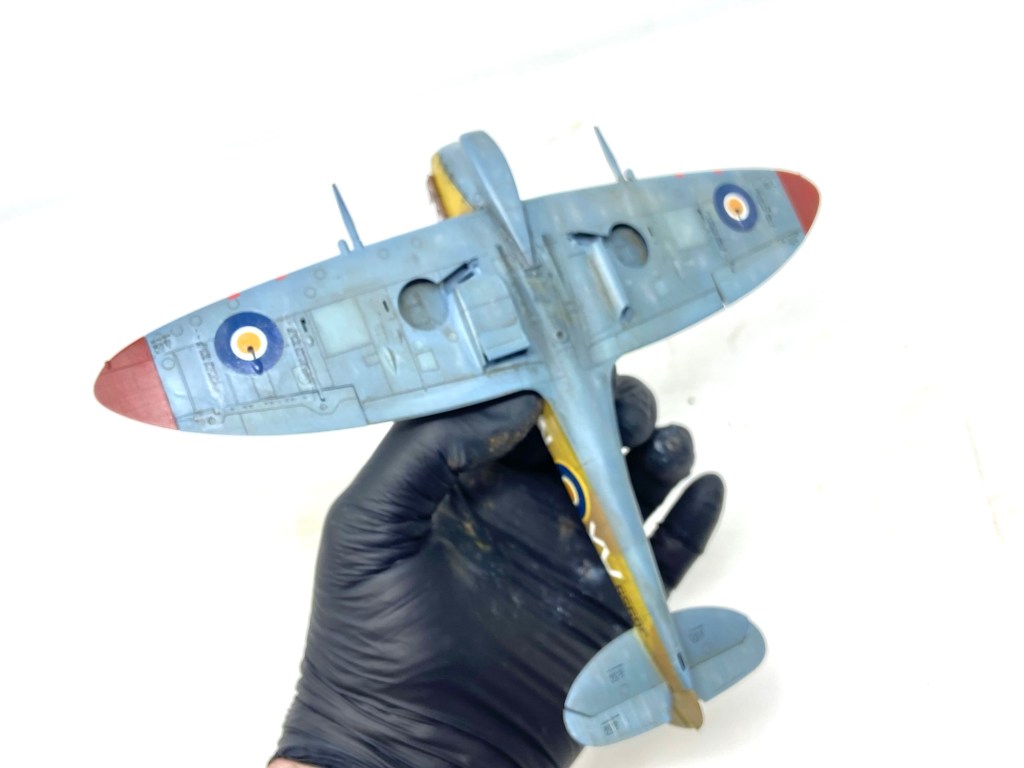
A lot of people ask me about my pre-shading technique and I always tell them each subject is different. In this case I am replicating the RAF tropical scheme applied during WWII. After the airframe had been checked for seams or blemishes on the surface I applied a primer coat of red-brown with an airbrush. Over this I singled out separate panels in yellow over the upper surfaces and I did the same with a grey shade on the underside. I then applied a mottle coat of yellow to the upper surfaces. the intent is to add shade underneath the camouflage colours to produce an appearance of depth to the paint. The process was repeated on then underside with various shades of grey and blue.
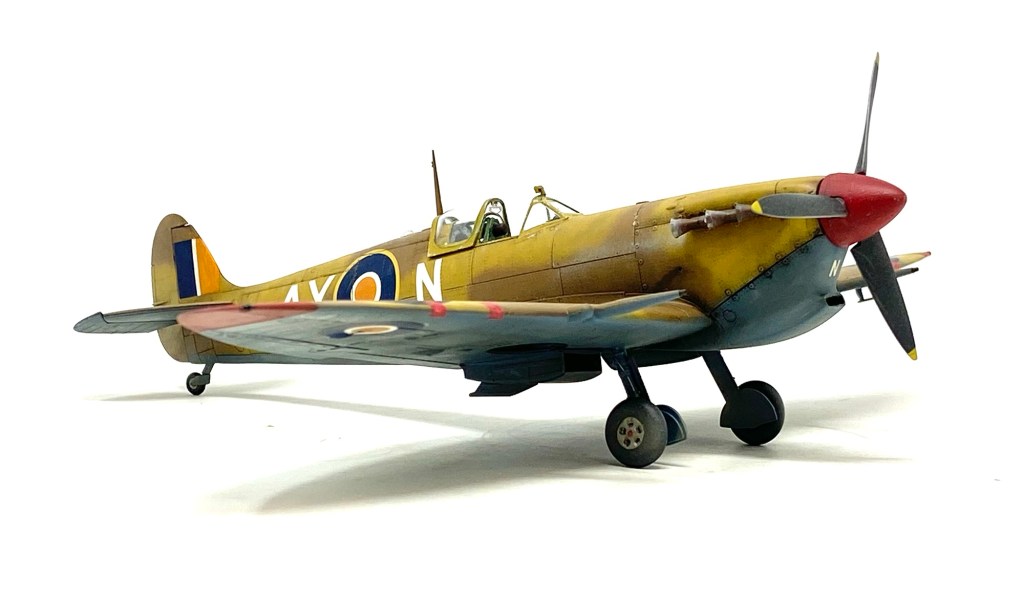
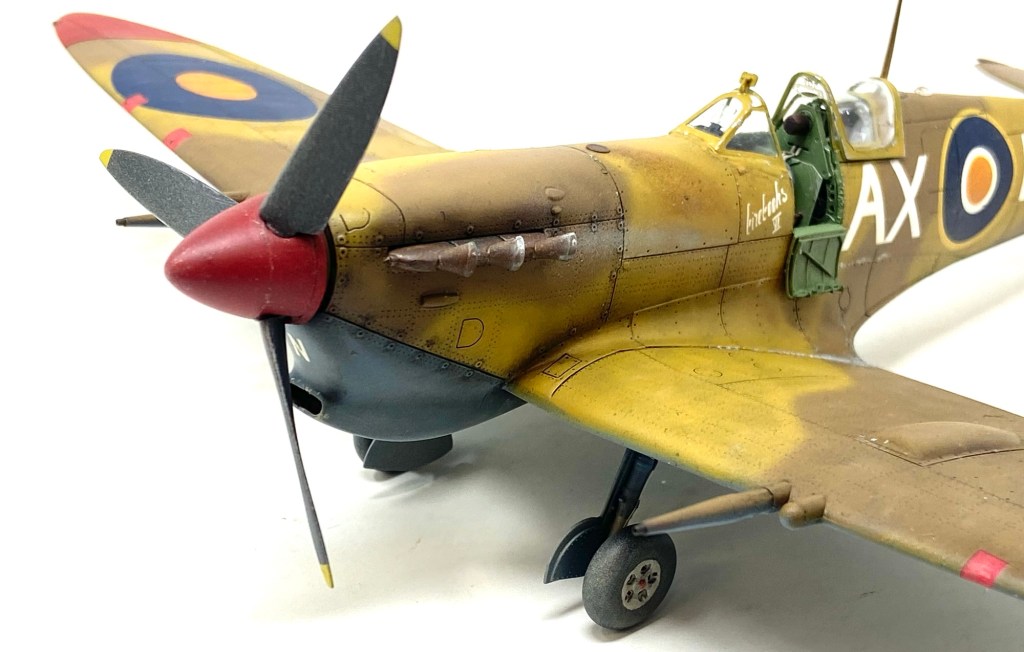
The final camouflage colours were sprayed using Mr Hobby acrylics RAF Dark Earth and RAF Middle Stone. I mixed my own shade of Azure Blue from Tamiya acrylics. The wingtips were painted red as per SAAF markings.
In the series of photos below you can observe the process from start to finish.


Decals:
Let’s be honest, some of Eduard’s decals are tricky to work with ever since the company began producing them in house. Much has been written on this issue already so I don’t want to go over old ground. Suffice to say, if you are careful with them, you can peel off the carrier film once they are dry. I would not recommend doing this unless you are very sure of yourself. I did it with some of the larger decals on this model and it worked well. But that was down to good luck more than skill! Everything was sealed in with a clear coat to protect the decals and paint from the weathering process.
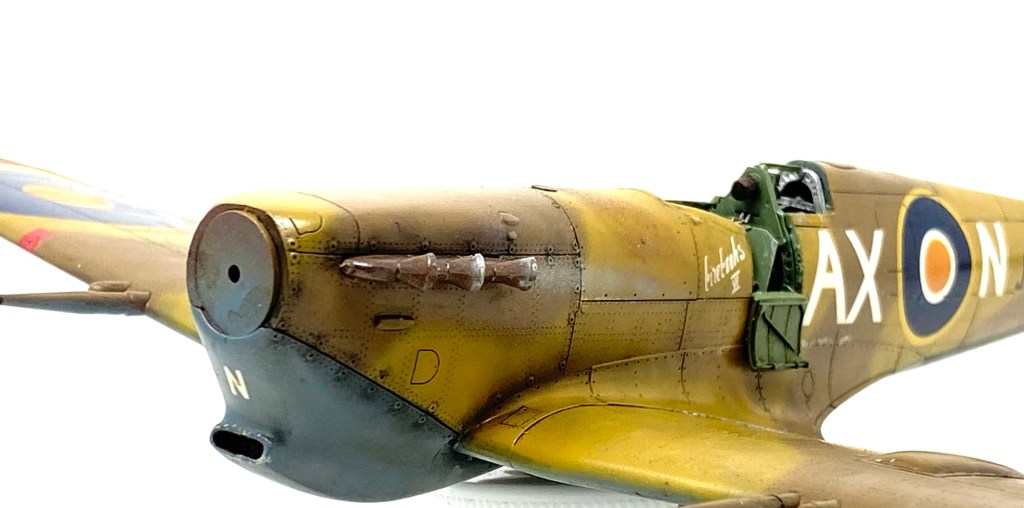
Below you can see the model with the decals applied.

Weathering:
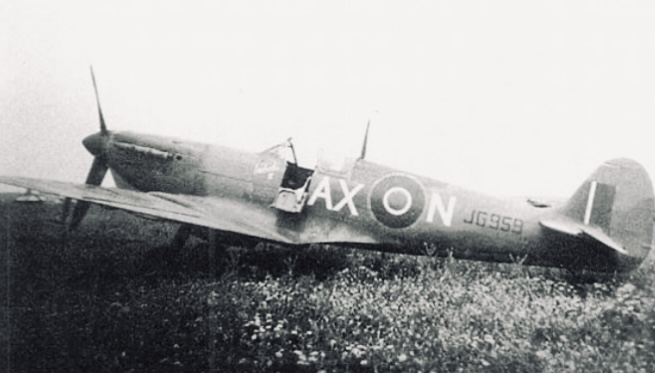
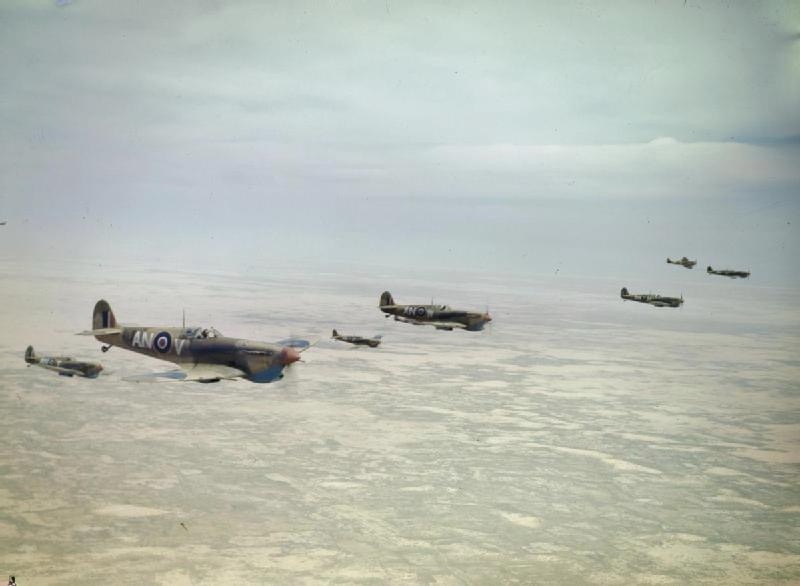
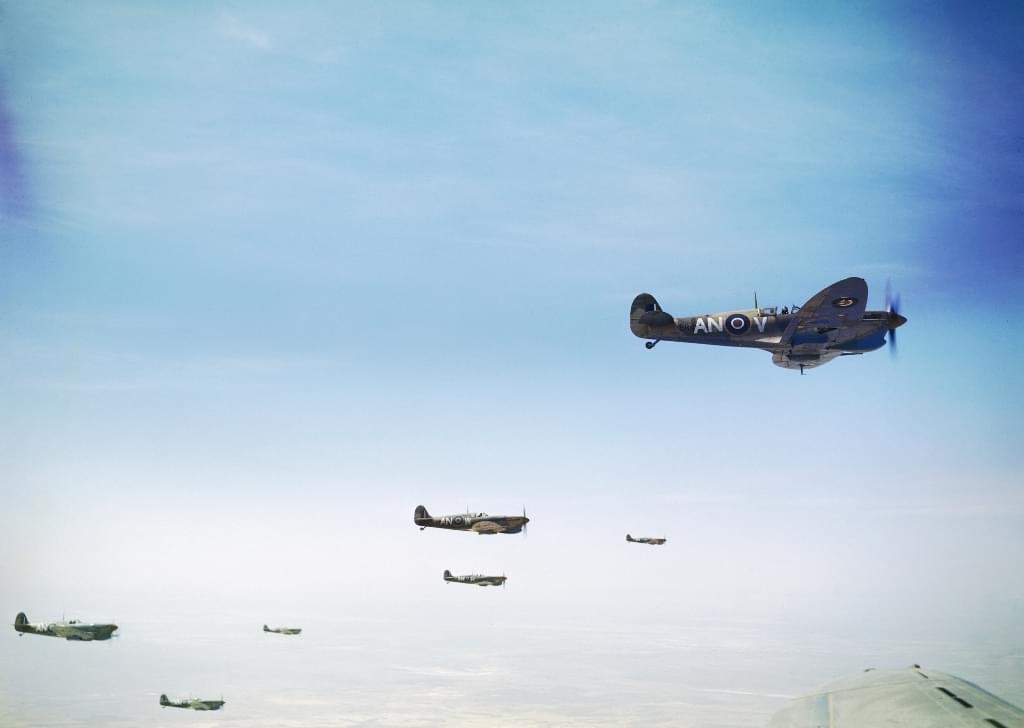
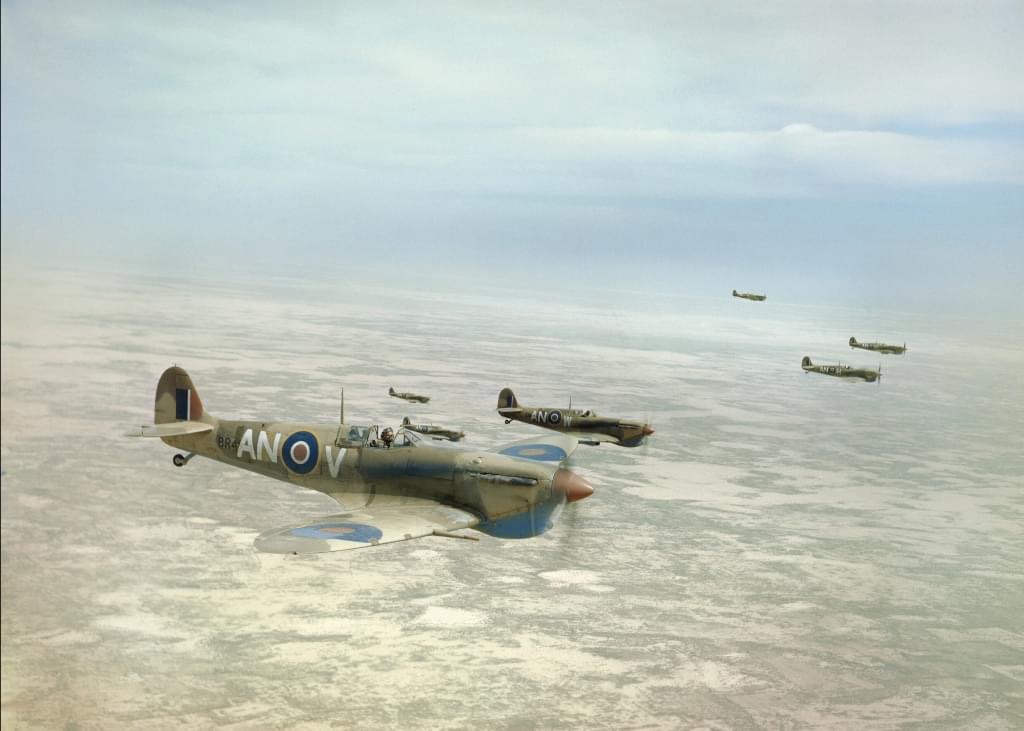
I did my usual rabbit dive into researching this project and came up with some great reference photos that helped me with my build so I thought I would share them here to give you an idea of how the Spitfire weathered in warmer climates.
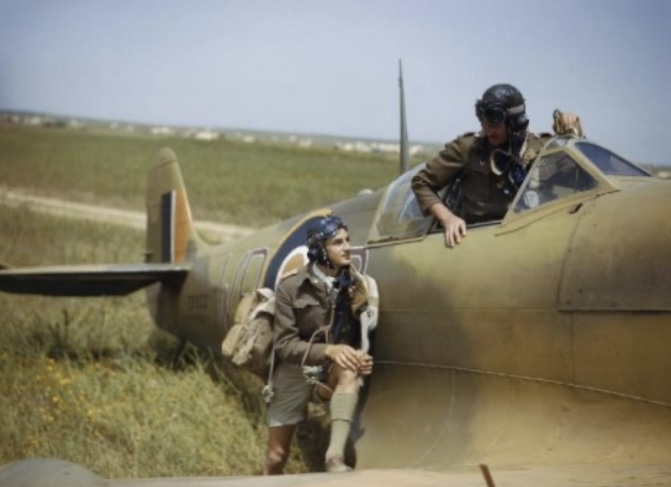
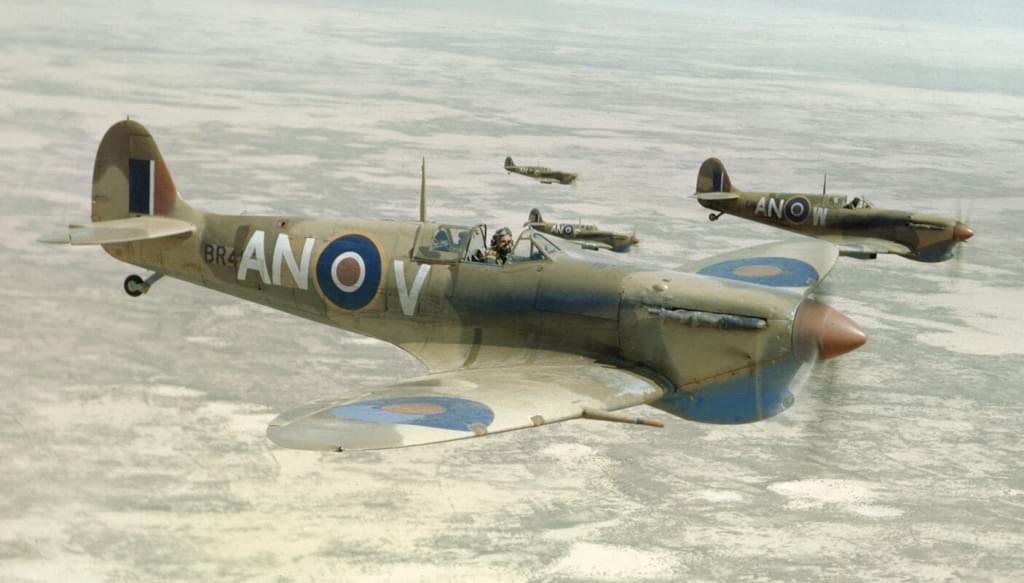

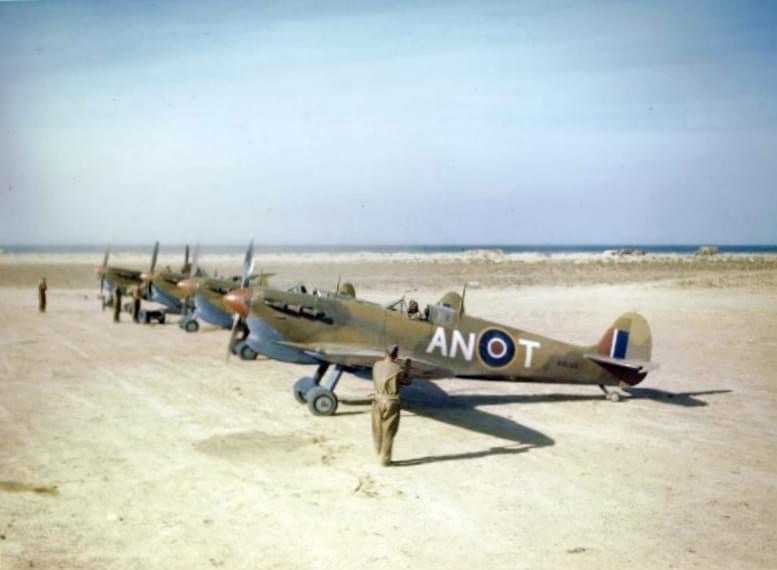
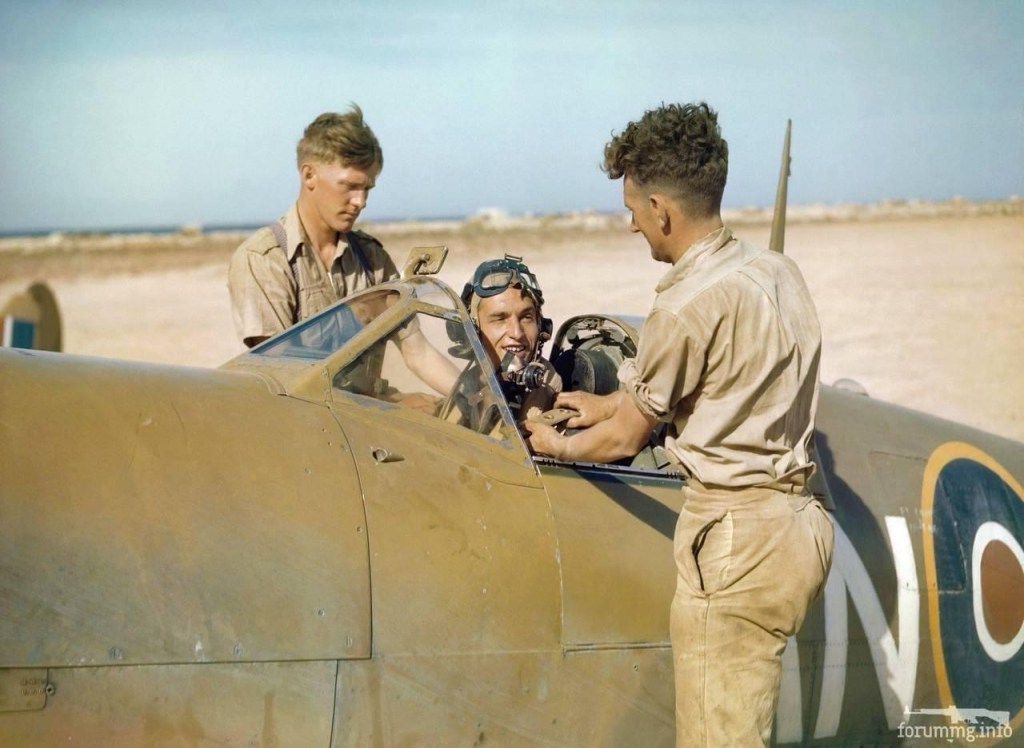
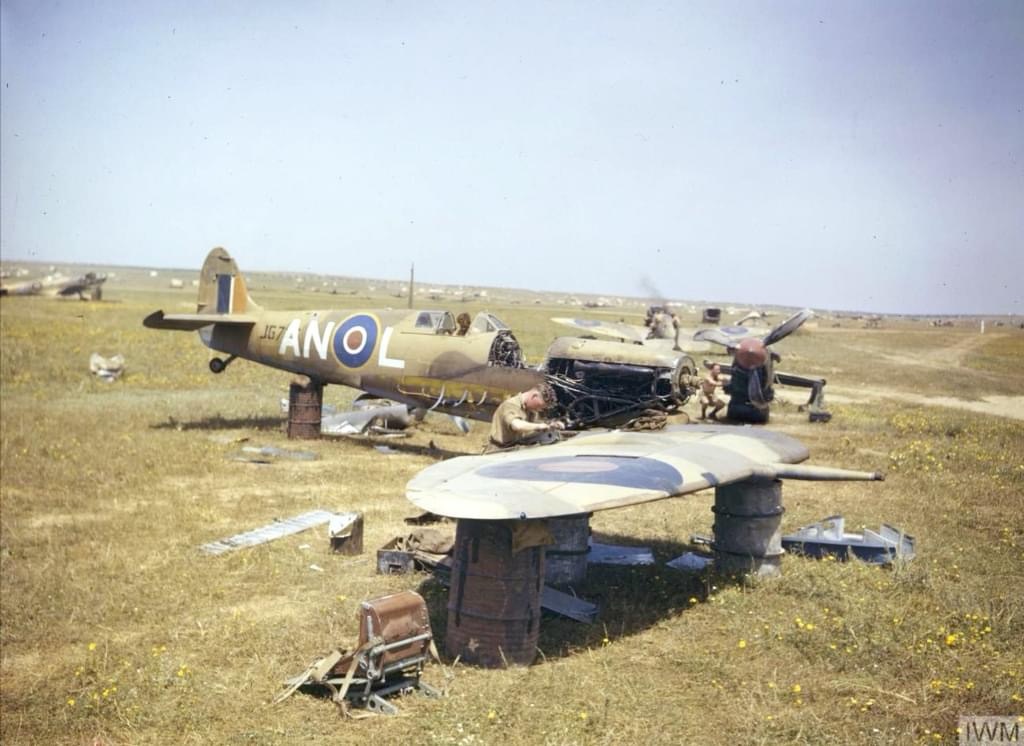

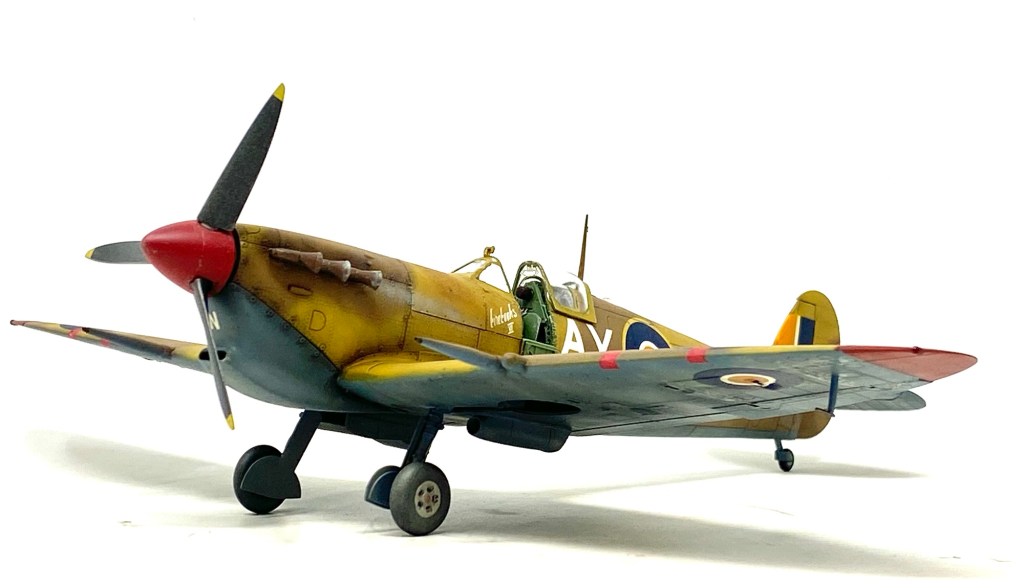
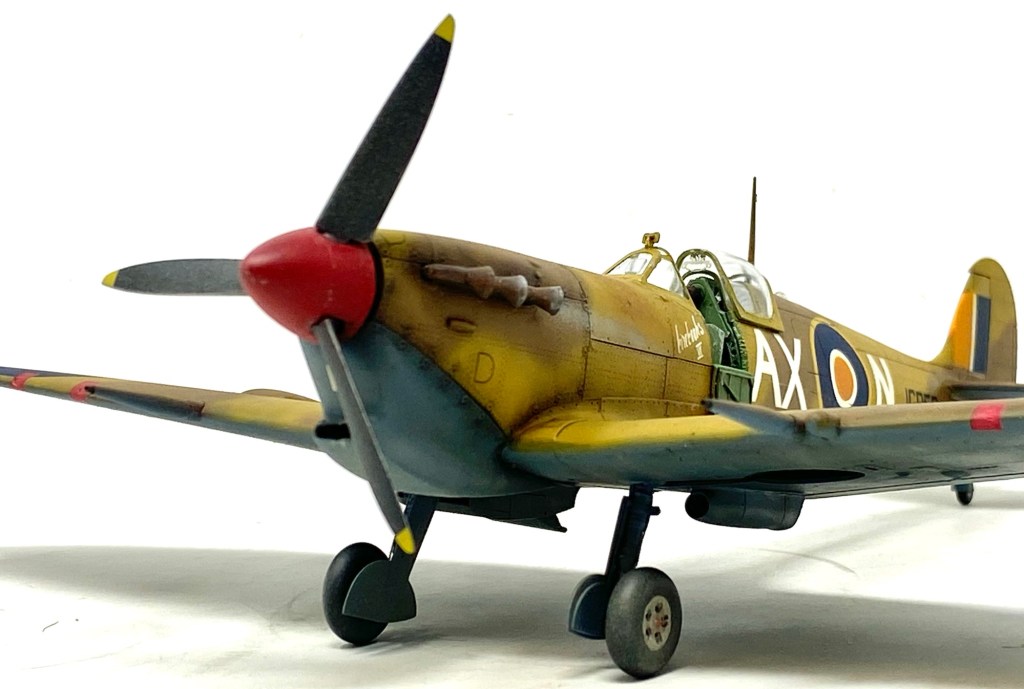
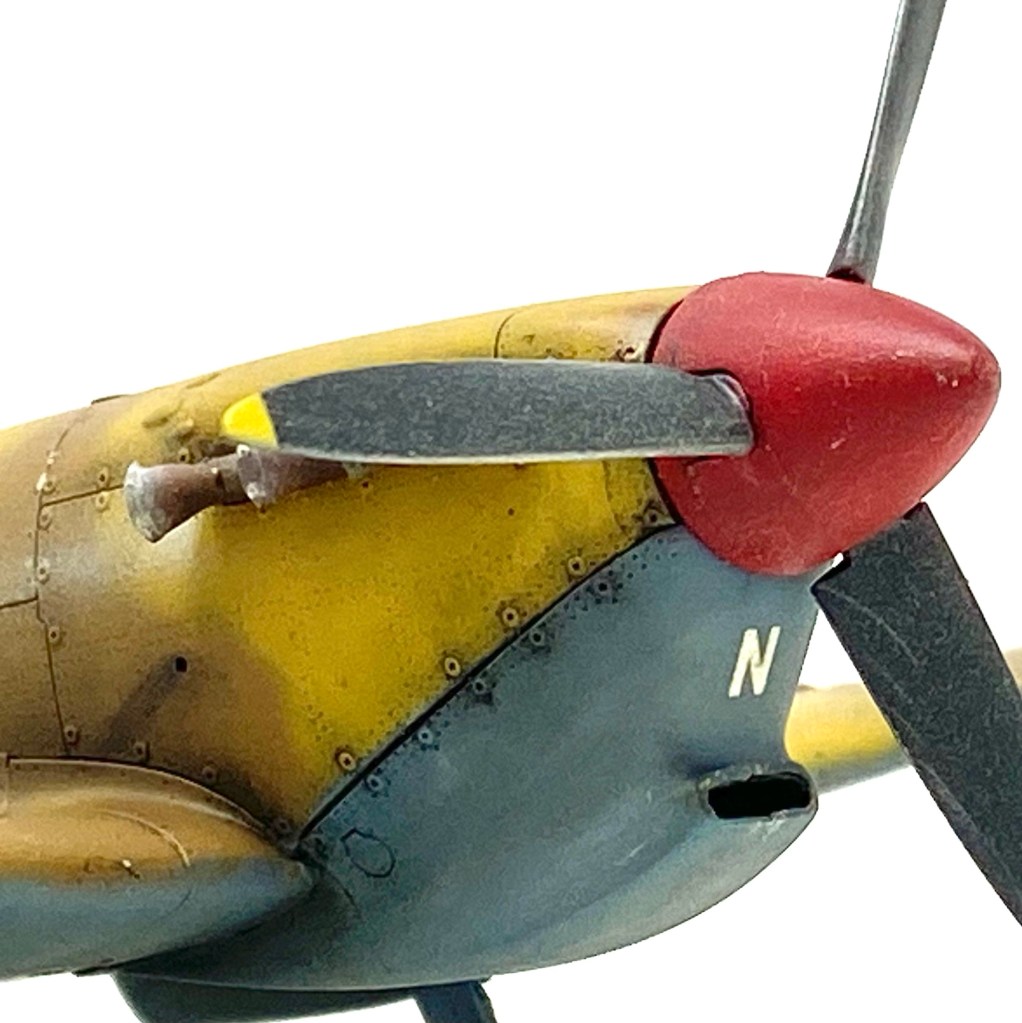
In the selection of photos below you can see I have applied a brown enamel wash , in this instance Mig Ammo Dark Brown for DAK armour. I have also applied oil paints, mainly shades of Burnt Sienna and Starship Filth. The exhaust satining from the stacks on each side was delicately airbrushed on with buff coloured acrylic paint in the direction of airflow.
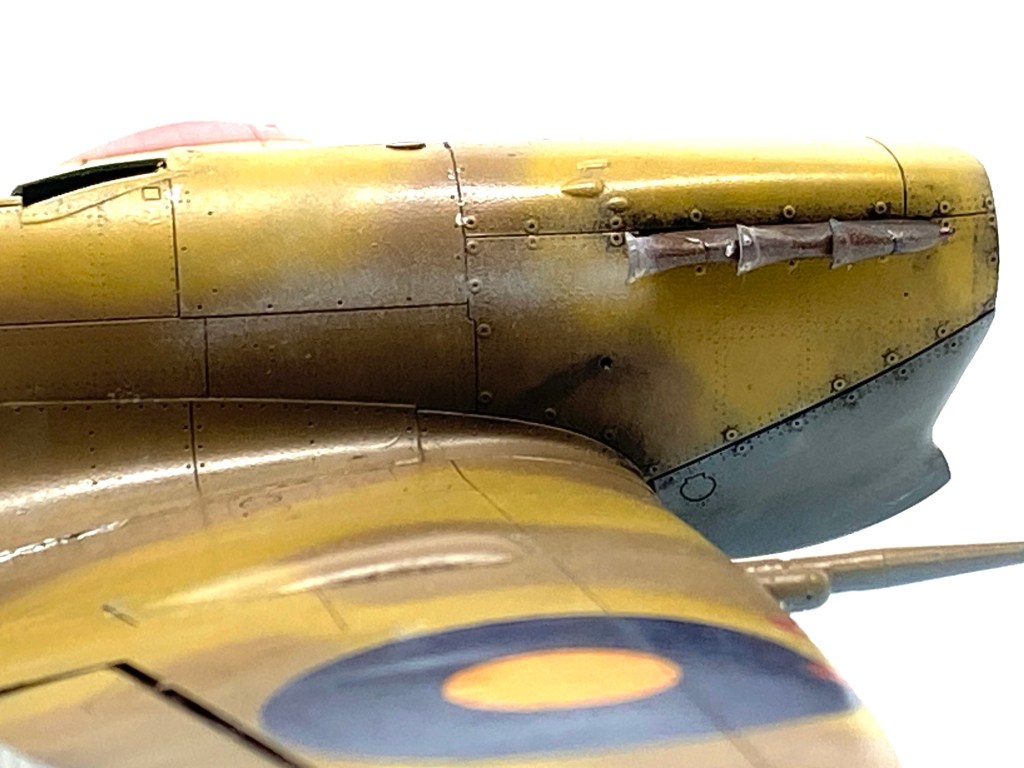
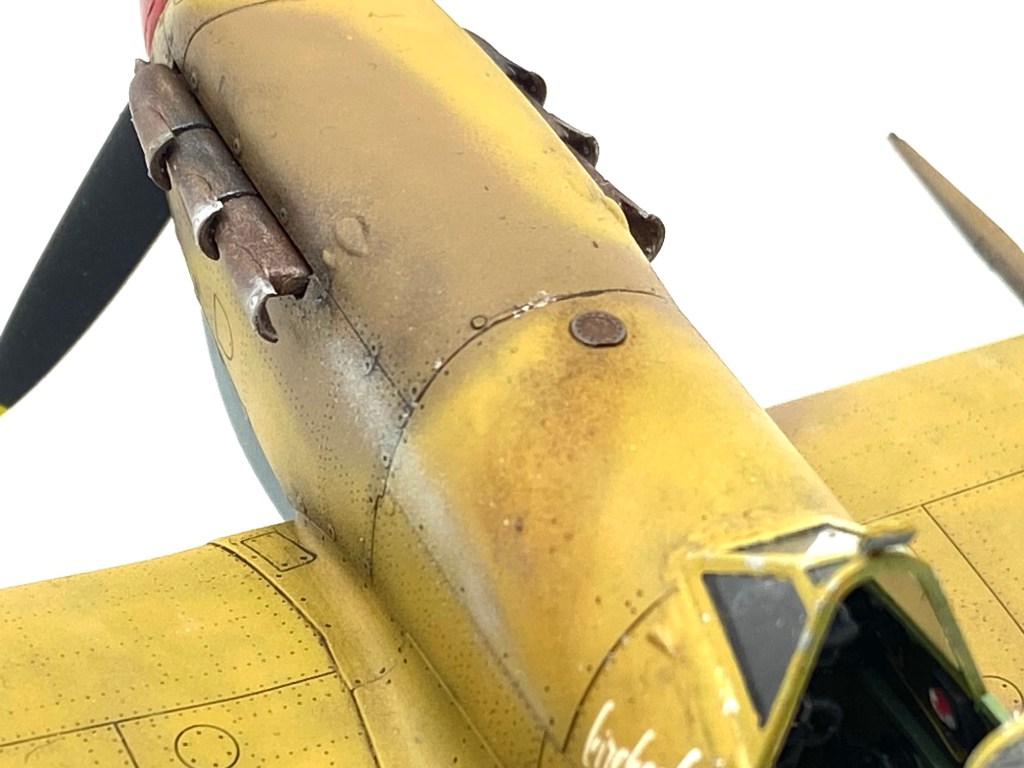
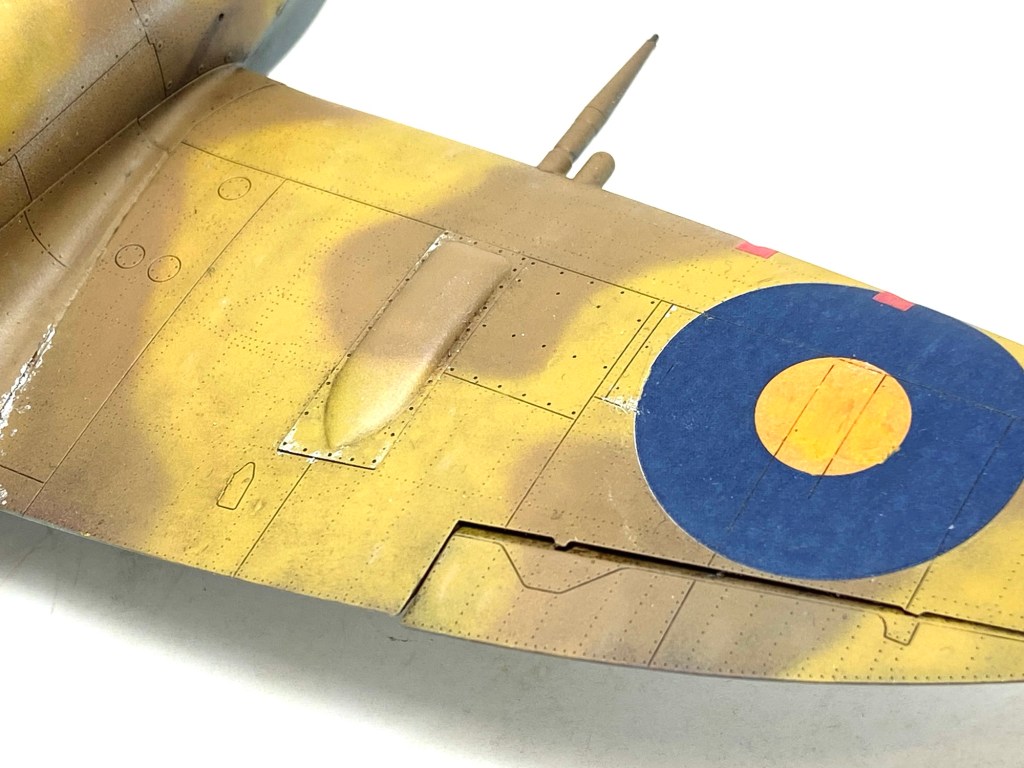
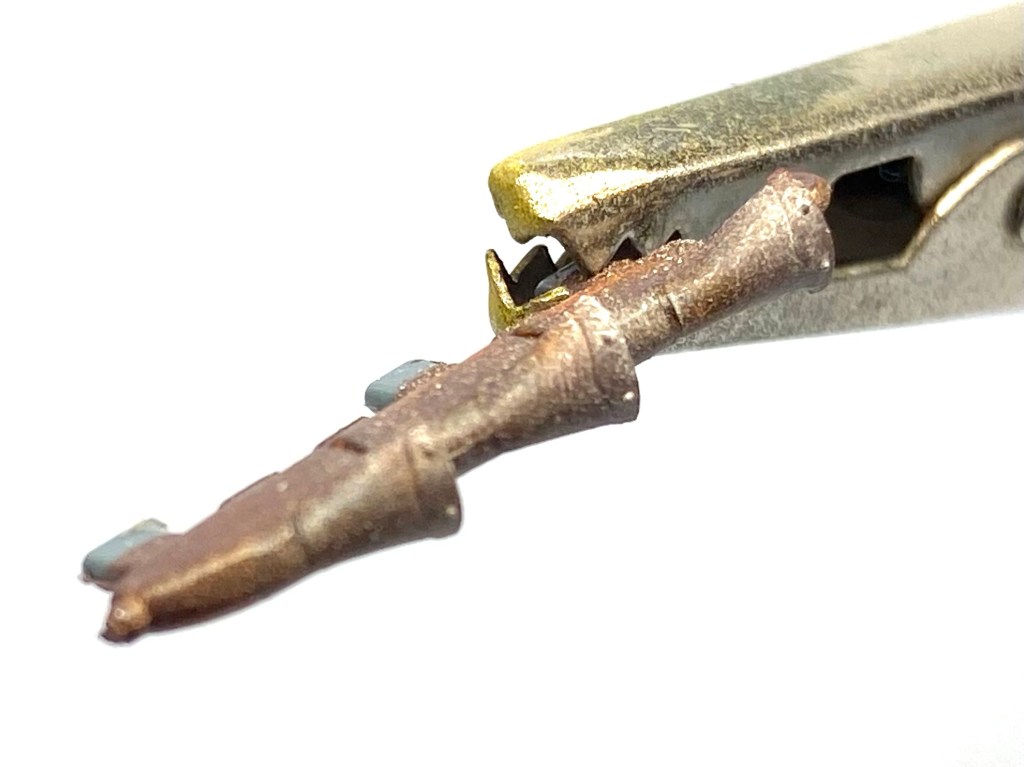
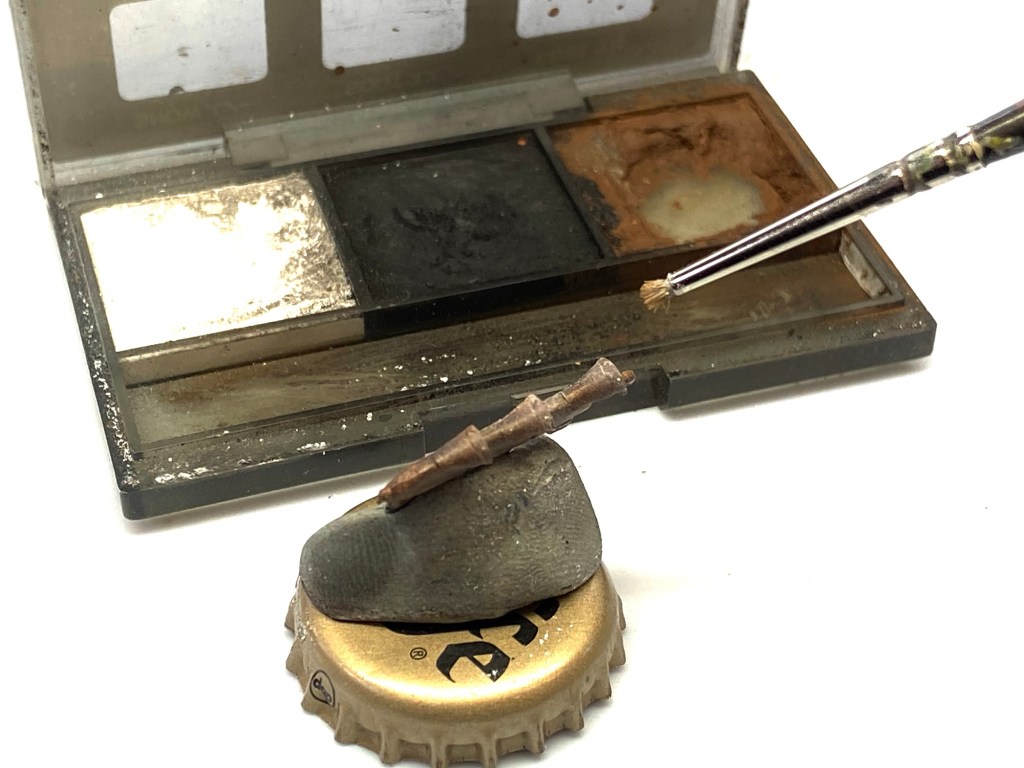
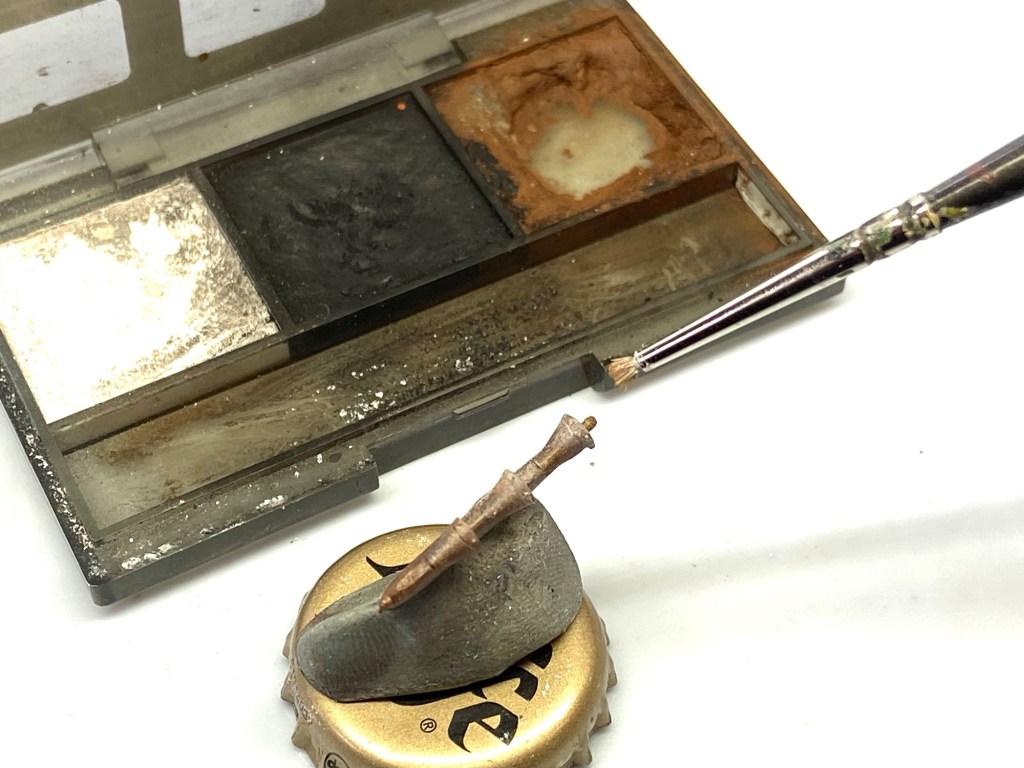
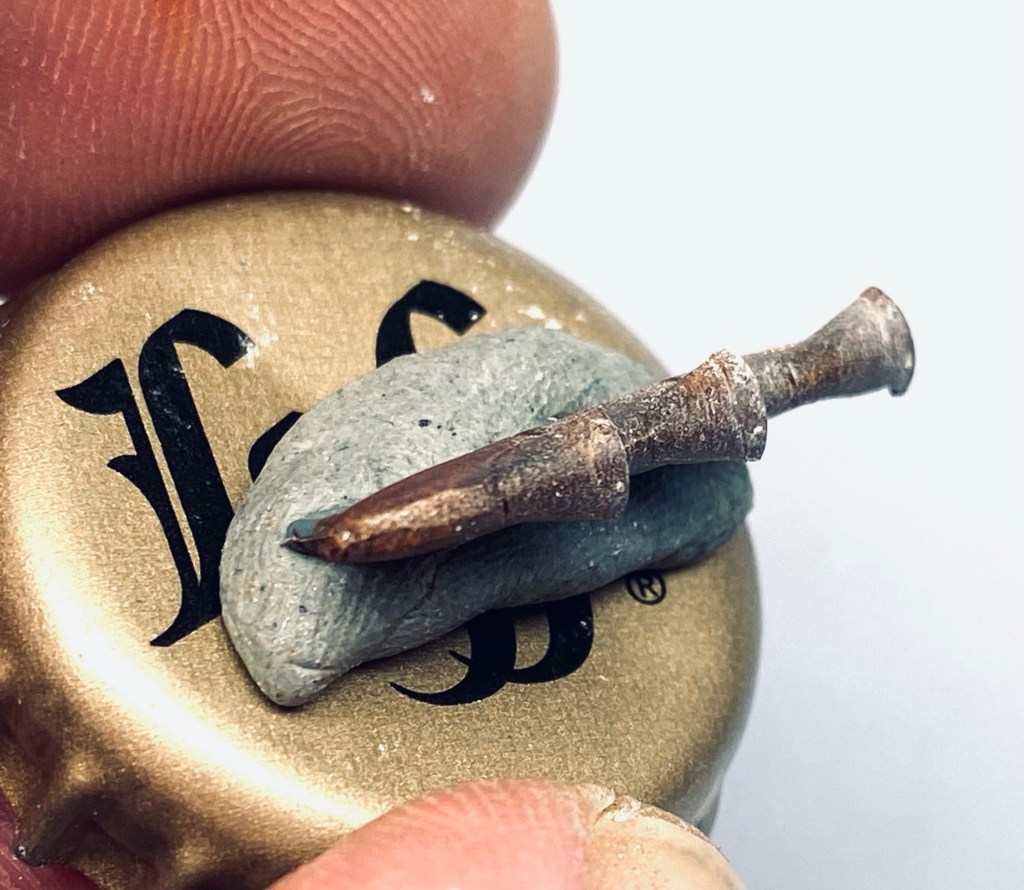
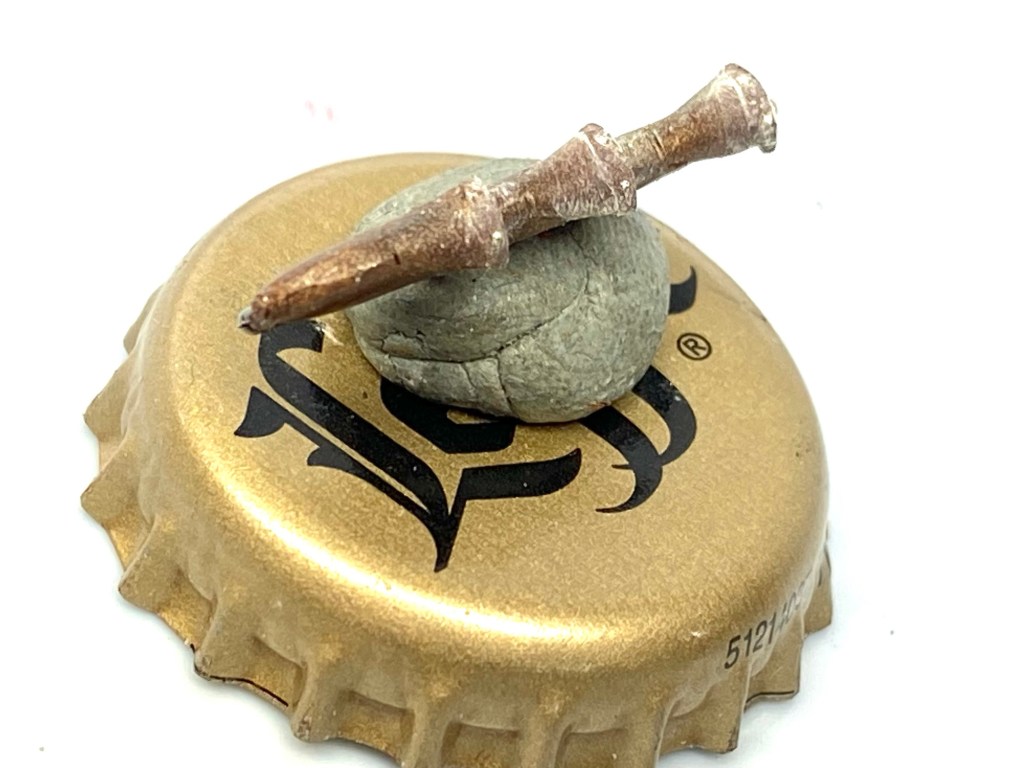
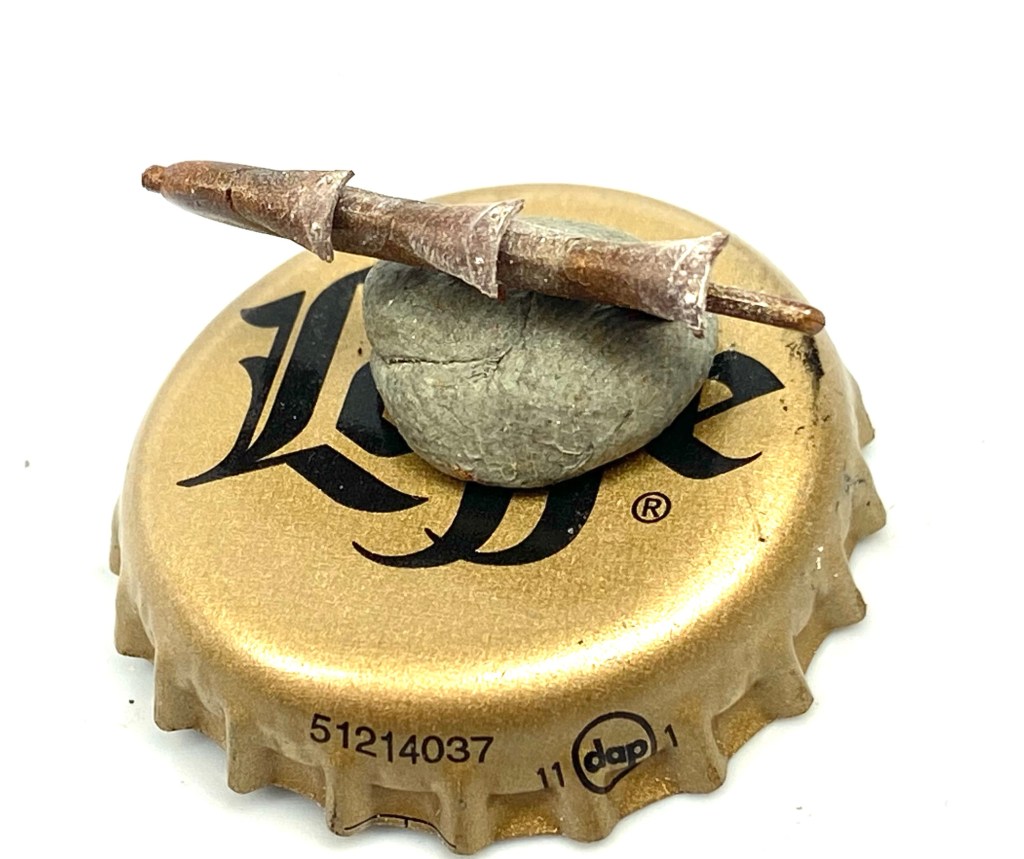
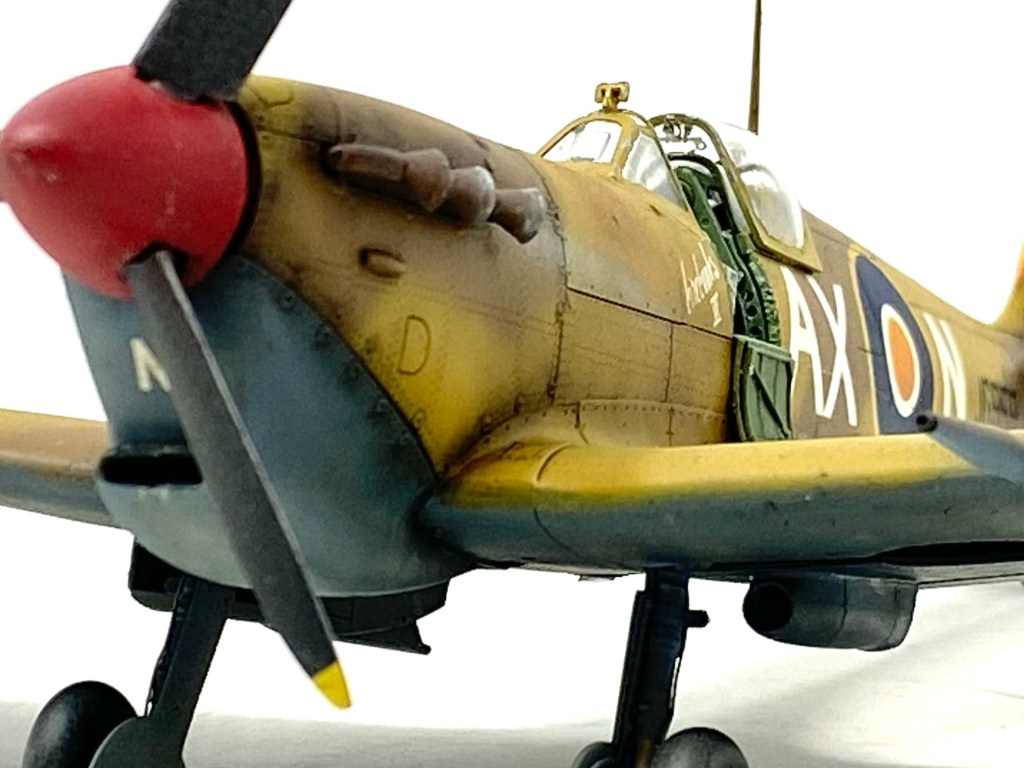
About those exhaust stacks……Here’s how I paint and weather them:
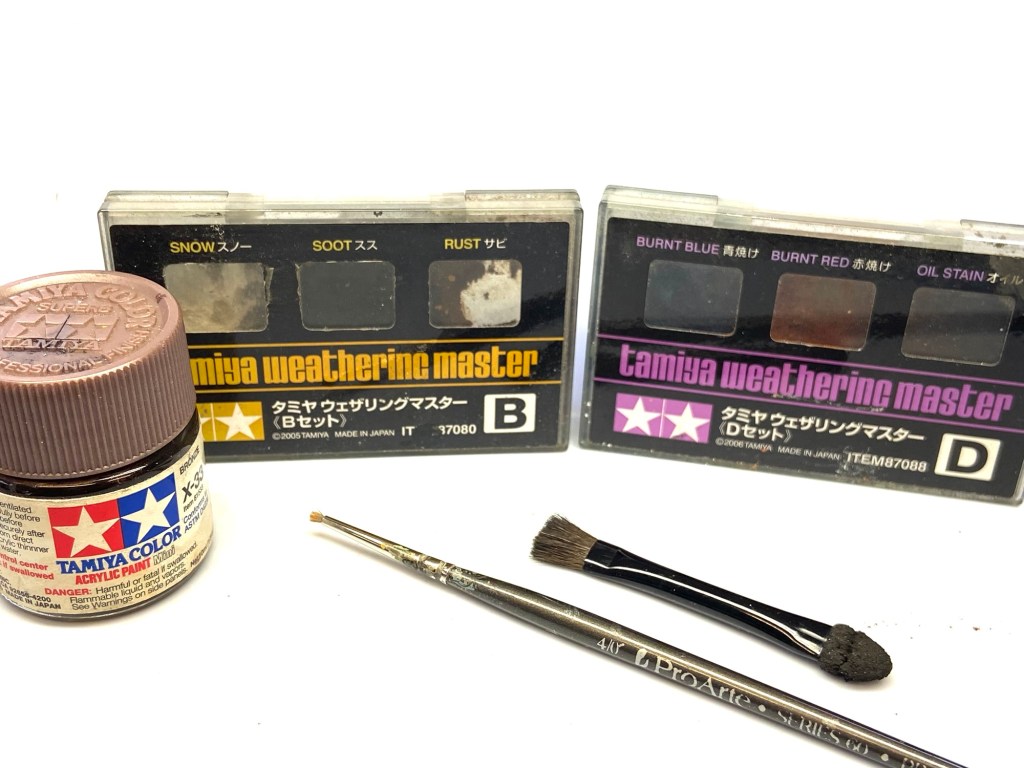
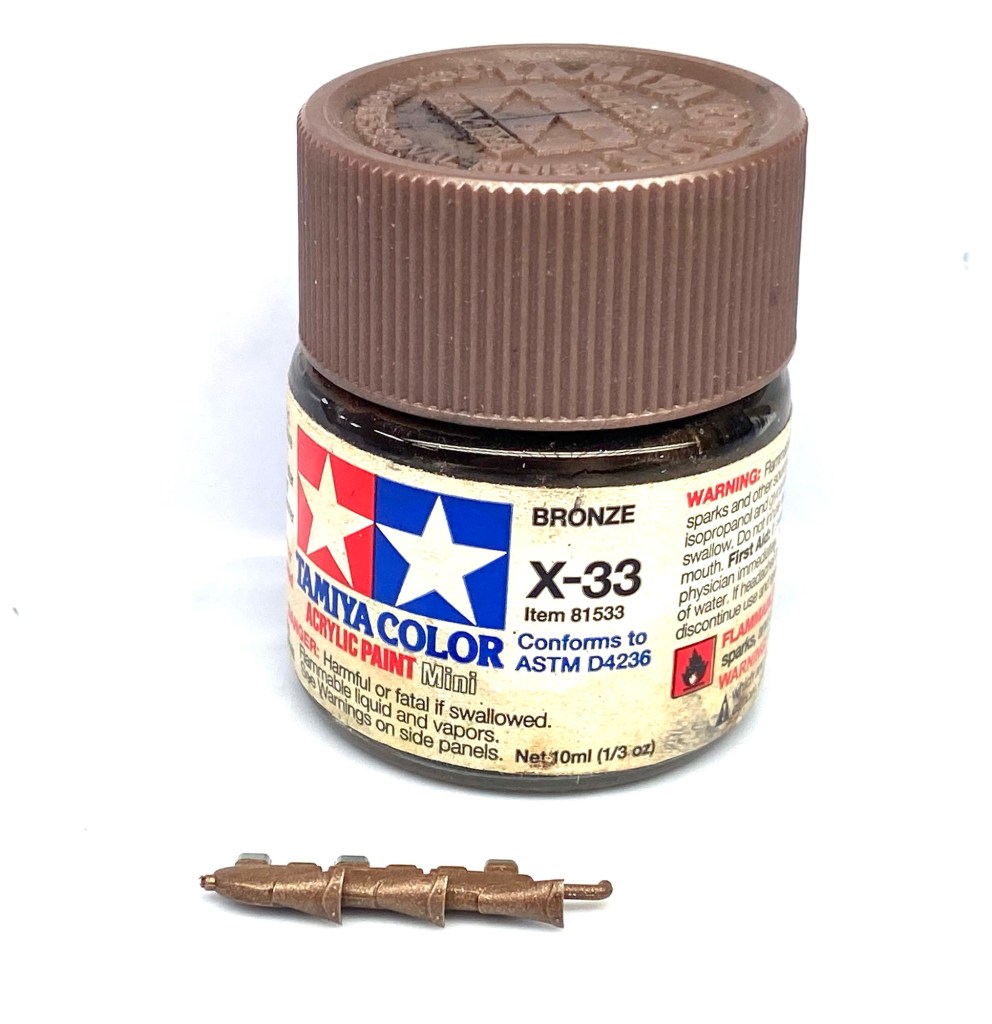
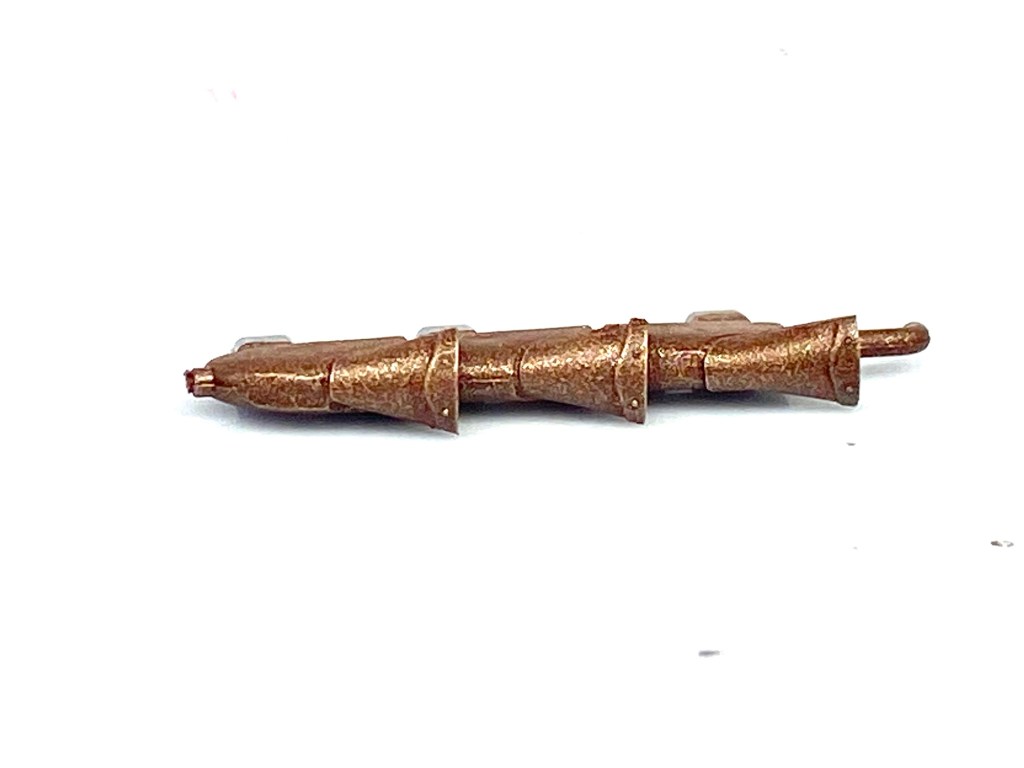
- Paint the exhaust stacks with a Bronze metallic shade. Here I have used Tamiya acrylics X-33. Once dry, I use Tamiya Weathering Master set D to apply metallic reds and blues to give the impression of heat distortion. This needs to be gently dry brushed on. Eventually both shades should blend into the bronze paint to give a subtle effect. Lastly I add a little off white from Weathering Master set B to replicate the traces of burnt metal on the ends of the last two stacks on each side. The process can be followed with the photographs below.

After the weathering process was completed the finishing touches of the prop, undercarriage, mast and canopy were quickly and easy painted and weathered before the entire model was given a final clear coat of VMS matt varnish to seal everything in.
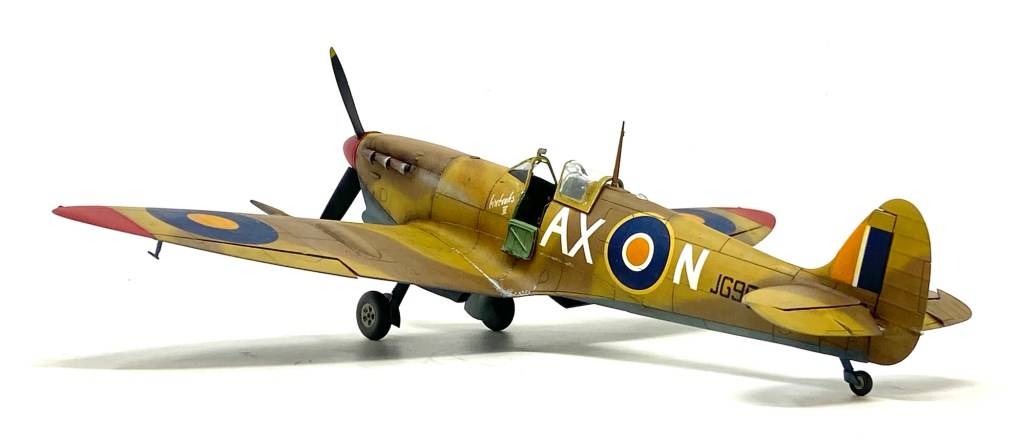
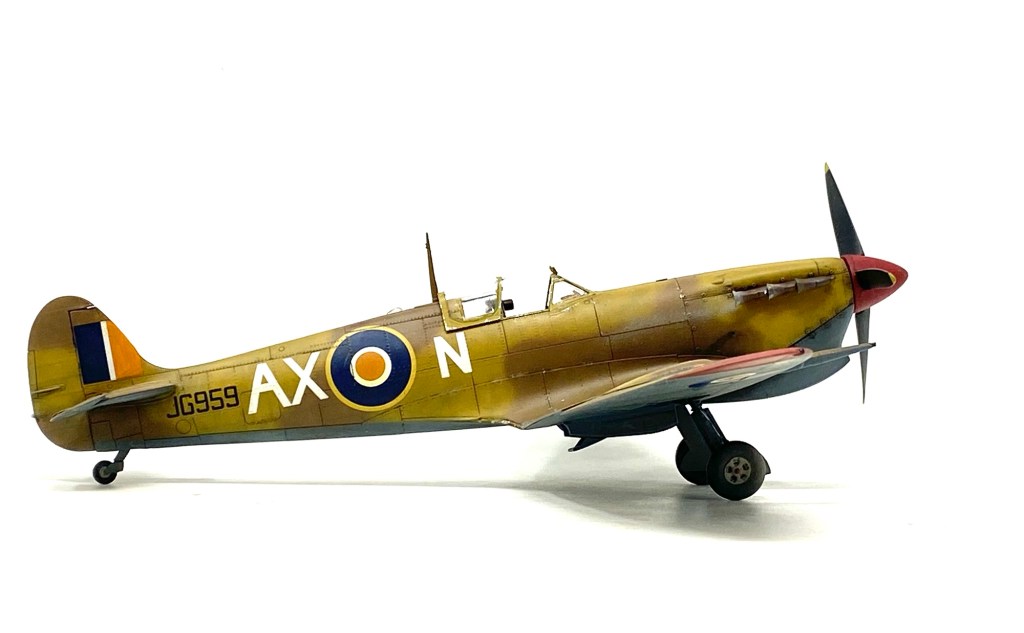
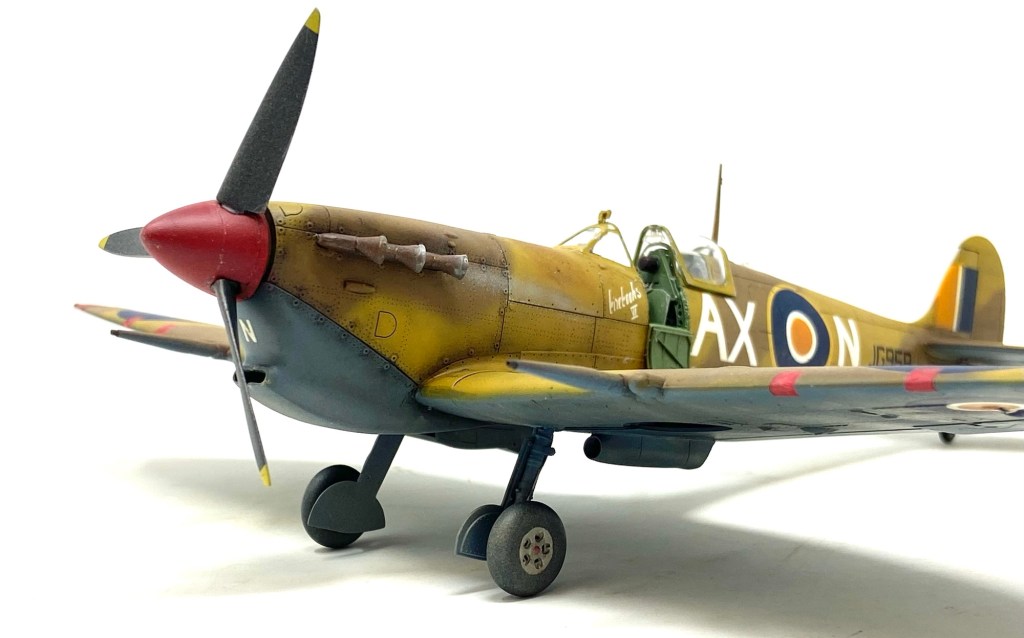
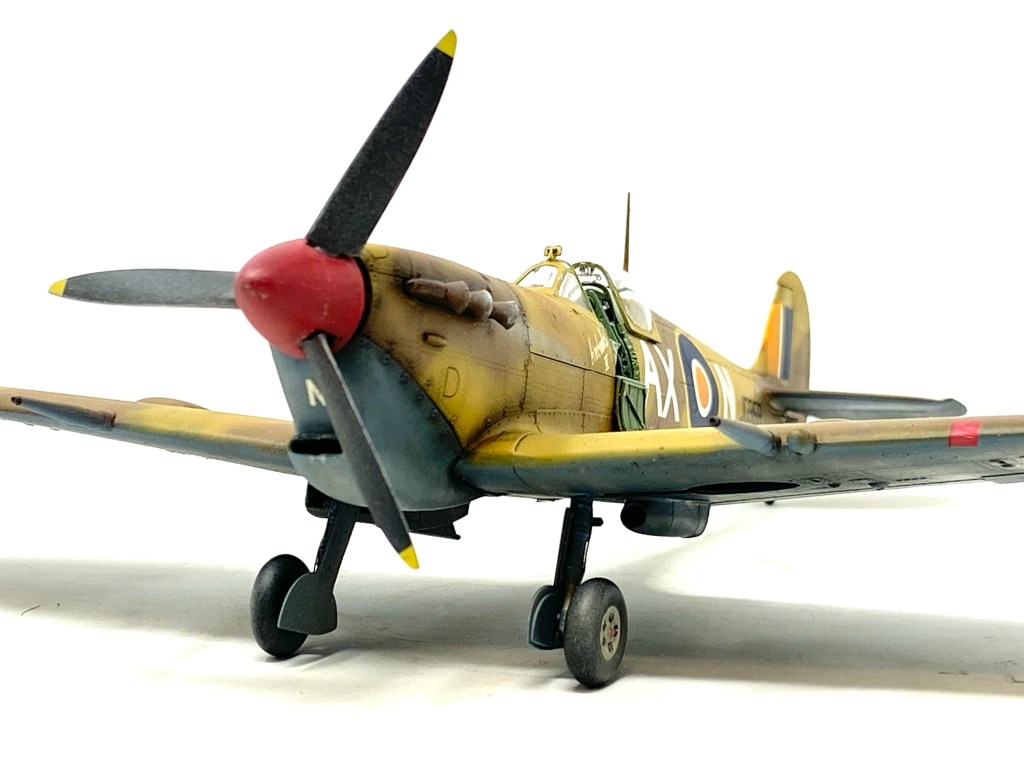
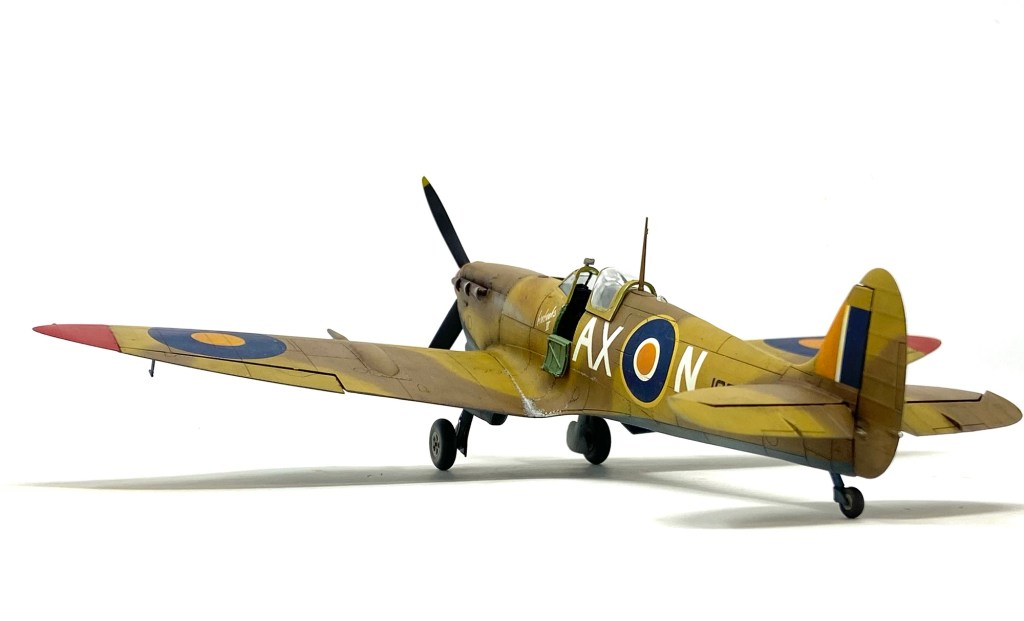
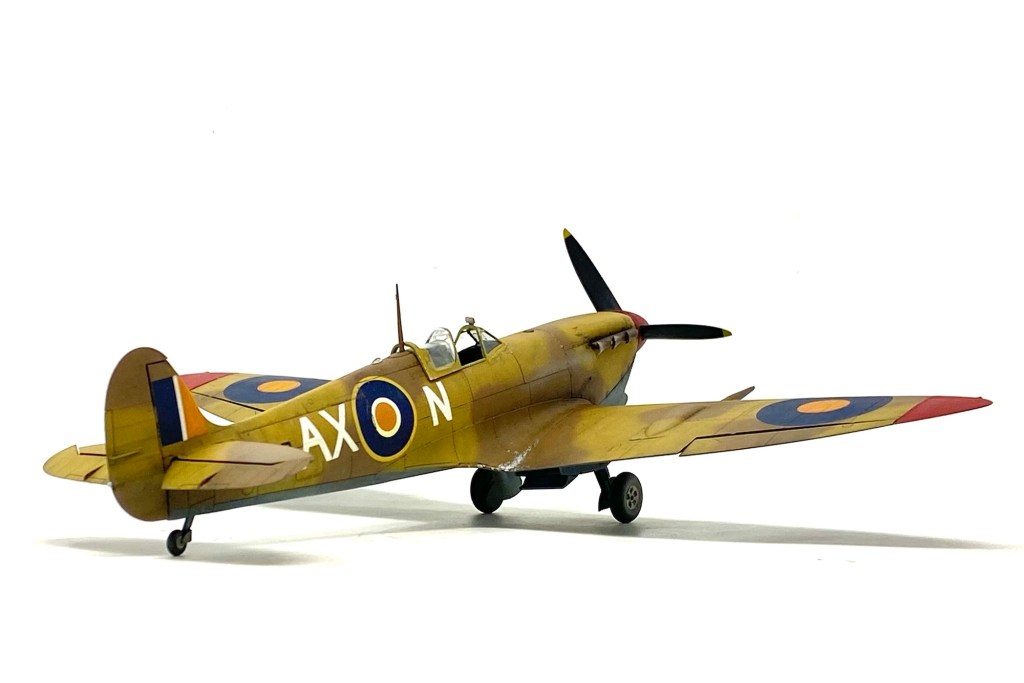
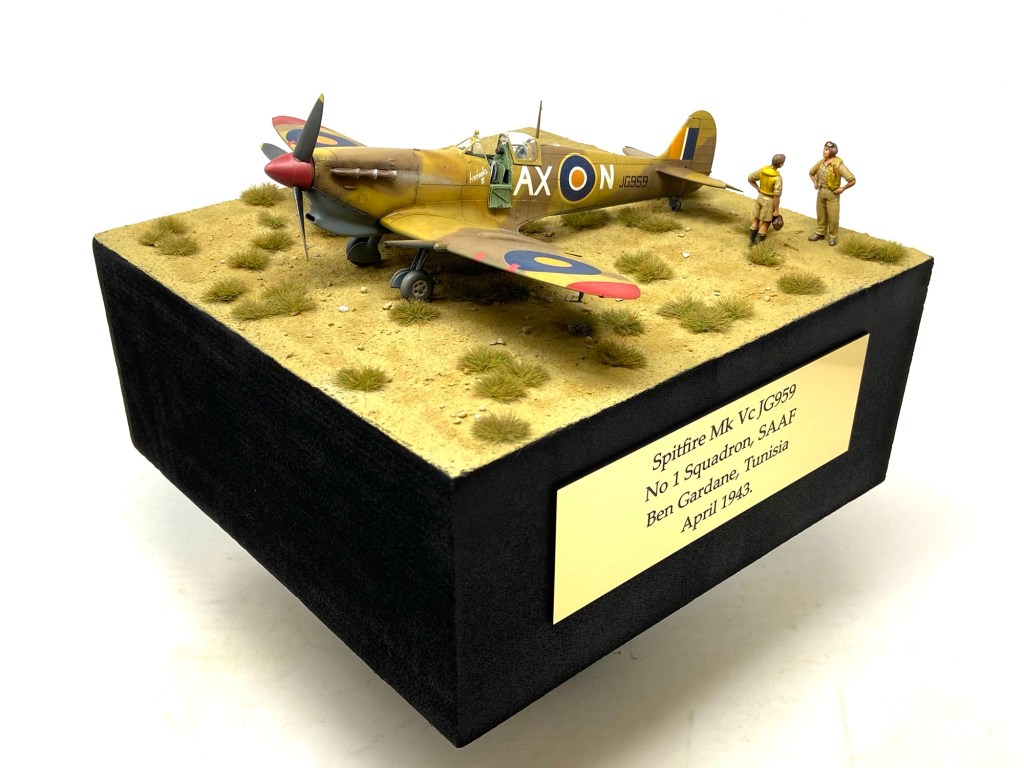
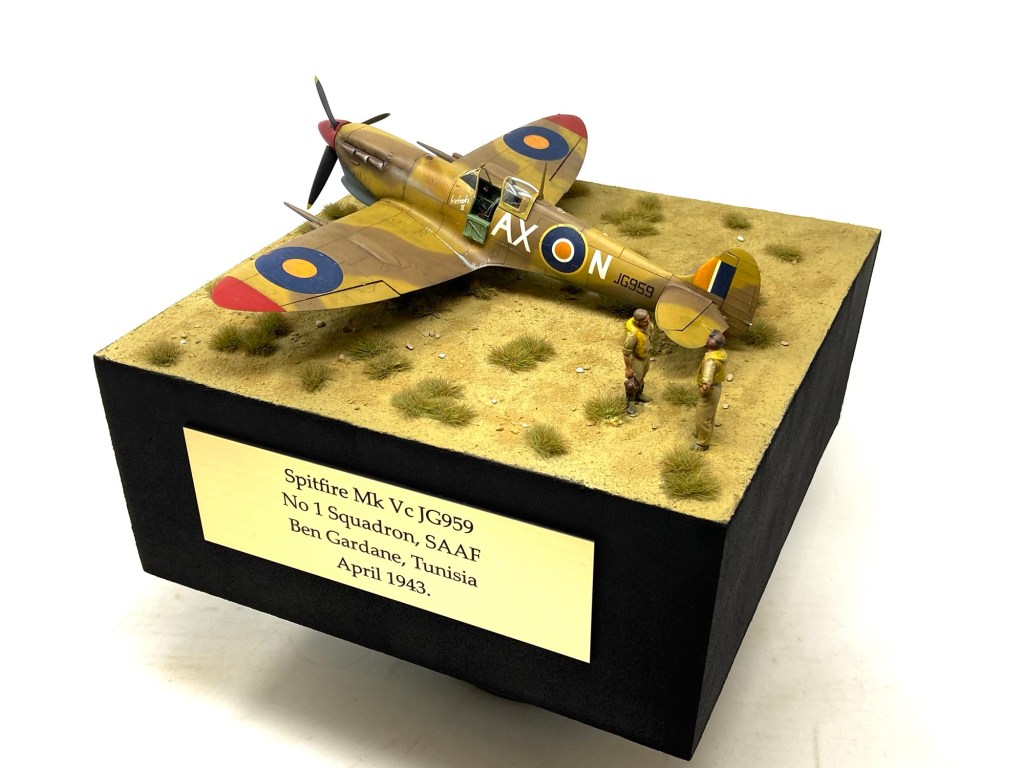
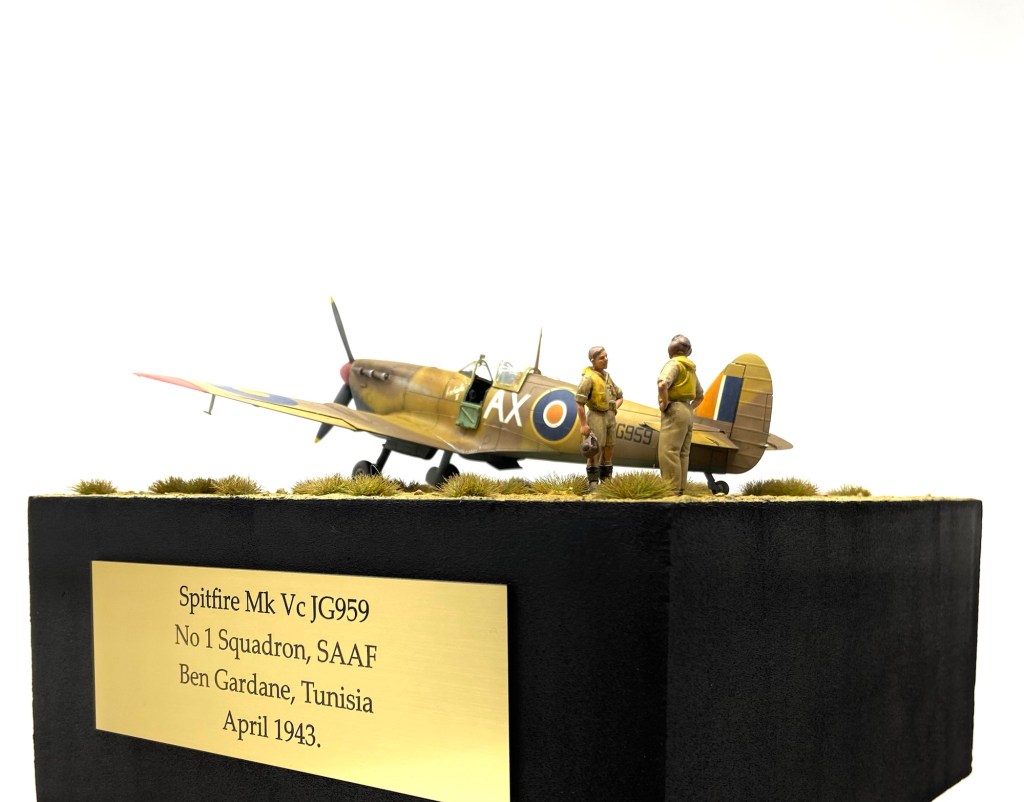
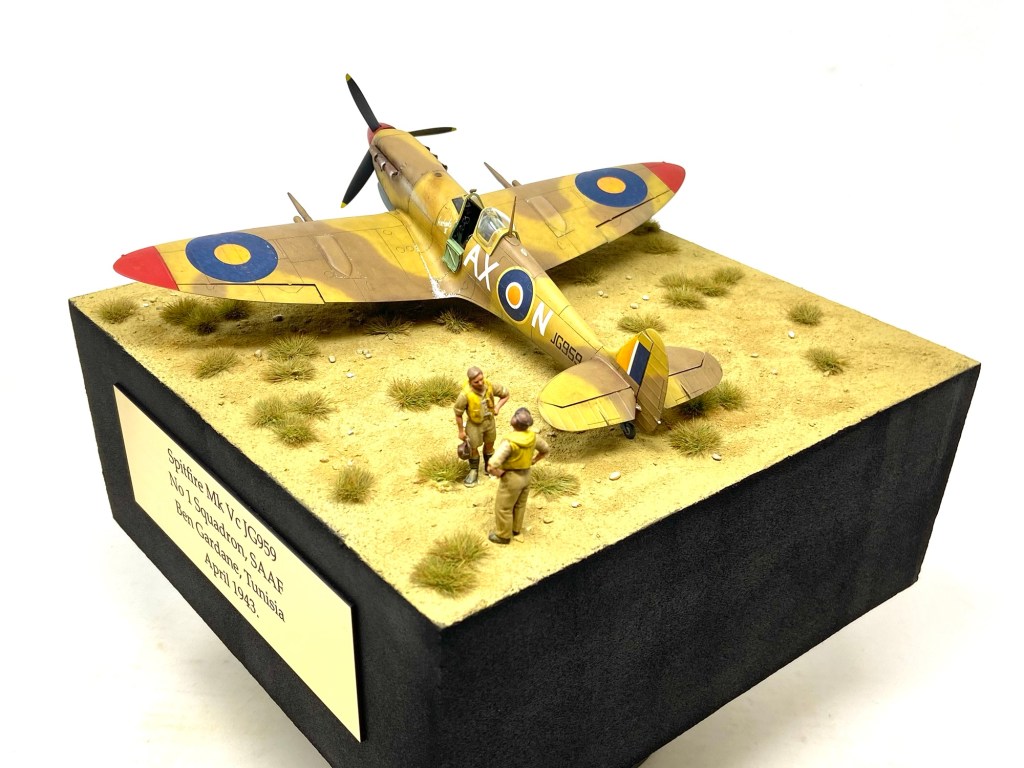
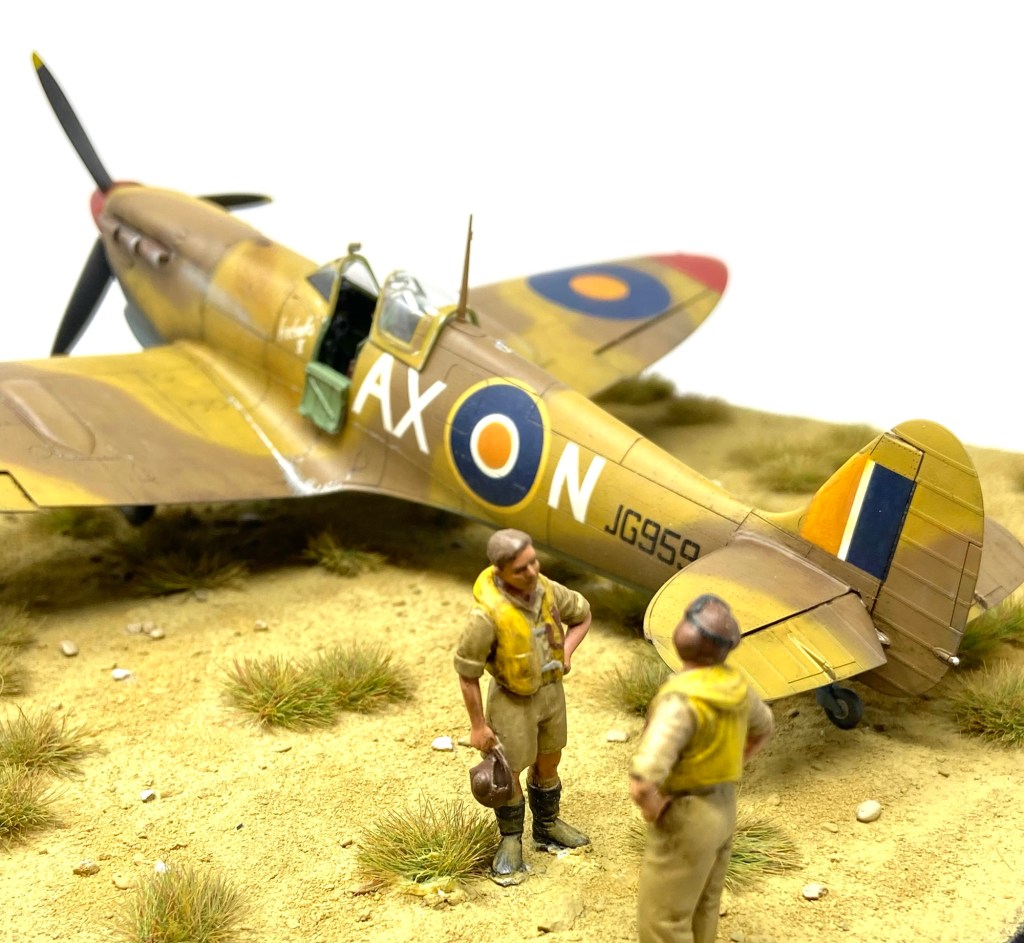
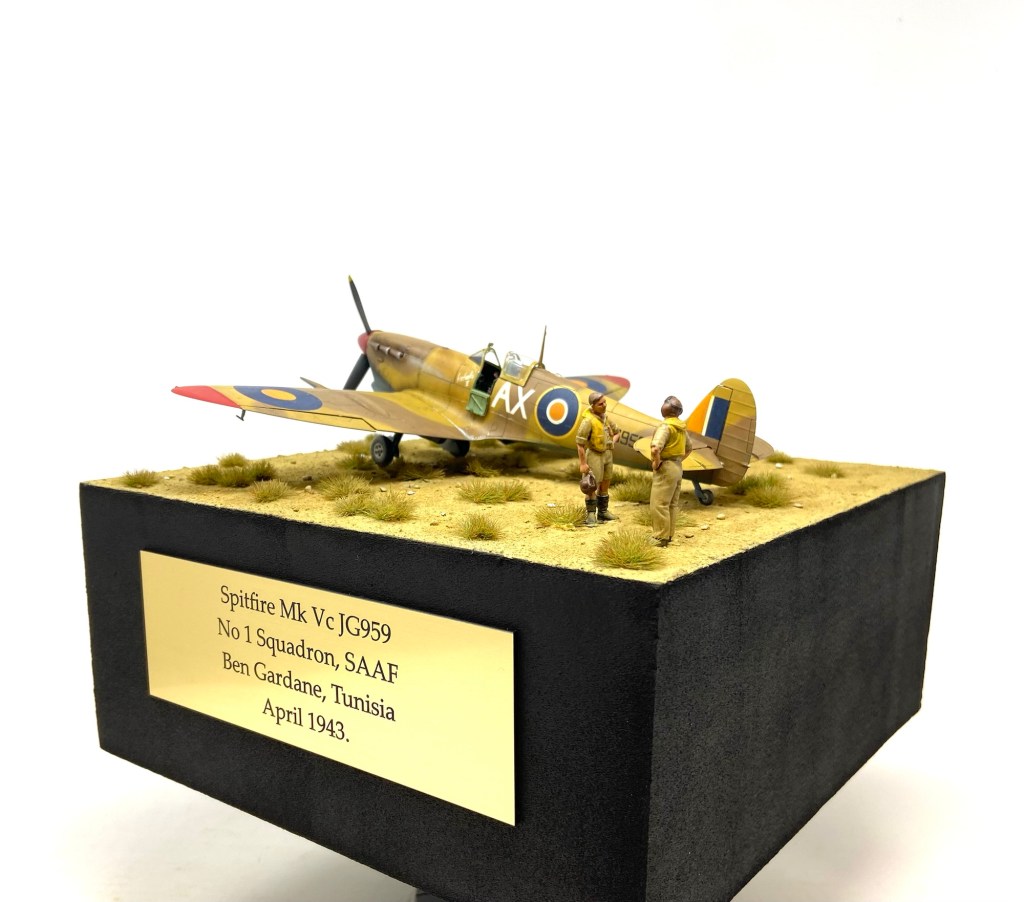
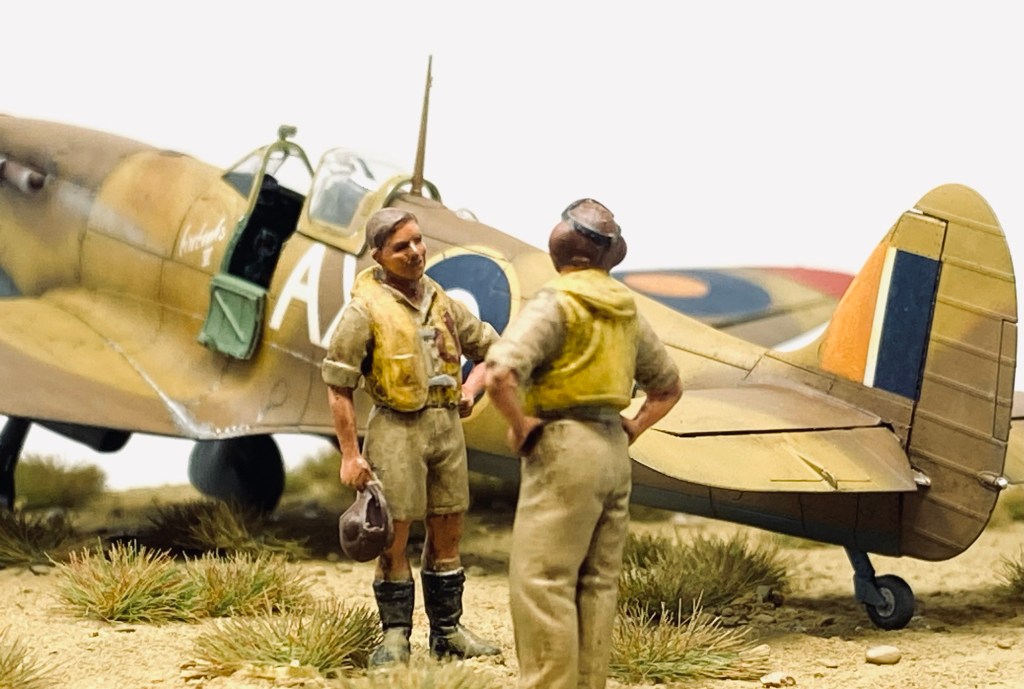
Here is the finished model:

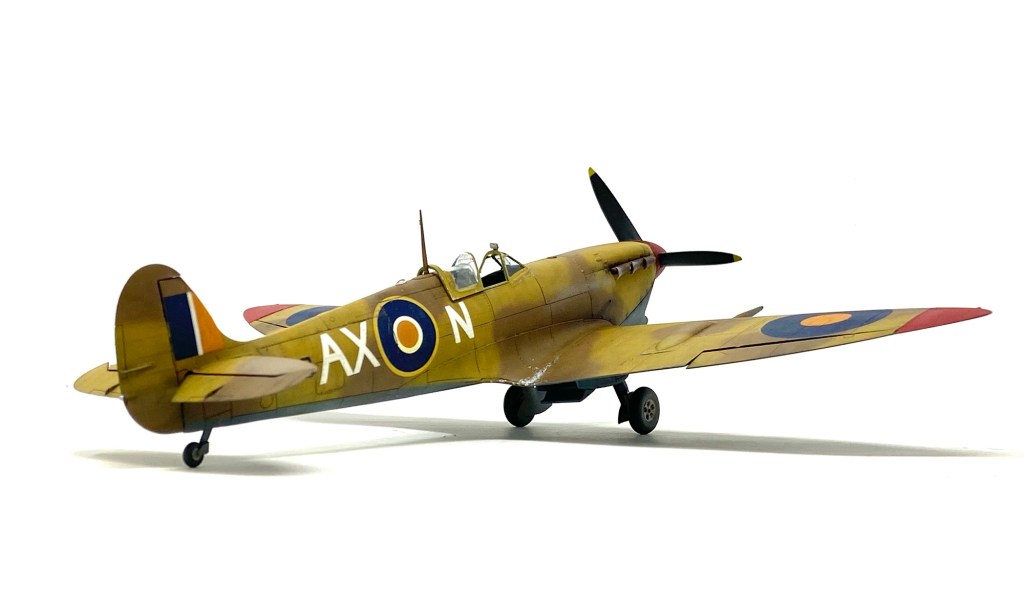


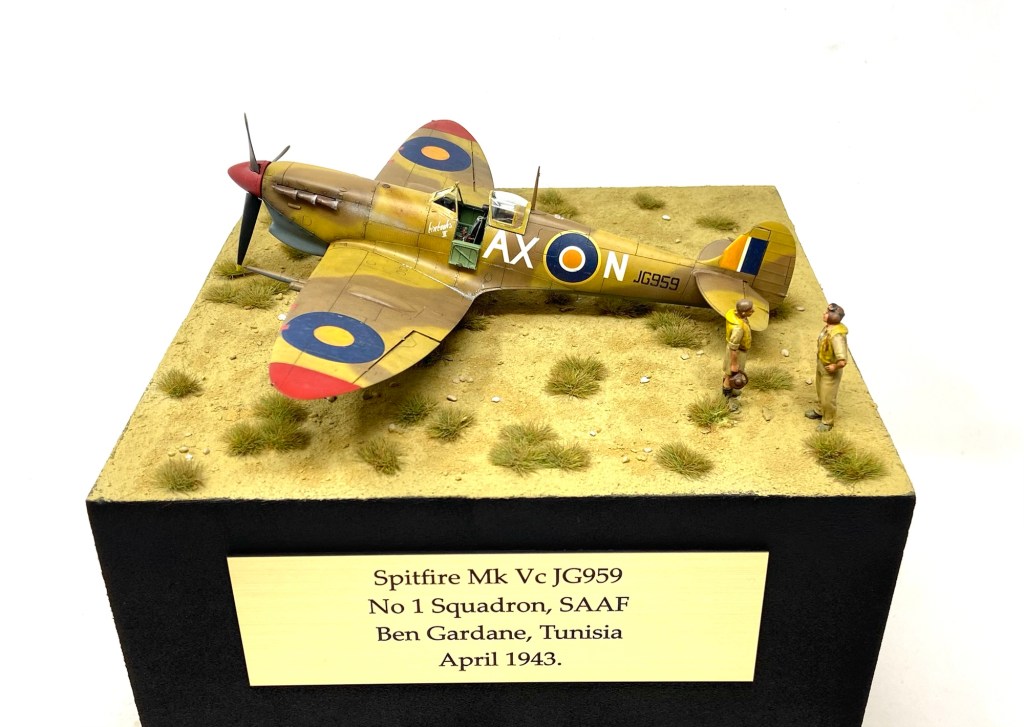
As this model was going to be displayed in my friend’s home it was only right to set it in a display that shows the model in context. To this end I created a small vignette featuring the Spitfire and two SAAF airmen shooting the breeze after their latest combat sortie. I made the display plinth in my usual way, cutting a solid piece of styrofoam to size, then adding groundwork, figures and a plaque.


I hope you enjoyed seeing how this project came together, it was a genuine pleasure to hand this model to my friend Rob and I think it’s safe to say that he liked it! It now rests in his display case with his other warbirds.
Thanks for joining me and I hope you will stop by and visit again.
Happy Modelling!
Darren.

THE SAAF Spitfire Mkv does indeed occupy a prominent place in my display cabinet. It is superbly built with great attention to detail. Next to my models, I feel I must up my game. Thanks Darren for taking the time to build it for me.
Your article provides much insight into the build and also the Spitfire’s history and the brave pilot that flew it.
Looking forward to our next show together.
LikeLiked by 1 person
Thank you so much for your kind words Rob!
LikeLike