

Hello!
Welcome to my latest WIP post on my F4U-1 Corsair which brings me to working on the aircraft landing gear and further additions to the weathering process.
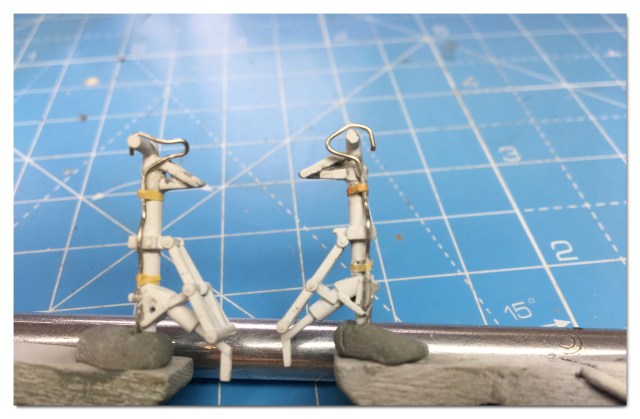
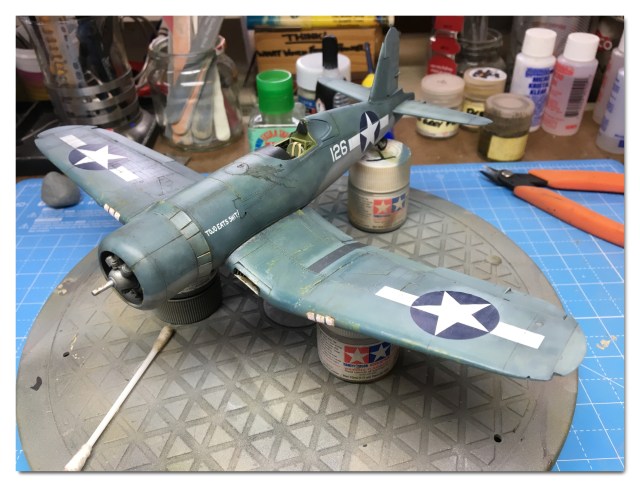
The 1/48 Hobbyboss kit has a few flaws and as I have continued to build the kit I have done my best to improve or correct them. Here we have a case in point: The main landing gear is too tall because Hobbyboss have designed the gear legs fully extended as if they are not bearing ant weight at all. Here is what I mean……

As you see above cutting away the extended strut allows us to pose the main gear in it’s compressed form. Now when the model stands on it’s landing gear it will look more realistic.
With both the main gear legs modified I set about adding a hydraulic line from wire and brackets from Tamiya tape.
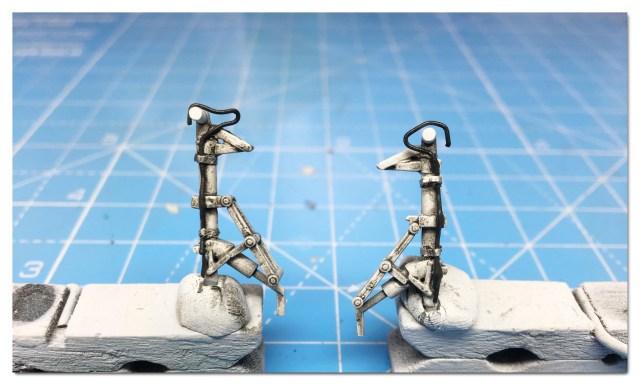
Now the main gear legs have been fully painted and weathered. Note that this particular airframe was heavily weathered hence I have added a lot of shadow to these legs.
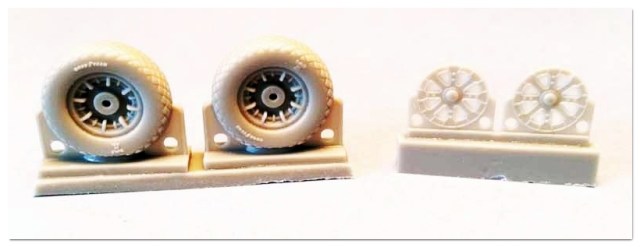
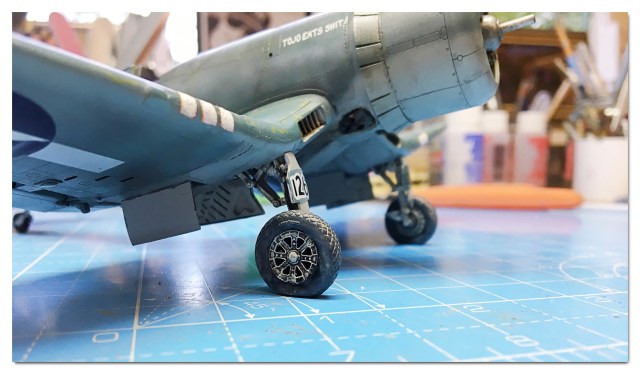
My next task was to attach the wheels and I was not satisfied with the Hobbyboss kit wheels as they lacked detail and to my eye were a tad oversized. The easy remedy to this was to purchase some resin aftermarket wheels. I chose these wheels from Attack Squadron as I wanted wheels with a diamond thread. They are clean, crisp moulds and the details are spot on. I needed to drill out the inside hub holes to mate them to the Hobbyboss gear legs, however this is a simple operation and the wheels fitted perfectly.
I painted the tyres in nato black and then added AK Interactive landing gear dust wash to the thread pattern. The wheel hubs were painted in white and then weathered with AK Interactive landing gear wash.
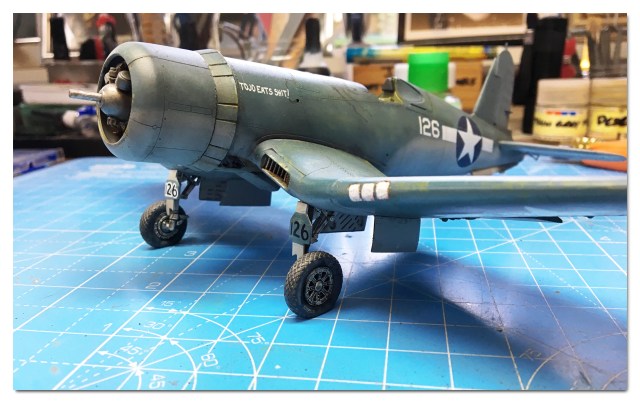
Further weathering continued on the airframe with a more oils and washes and this is how it looks now…………
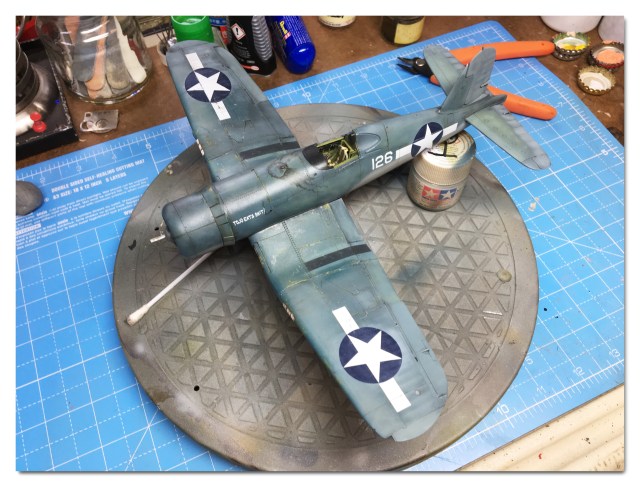
Here we can see the main gear has been fitted and now our Corsair is standing proudly on her own feet! I still need to do some more weathering to those wheels and the gear doors, but I am happy with what I have so far. As this fighter was based in The Solomon Islands she sat on the sand quite a lot as you’ll see in the picture down below of the actual aircraft. So I want to add some subtle dust effects to the underside.

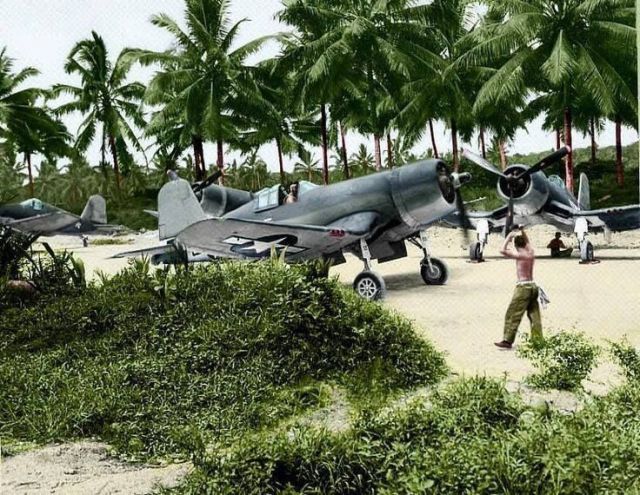
I have been enjoying this build immensely and I had considered how I would eventually display this one as I am nearly finished now. After looking through some photo’s of Corsair that were based in the pacific islands I thought I make a small diorama to display this Corsair in the environment that it would have been exposed to. This will bring context to my model and hopefully add to the effect of all this weathering I have been doing!
If we study photo’s of the period we can see that these Corsairs and the Marines who flew and maintained them were based on small beeches surrounded by plant life:

My plan is to build a display plinth which will have our Corsair at its centre on the sand with some palm trees and plants in the background. With a couple of figures added to set the scene, hopefully it will add some life and realism to the model and enhance it.
I have made a start already with a little amateur woodwork………..

Now that my display base is underway I needed some figures to accompany the aircraft in its surroundings and I came across these 1/48 mechanics from Aerobonus:


I want to convey an everyday maintenance scene as opposed to the usual pilot sat in cockpit, so here I’ll have one Marine taking a break whilst sat on an ammo crate and another walking past with a fuel cart perhaps just saying “Hi” or saying “Hey Joe, the LT. wants his bird ready to go at 16:00…..”
We will see how all this pans out as work continues…………
Until next time, take care and Happy Modelling!
Darren.

Pingback: 1/48 F4U-1 Corsair-Ready for Inspection! – THE SCALE MODEL HANGAR
Pingback: Somewhere in the Pacific……… – THE SCALE MODEL HANGAR