
Hello and welcome back again!
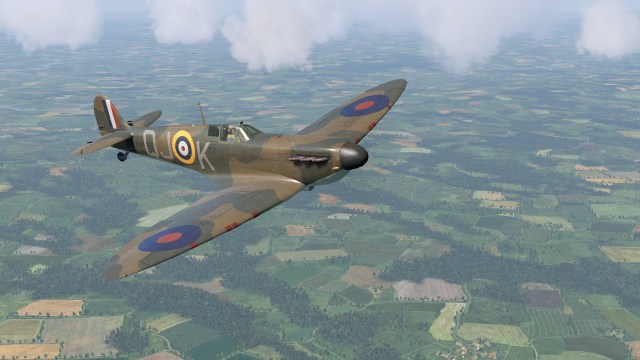
This subject is one very close my heart, Spitfire K9998 was flown during the Battle of Britain by Sqn Ldr Geoffrey Wellum DFC. The then young Flying Officer Wellum was awarded the Distinguished Flying Cross in 1940 for his actions during the battle and he was the youngest fighter pilot during the conflict being just 19 years old when he first flew into combat with 92 Sqn, RAF.
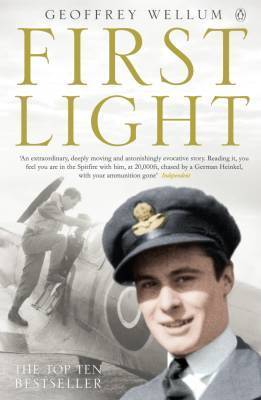
He later set down his memories in what is now known as one of the finest accounts of the Battle of Britain in his book First Light. It is my favourite book and I never tire of reading it. It is a stark, honest and thrilling account of life as a front line RAF fighter pilot during WWII. If you have not read it, I strongly urge you to do so.
I built a model of K9998 for my personal collection some years ago and not only was it a personal favourite of mine, it also became one of my most popular works. It was seen and appreciated by many people which gave me a great sense of pride and achievement.

Recently I have been commissioned to recreate my build of “First Light” for a private collector so this new project will take us over familiar ground but a very interresting subject I am sure you will agree!
For those who missed the original build, you can see it here: FIRST LIGHT.
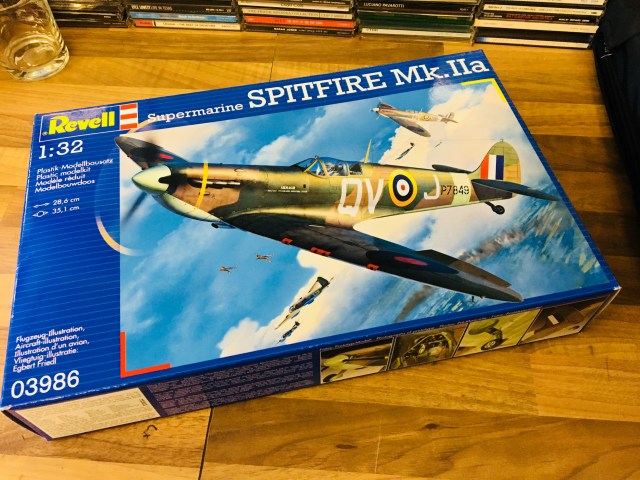
This build will start with back dating the 1/32 Revell Spitfire Mk.II kit and adding enhancements to improve the quality and accuracy of the model. I will then display the finished model on a display base with figures to capture a moment from history when brave RAF pilots prepared to fly into combat at First Light.
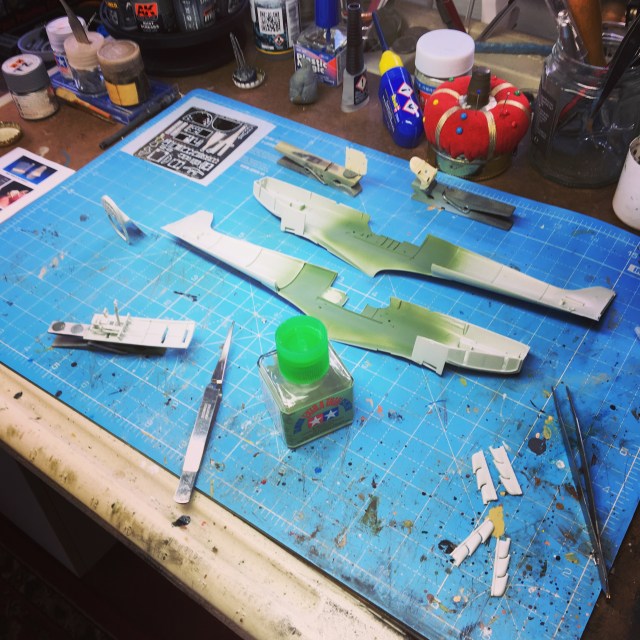
Here is Revell’s Spitfire Mk.IIa. To my mind, this is a good kit for its price and with a little elbow grease one can build a decent replica of the Mk.IIa straight from the box.
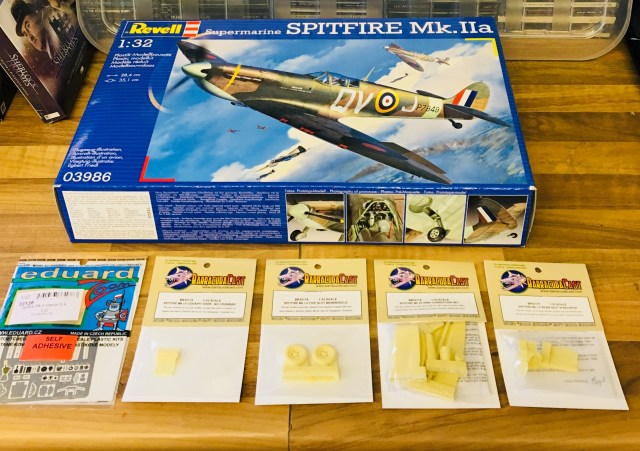
Along with the kit I will be adding some great after market enhancements. From Barracuda Studio’s I have the early style cockpit door, the wing correction set, new cockpit seat with armour plating and some new wheels with accurate hubs. The wheels in the Revell kit are very strange, I used them on the original build, but they need a lot of work to look “right”. The new resin replacements are much better in quality and accuracy. I will also add some photo etch parts from Eduard to add extra details to the interior of this Spitfire.
And so work begins! As is the way with most WWII fighters, we start with the cockpit assembly. As this is a commission build, I’ll be sweating those extra details to bring this subject to life.
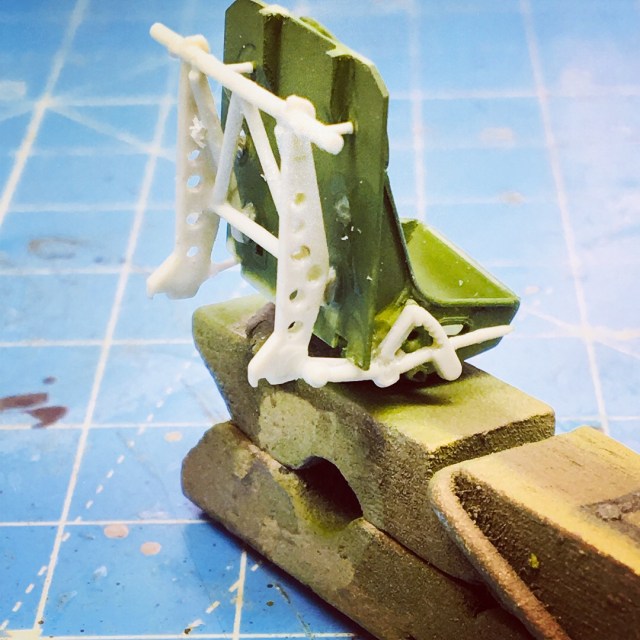
The seat: Here we can see how I have mated the new resin seat and armour to the kits seat frame. This is a slightly fiddly job, but worth doing.

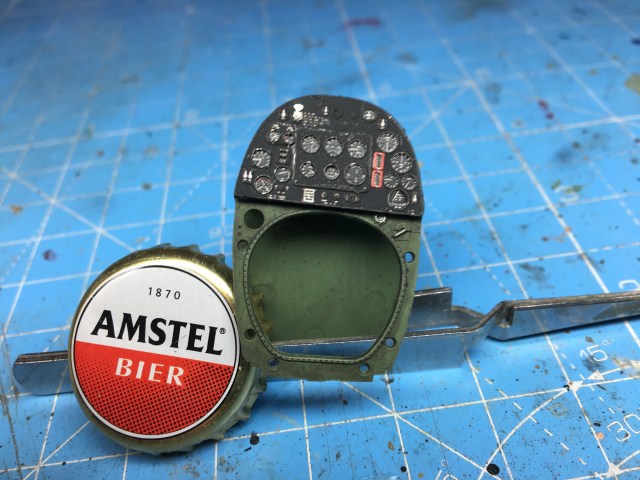
Next we have the finished Instrument panel which is a combination of Eduard and Revell parts. The dials are glazed to give a sense of realism.
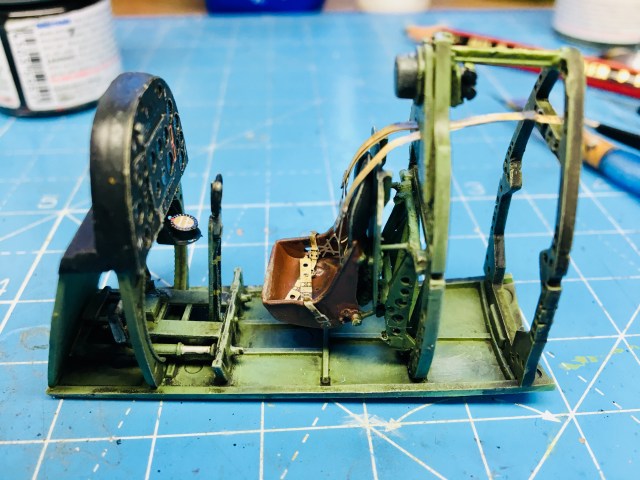
The Instrument Panel is assembled to the cockpit floor and the rudder pedals and yoke are added.
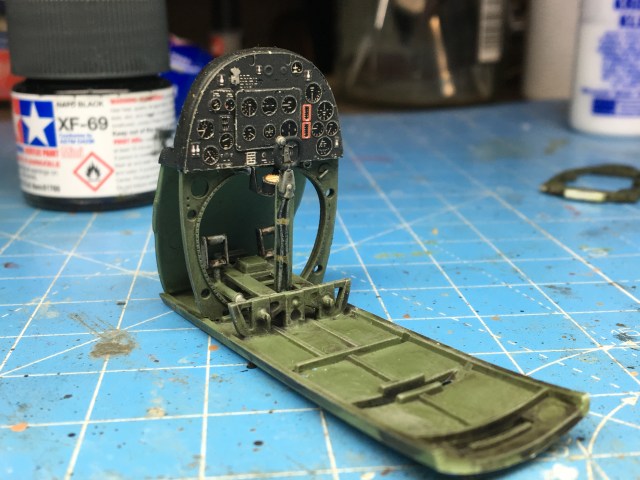

Here’s a close up of the Instrument Panel: Now the details really stand out!

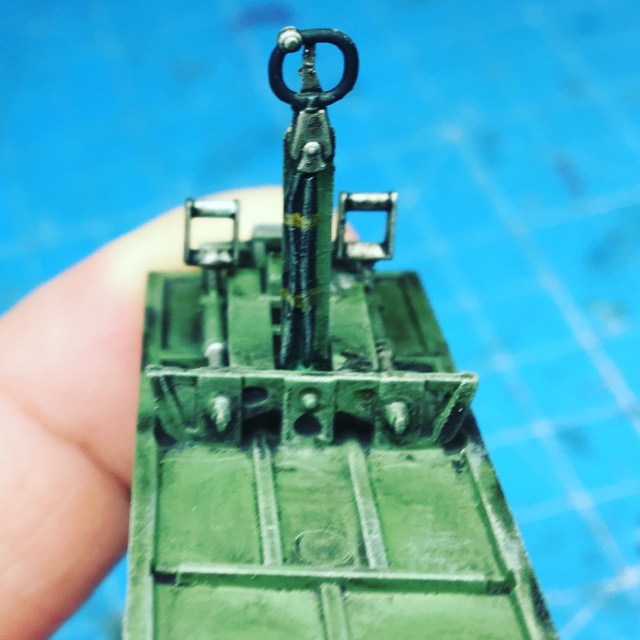
Extra detailing is added to the spade grip and yoke:
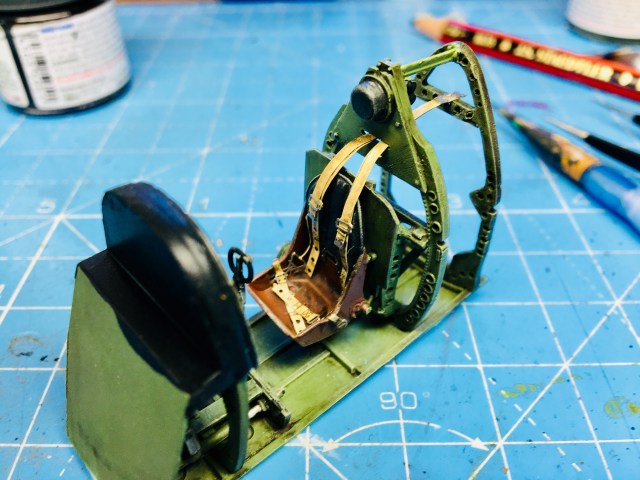
The finished seat is now fixed to it’s framing and the harness is installed. All cockpit frames have had the lightening holes drilled out as on the real machine. And now the frames and seat are fixed to the cockpit floor.
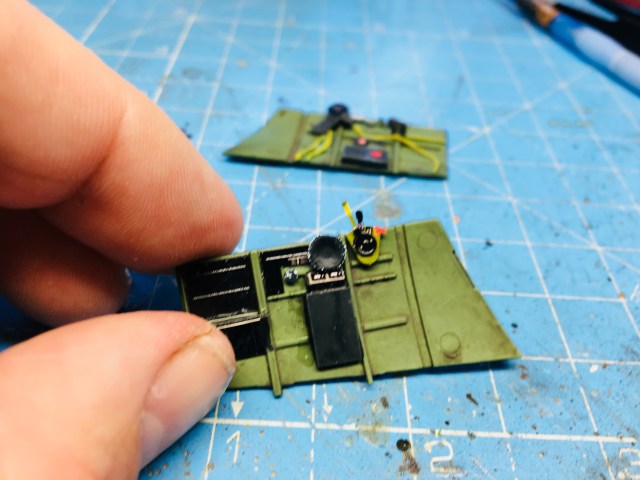
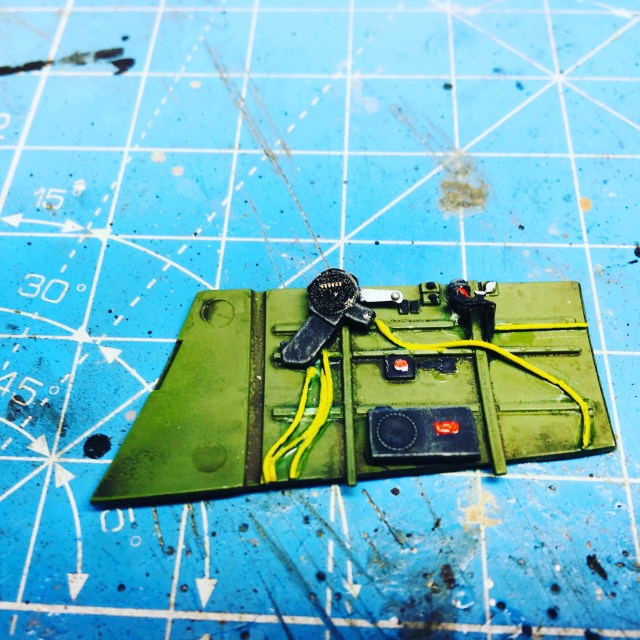
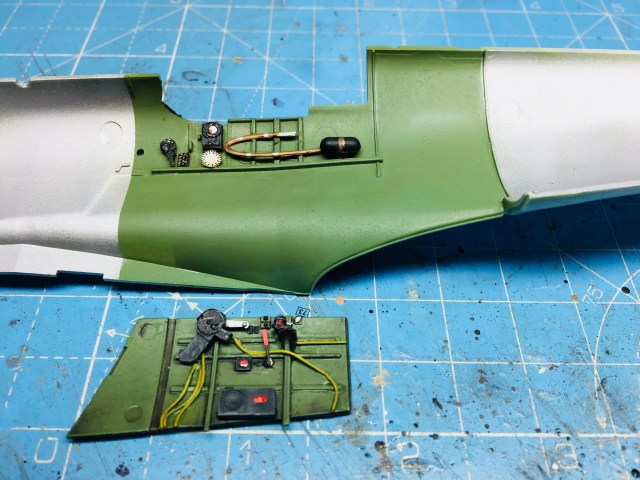
The next step is to build up, paint and detail the cockpit sidewalls. This process involved adding Eduard photo-etch, scratch and kits parts together to form the finished sidewalls.
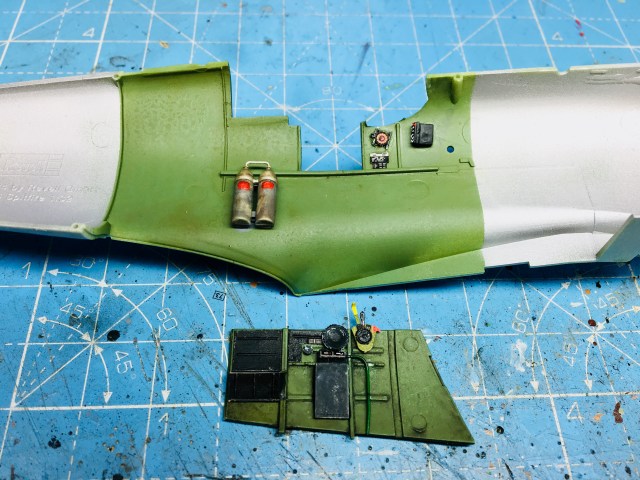
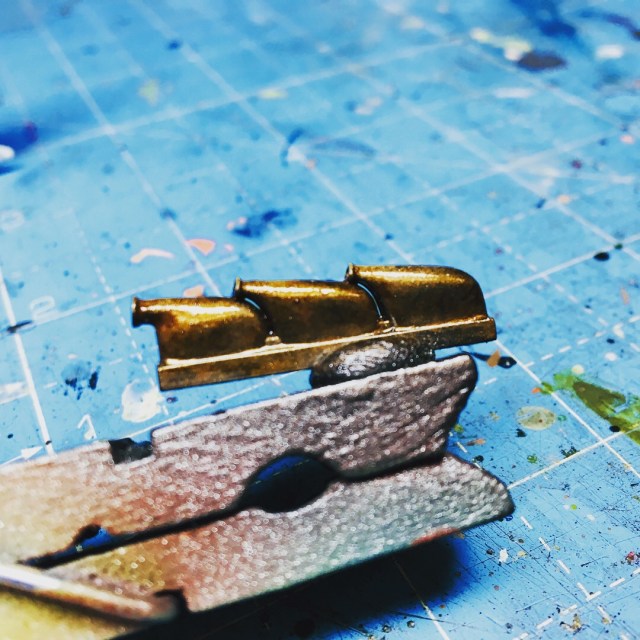
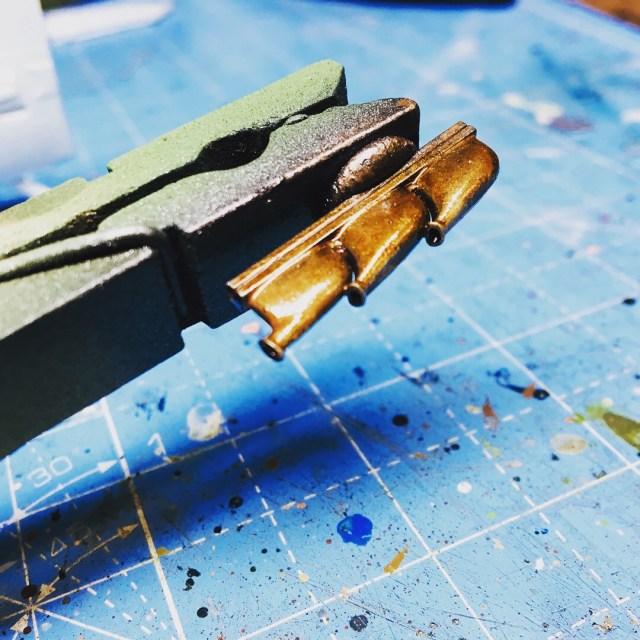
I have assembled the exhaust stacks and drilled out the holes. With a combination of various metallic shades I have begun to create a burnt patina that all war weary Spitfire’s exhausts took on after several combat sorties.
Now the entire office is shoehorned into the fuselage! It’s a snug fit!

That’s it for this update, I hope you have enjoyed the progress so far. In the next instalment I will be concentrating on the fuselage and wings. Until then, take care and Happy Modelling!
Darren.

