
Hello!
Yes, I know. It’s been a long time since I worked on this Mustang and some of you have wondered if I’m ever going to finish her. I will. I promise!
The thing with this project is that its personal. It’s a very special gift from a great friend and it deserves my very best efforts, so its going to take a while.
In between projects I came across the project case where this model currently resides and I decided to have a look. Before I knew it I was finishing the cockpit, weathering it and looking at the fuselage assembly. This 1/32 Tamiya kit is nothing short of remarkable!
Here’s what happened next!
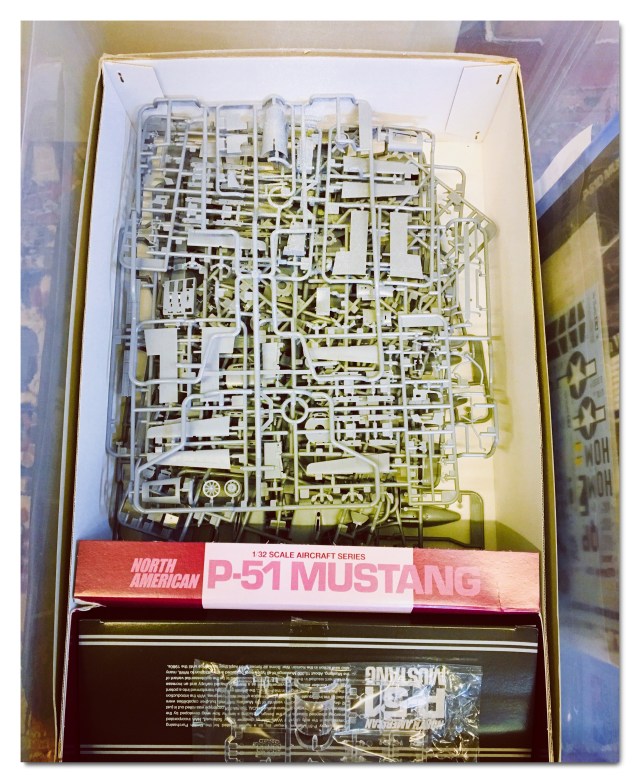
I opened the box and found a lot of plastic waiting to be assembled! The cockpit was almost finished so I set about adding a wash to enhance the details.
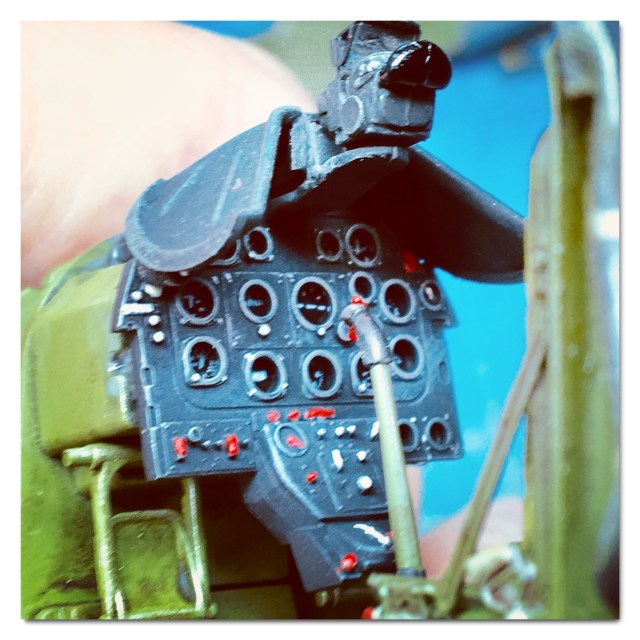
A close up shot of the kit instrument panel:
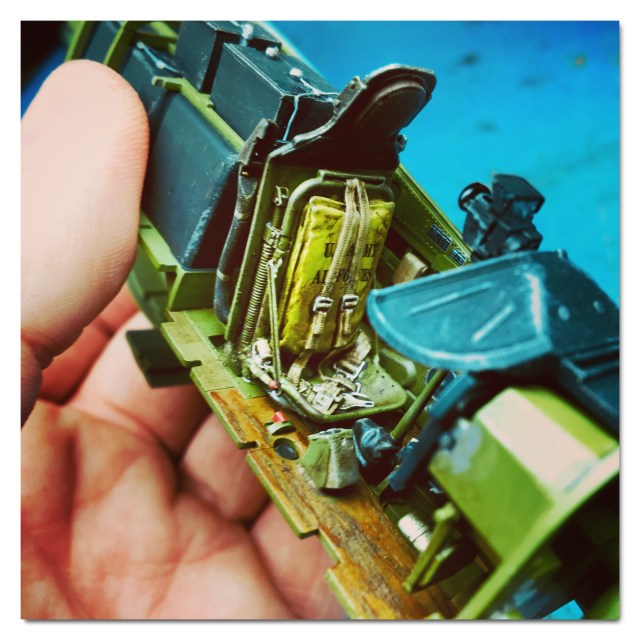
Here we can see the Aftermarket resin seat installed. Its from Barracuda Studios and I can highly recommend it, the detail is superb!

Another view of the completed seat. I scored the cockpit floor with a needle to get a wood grain effect. it was then painted a wood brown shade and numerous dark oils were worked into the surface to achieve the appearance of a wood grain.

Below is the main landing gear bay each rib is placed individually, so its takes a little more effort, but the detail is worth it!


With all that detail work out of the way, it was time to begin work on the fuselage and wing. The Tamiya kit is engineered to very tight tolerances so it is advisable to dry fit and check everything.
Inner wing leading edge. This is a bit tricky, but with careful fitting it goes together no problem. I found I needed to fix it in a clamp while the glue was drying to get the fit and position in correct alignment.

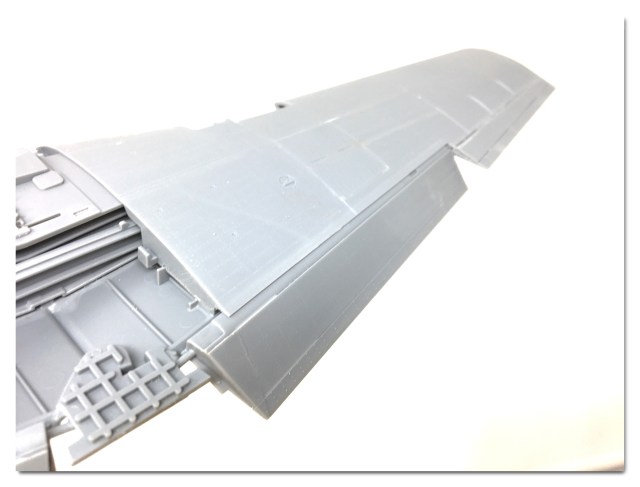
The upper wing section with dropped flaps. Tamiya give you the hinges to make these flying surfaces movable, I dispensed with them in favour of gluing the flaps in the down position.
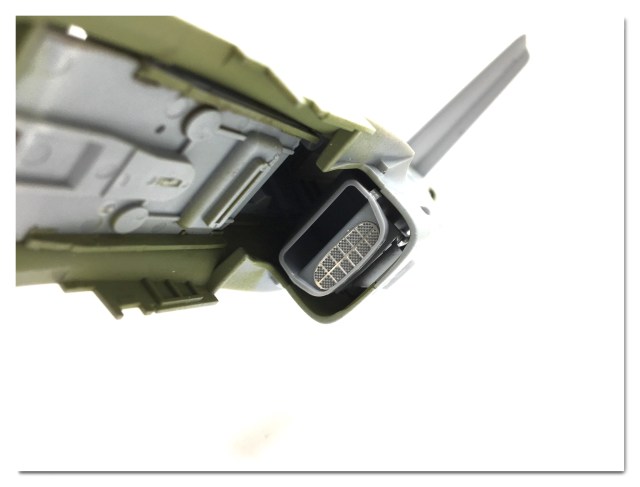
The next two photo’s show the radiator assembly. Lots of metal parts are added here to enhance detail and the fit is very good.
For the purpose of this build the rear door is fixed in the open position.

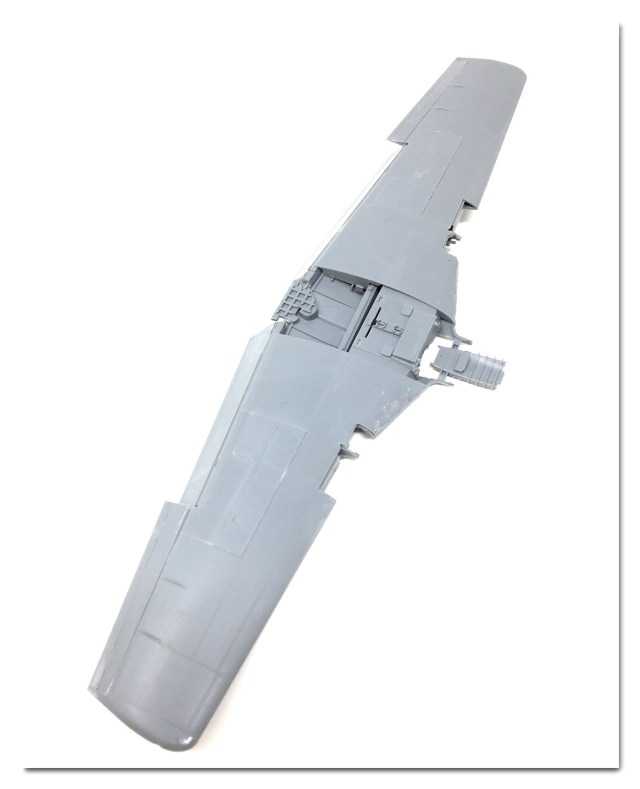
The wing. I decided not to use the open gun bay parts provided in the kit as I want my model to be posed in a certain configuration. That said, I should say that the gun bay parts in the kit are excellent and work well.
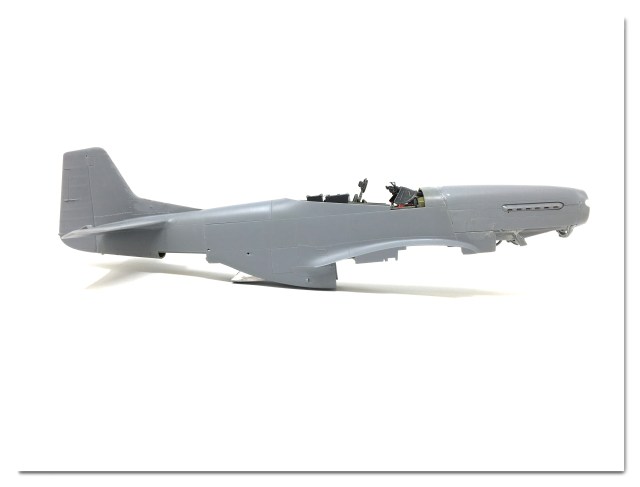
I wanted to build my Mustang with closed engine cowlings which careful positioning of parts. the fit is OK, but I did have a gap at the rear of the cowlings, which was corrected with liquid filler.
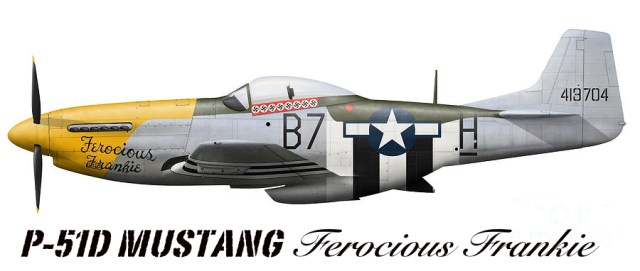
Now that assembly is moving forward I have turned my attention to the paint scheme. To that end, I have been gathering reference photo’s for Ferocious Frankie’s late war scheme, in particular how she might have looked on D-day. My theroy is that she would have invasion stripes on her upper wings, however I have no evidence to support that.
In these two photographs, FF looks like she has NMF wings with invasion stripes on upper and lower surfaces.


The modern day incarnation of FF shows a O/D Green wing and upper surfaces and most references support this.


I’m still not sure which way I’ll go yet, more research needs to be done first.
I hope you have enjoyed this WIP report, I’ll look forward to sharing more progress with you soon.
Until then, take care and Happy Modelling!
Darren.

I am in no hurry. Take your time.
LikeLiked by 1 person
Will do! I hope when she’s done she will be worth the wait!
LikeLike