

“Sometimes one has a desire to build a model and wants to depict it in the way it appears in ones imagination” -Darren McGuinness, July 2002
Roll the clock back to the year 2002 and the United States Military were on alert in the Middle East taking the war on terror to those who would cause harm to the helpless and the innocent. It was a gathering of military resolve that would never quit and would reach across the globe.
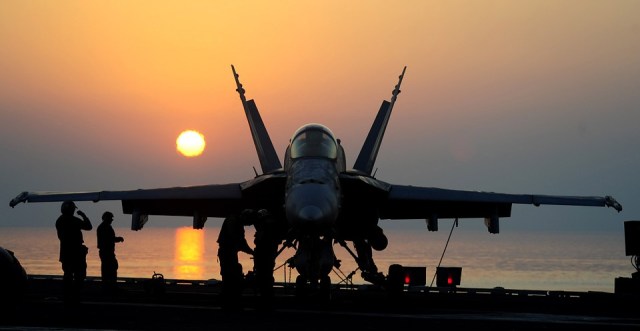
It was around this time that I came across a photo of a particular F/A-18C Hornet that a friend had sent me, the conversation went along the lines of “Hey-Check out the markings on this Hornet! “
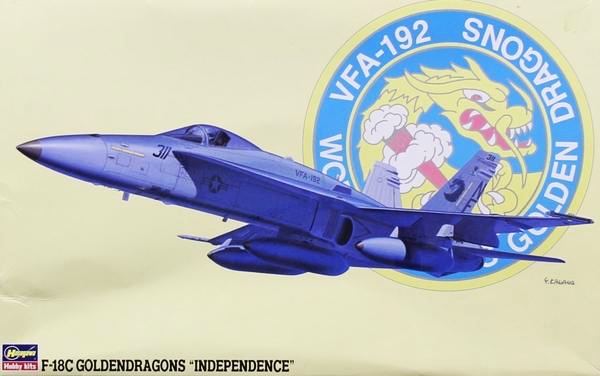
Before I continue any further, I should make it known that I have a soft spot for the legacy Hornet, the C version being my favourite and as a modelling subject I absolutely love it. I’ll always remember seeing my first F/A-18A in that stunning blue and white paint scheme, this new fighter was so futuristic looking to my young eyes!

Airfix produced a kit of this great looking jet in 1/72 scale in the 80’s and a lot of pocket was spent procuring this kit I’m sure!

For a little history, here’s a great documentary on the development of the Hornet:
Years later I would come back to model making and of course I sought out models of all my favourite subjects, among them of course was the Hornet. I remember going to West London’s Aviation Hobby shop in the early 1990’s and on the top shelf behind the counter for all to see was the 1/48 Hasegawa 1/48 F/A-18C with metal detail parts. I was in awe of this thing! This was a man’s model kit! I got out my wallet and with my cold hard cash bought myself what was to my mind at the time, the Ferrari of model kits. I was stoked!
Over the years, many hornets were build in varying degrees of quality and if I am honest, they were not the best and not for display here. A couple of years ago I reacquainted myself with the F/A-18C when I was presented with the 1/48 kit from Hobbyboss. It was a good kit and I enjoyed working on it, but upon reflection I thought it lacked something, but I could not decide what that something was. I think now it was the markings, the scheme I chose never saw operational combat so my weathering was open to interpretation at best.
I wanted an operational combat veteran F/A-18C in my collection and I wanted it to resemble a hard, fast and aggressive US Navy fighter. In 2002, I found what I had been looking for…..
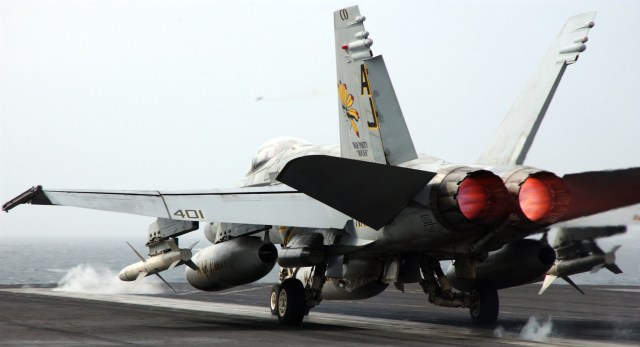


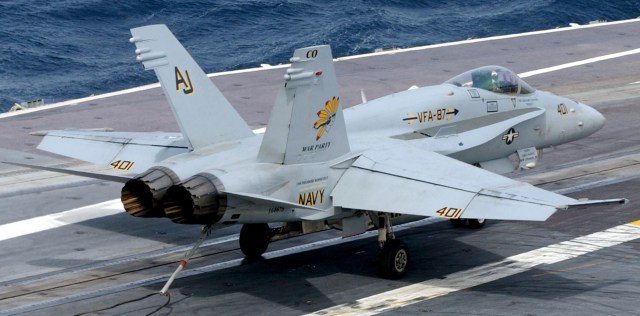
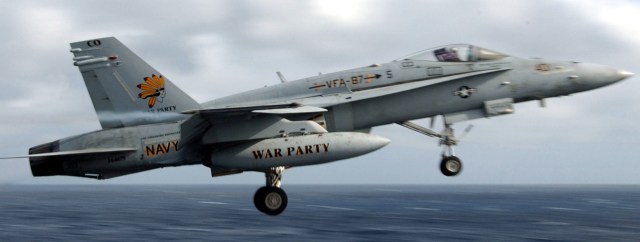
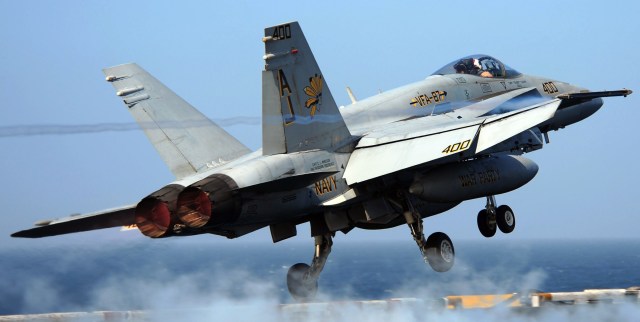
When presented with photo’s of a Hornet in such striking markings, I uttered those words….”I have to build it!”
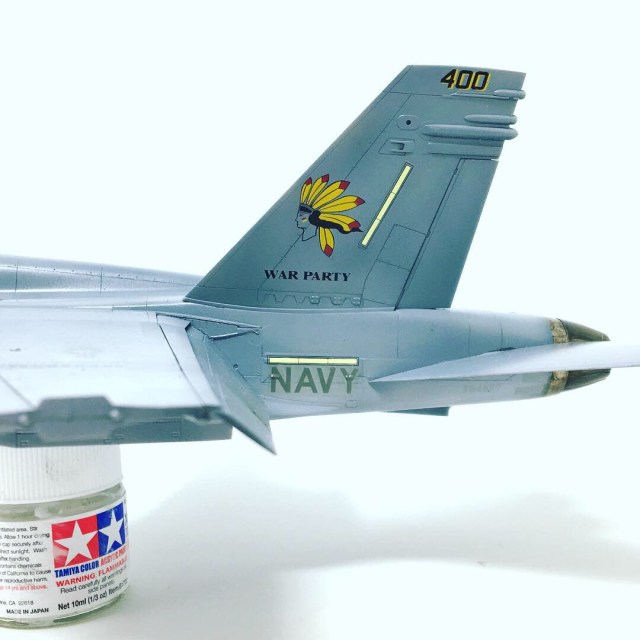
Building my “WAR PARTY” F/A-18C Legacy Hornet.
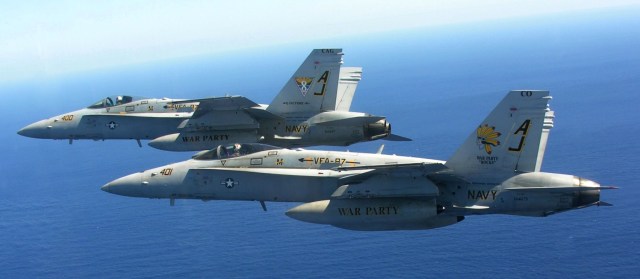
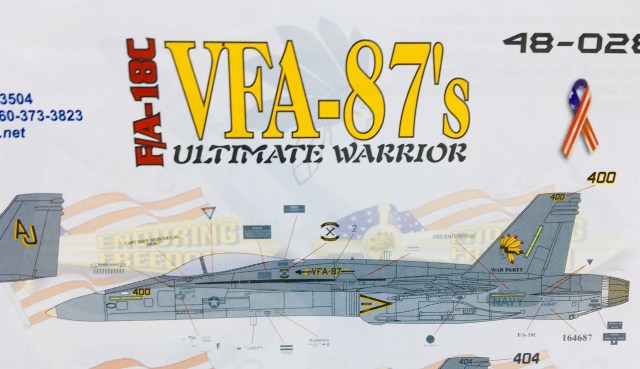
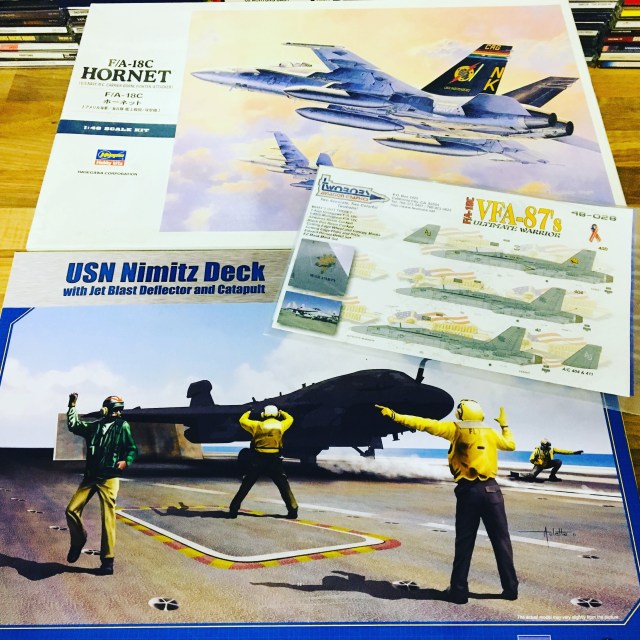
I’m lucky. I have a wonderful wife who understands my love of scale modelling and she buys me some awesome kits for Christmas or Birthdays. One such Christmas she gave me a wonderful kit in the form of Hasegawa’s 1/48 F/A-18C Hornet. I knew that I wanted to build this Hornet in VFA-87 markings and not long after I purchased the Two Bob’s decal sheet VFA-87’s “Ultimate Warrior” sheet. This sheet had the bright, vibrant C/O markings that I wanted to adorn on my Hornet.
Remember what I said up top of this post?
“Sometimes one has a desire to build a model and wants to depict it in the way it appears in ones imagination”
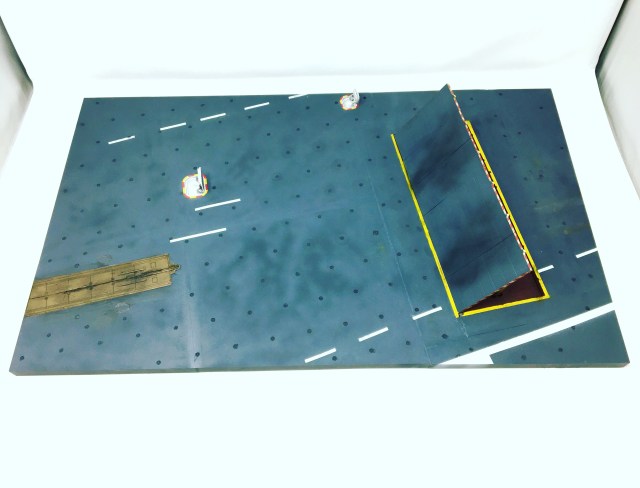
So how was this project going to look by the time I had finished? I wanted to pose my Hornet on a carrier deck in the launch position with a blast deflector shield behind it and crew figures all around to add a little life to the finished piece. All this to be housed inside a custom built display case too! A tall order, but not impossible.
My starting point was to plan the build around the airframe-With the Hasegawa kit, one has a good level of accuracy and detail. I was going to add a pilot figure and keep the canopy closed so I did not feel the need to go all out for detail in the office-I would concentrate on what one could see on the completed model. The setting would be set off by the 1/48 Skunkworks USS Nimitz Deck set this set give the modeller a true 1/48 scale carrier deck section with catapult and blast deflector and three deck crew figures.
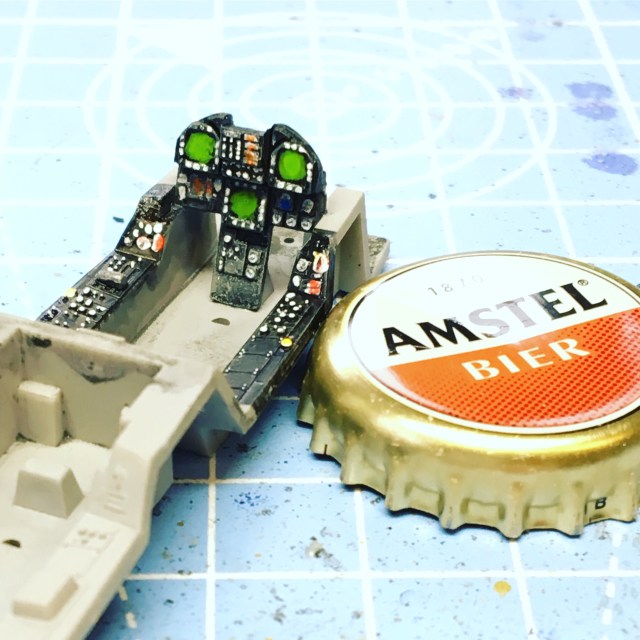
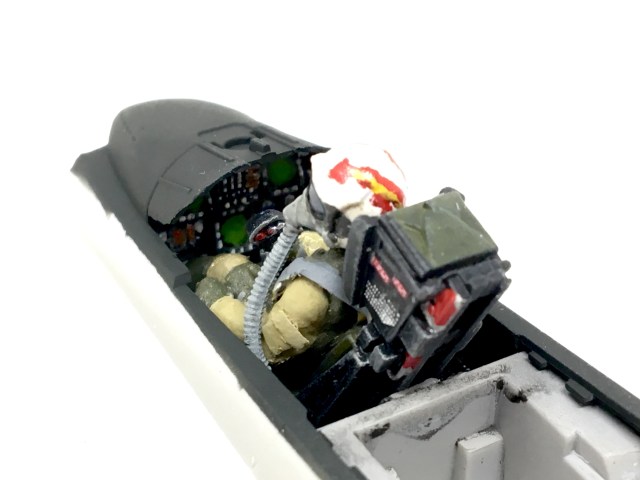
Here is my record of the project. As with most airframes, work began in the cockpit:
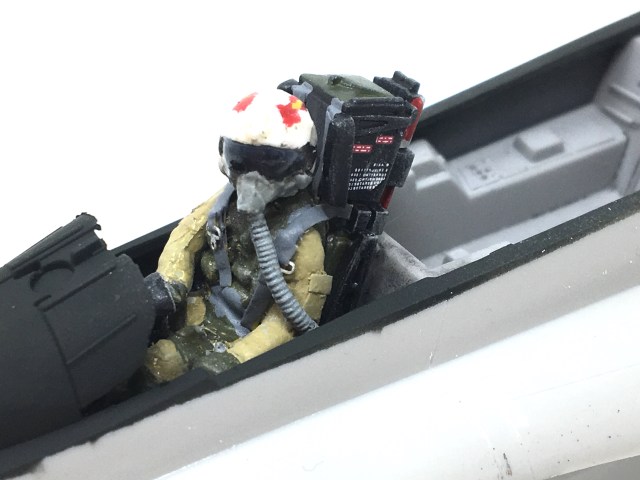
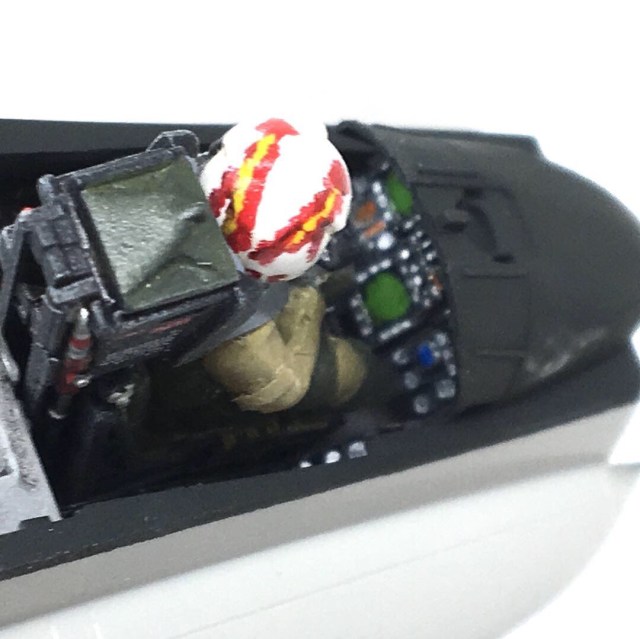
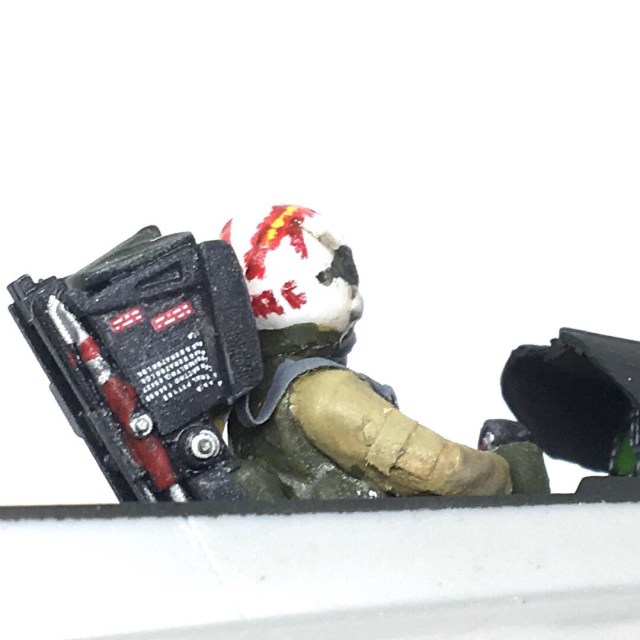
I had painted all the I/P details and wanted the paint to be just bright enough to resemble a live switched on cockpit. The pilot was a modified 1/48 figure from the kit that I added a scratch made seat harness to. I attempted to paint on the VFA-87 helmet markings as best as I could using reference photo’s as a guide. Spare decals were used for the text on the ejection seat. It’s a nice touch that adds realism.
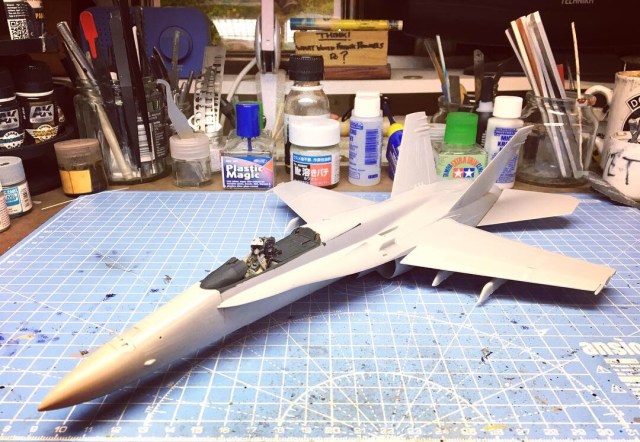
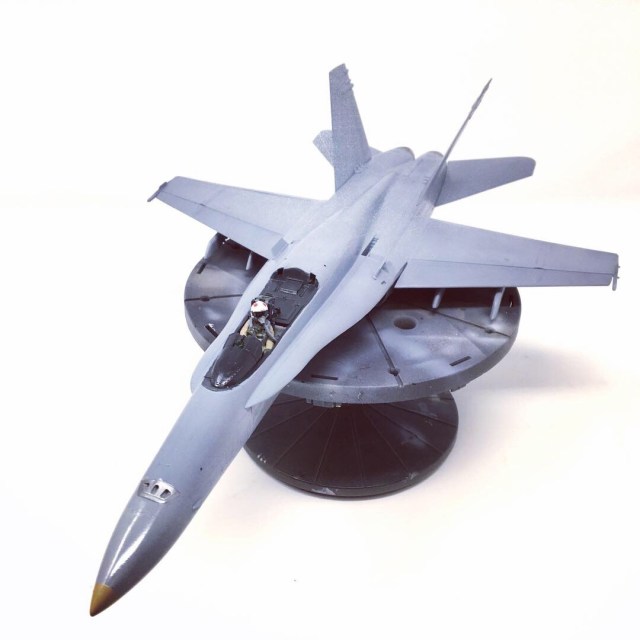
Once the cockpit work was complete, it was a simple matter to assemble the airframe. The fit on this kit is still as good as ever and putting the parts together was quick and easy. The kit gives the option of dropped flaps and slats so to depict the aircraft in its launch configuration, they were fixed in the down position. At this point, I also added the underwing stores hard points.

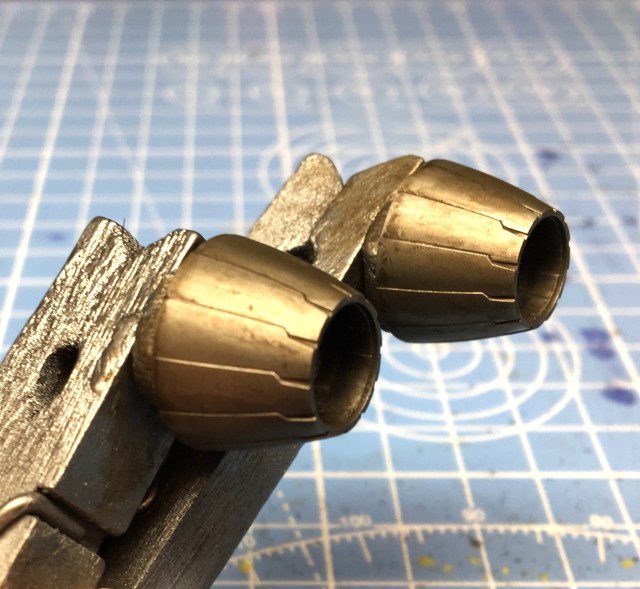
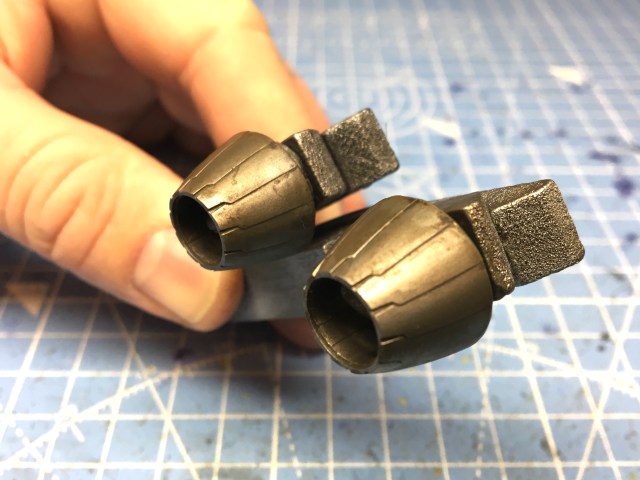
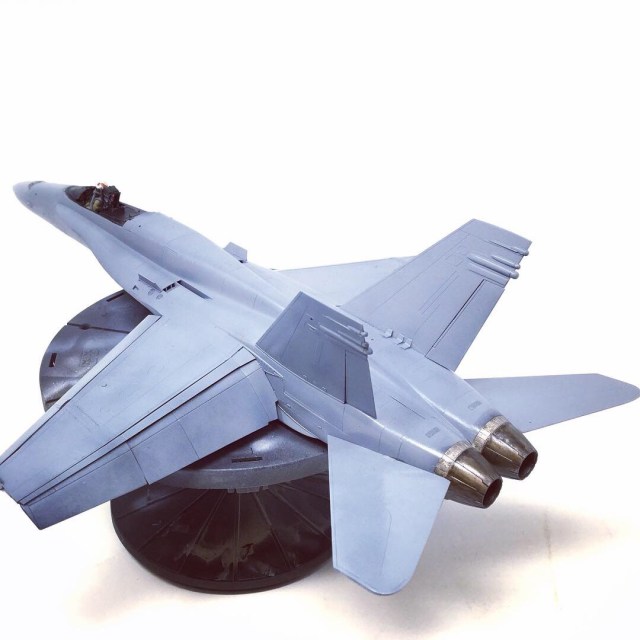
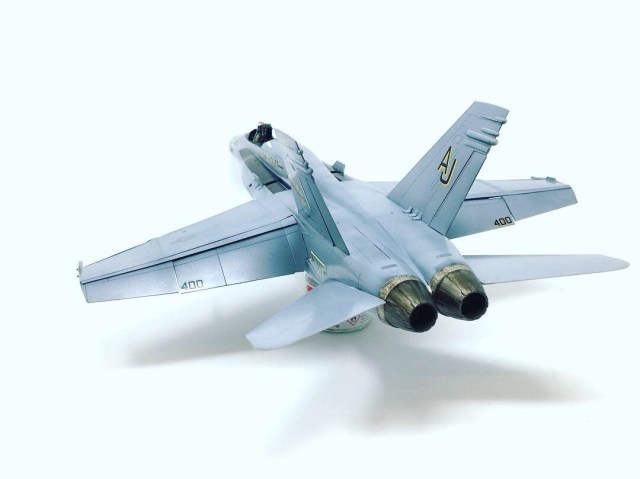
Next I moved onto the Afterburner cans. These are often depicted by modellers as silver and clean in colour, however if you take a good look a a “C” Hornet with a lot of flying hours under its belt you will see that they take on a burnt steel/brown patina. To acheive this I painted the cans with True Metal Dark Aluminium which gave me a great metal shade to work from, after this I hand brushed a Brown enamel wash from AMMO. With several applications, I built up a nice layer of dirt and grime.
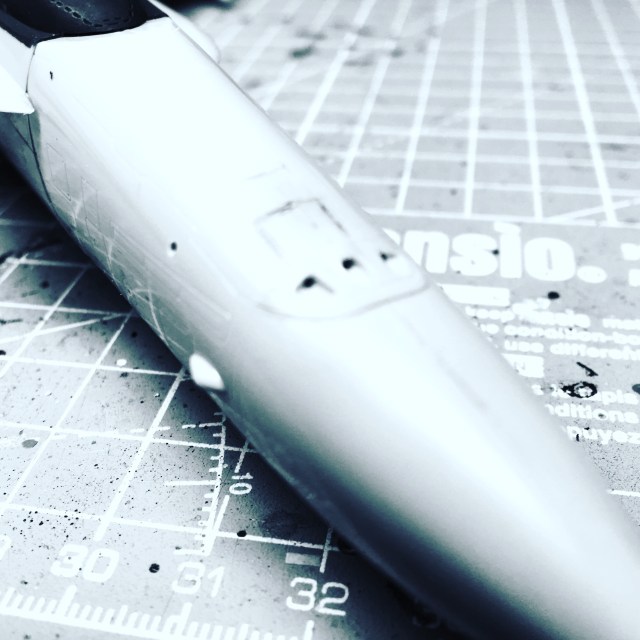
Another step towards extra detail was to drill out the cannon barrel and its vents, this easy fix really adds to the realism of the subject.
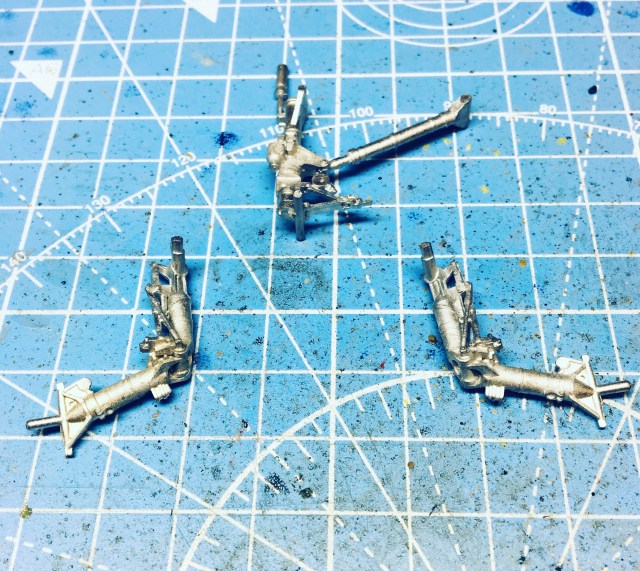
Here is a look at the metal undercarriage that comes with the kit, these parts are great and have some terrific detail. but they need a lot of clean up due to the nature of the mould and material.
Ready for paint!
Step one-My random pre-shade.
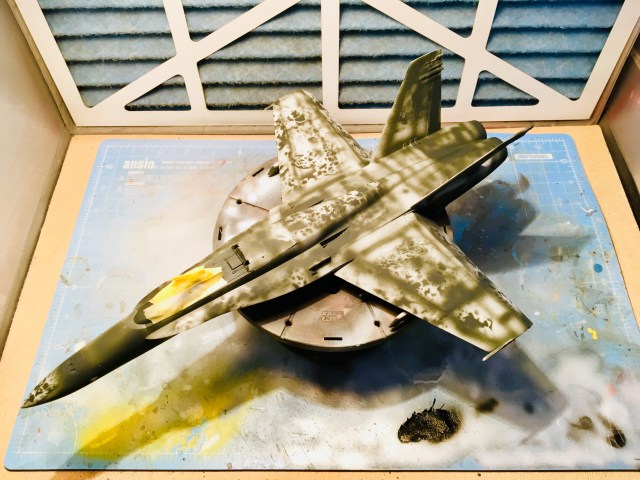
Step two- Mr. Hobby 307 and Mr.Hobby 308 USN greys airbrushed in layers to build up a worn paint look:
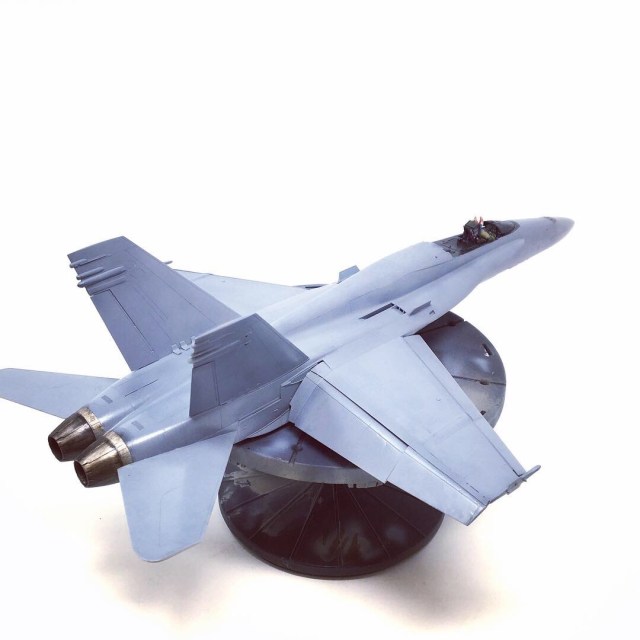
The next step was to gloss the entire model in preparation for decal placement. Once the gloss has had 24 hours to cure, the decal process may commence.
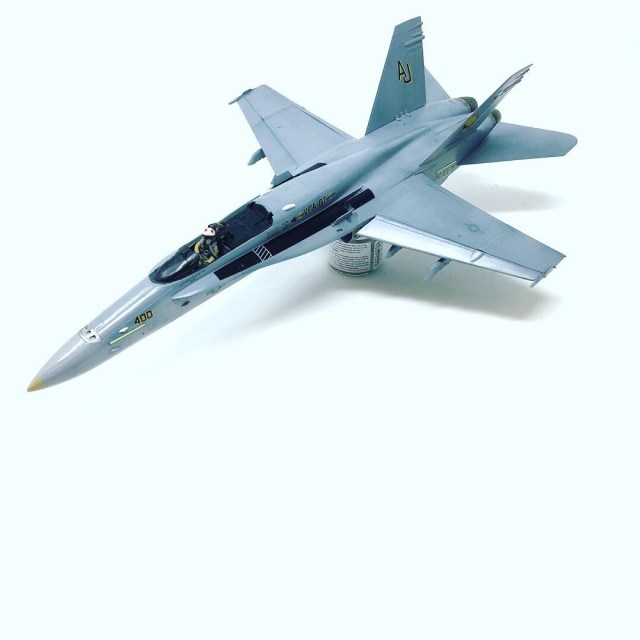


Now the airframe is looking like a fighter!
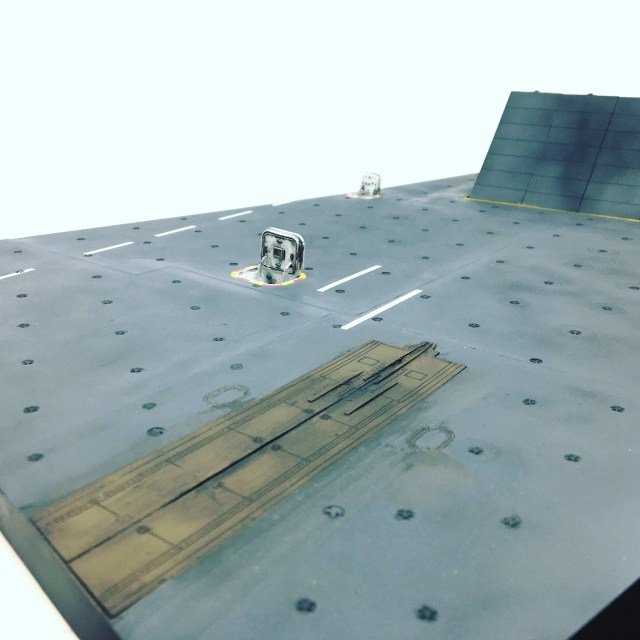
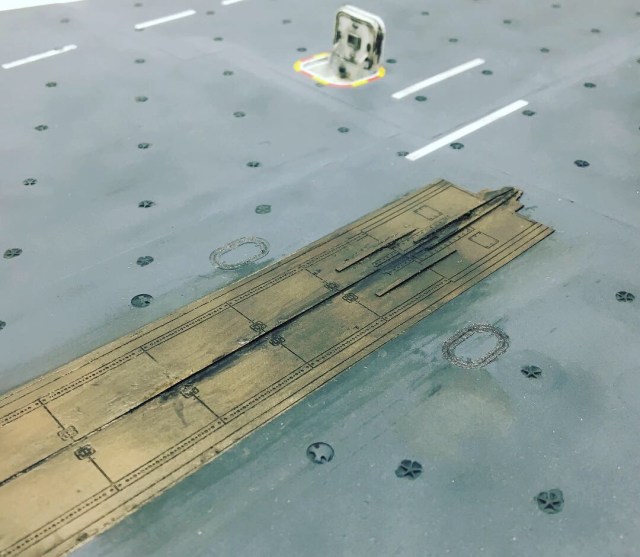
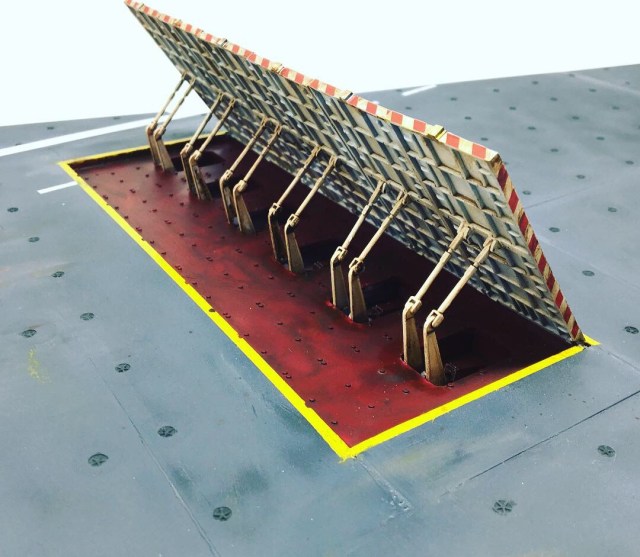
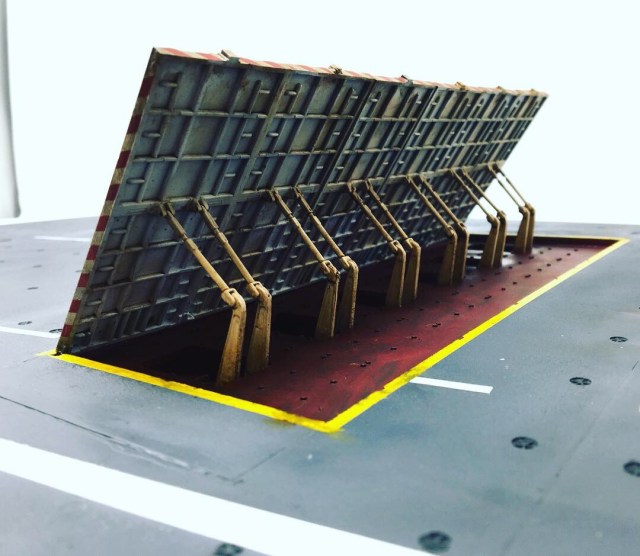
Whilst the airframe was being built, I had also set about building the carrier deck. It comes in sections of hard black plastic that needs a lot of clean up and I would strongly recommend super glue for securing the joints. The catapult and blast deflector are very well detailed, with careful painting and weathering a convincing finish can be achieved.

My next job was to add figures to the scene, in fact this build was rapidly and happily becoming a diorama.
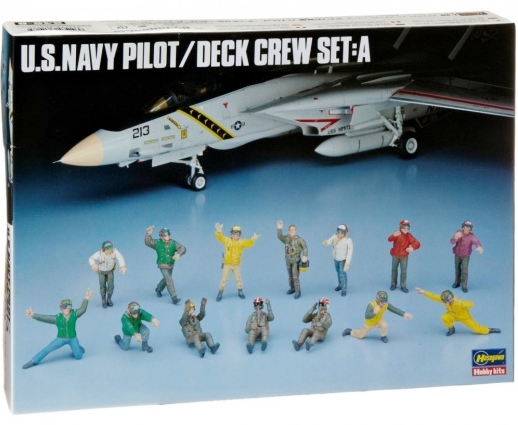
I had wanted to find some modern USN deck crew figures and they are readily available, but in some cases quite expensive. So I sought out my spares to see what I could cobble together.
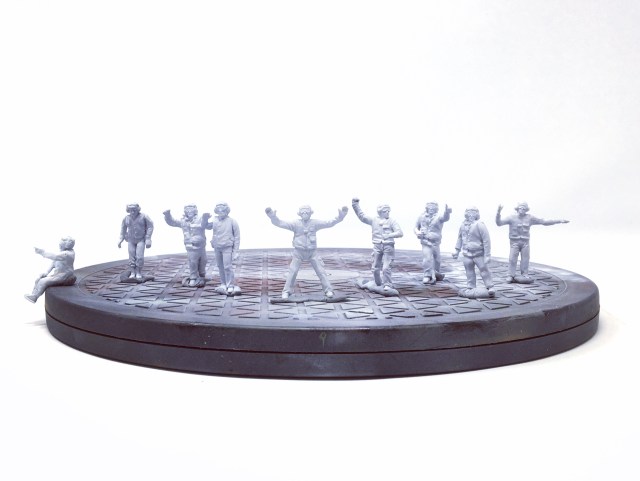
I found this:
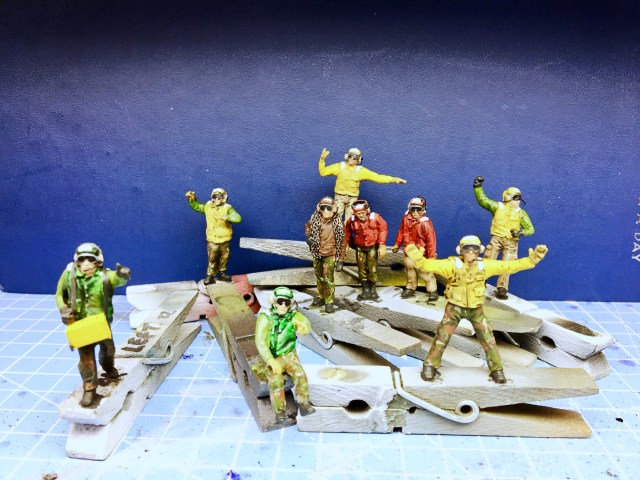
Most of the figures had already been used from the box, but I had enough parts to experiment with and with some converting/melting and re-shaping I came up with these:
Once painted, they looked half decent to my eye!
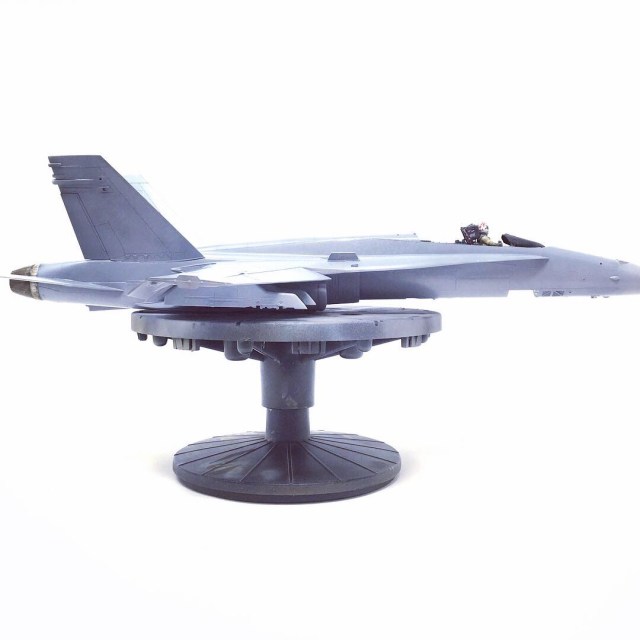
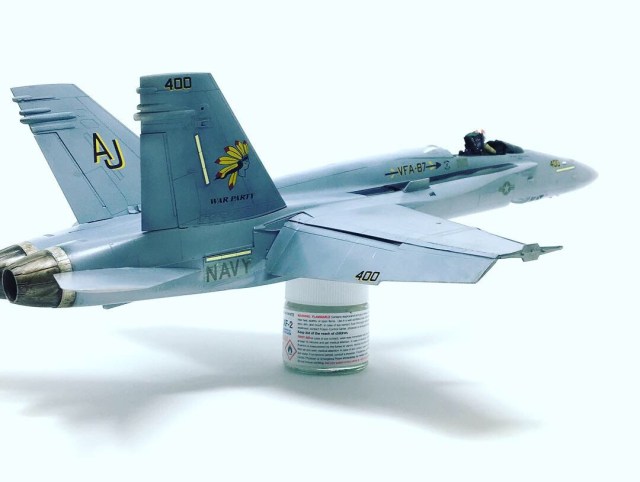
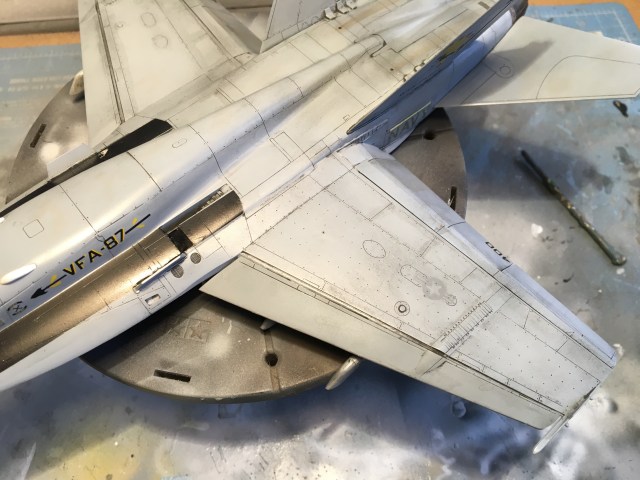
With the project moving along at a pace it was soon time to add weathering effects to the airframe:
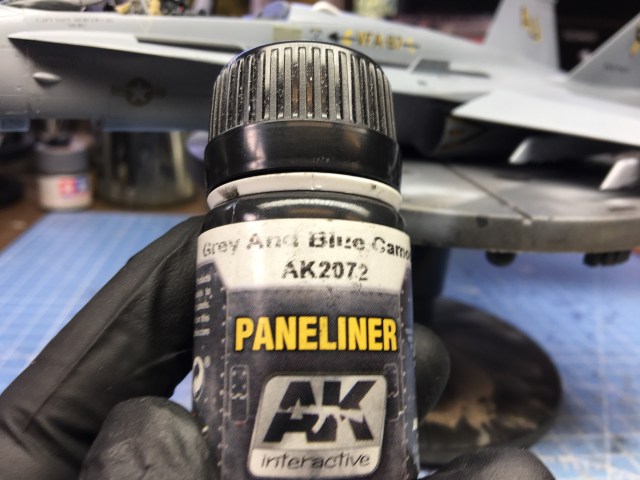
For this I used AK Interactive Blue & Grey enamel Panel Liner.
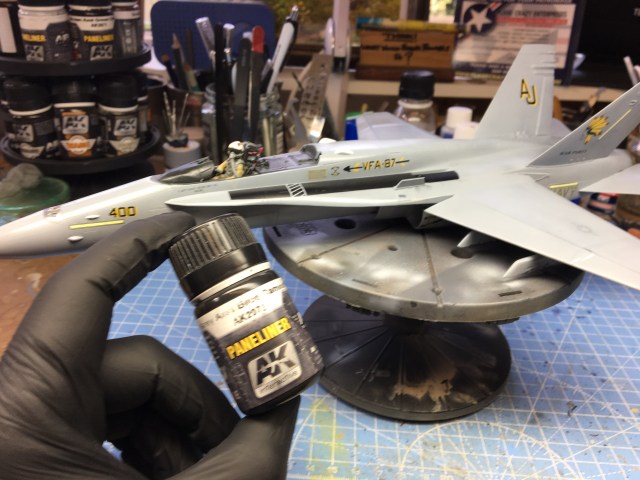
With the addition of some streaking fluid from Mig, I ended up with the clean/used combination of weathering that I had set out to achieve on this model. Here is how the build looks now.


So that’s as far as I have come with this project so far, I hope you have enjoyed my ramblings and that you return for more. Until then, take care and…..
Happy Modelling!
Darren.


Always impressive.
LikeLiked by 1 person
Thank you!
LikeLike