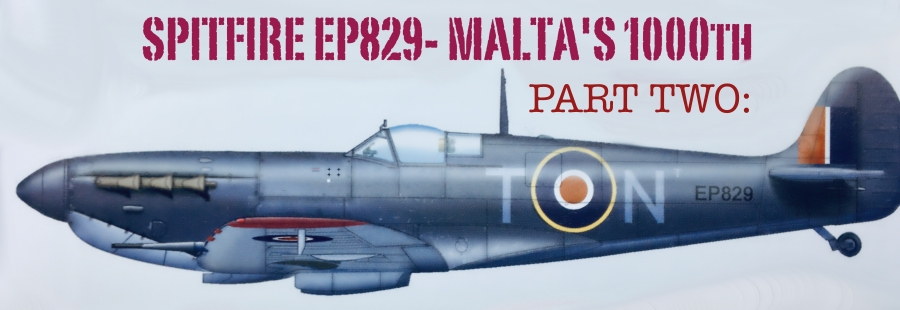

Sometimes a build is so much fun that you flat out forget to record the build and paint process. That, dear reader is exactly what has happened here!
So I open with a humble apology and the optimistic hope that the end in this case will justify the means. As you will remember I was just in the build and modification process the last time we visited EP829 together and I had planed an in depth step by step article to show how I made modifications and the new experimental paint technique that I was going to try out……..Well, best laid plans and all that!
Whilst my workbench blurred with frenetic activity I did manage to upload the odd “Work In progress” photo to my Instagram page and thus I am able to share some of my experiences of building Spitfire EP829, my thoughts on the Hobbyboss kit, how I came to a new painting technique and just where I stand on that elusive shade of blue……..
For those of you who are late to the party, you can catch up Part One here:
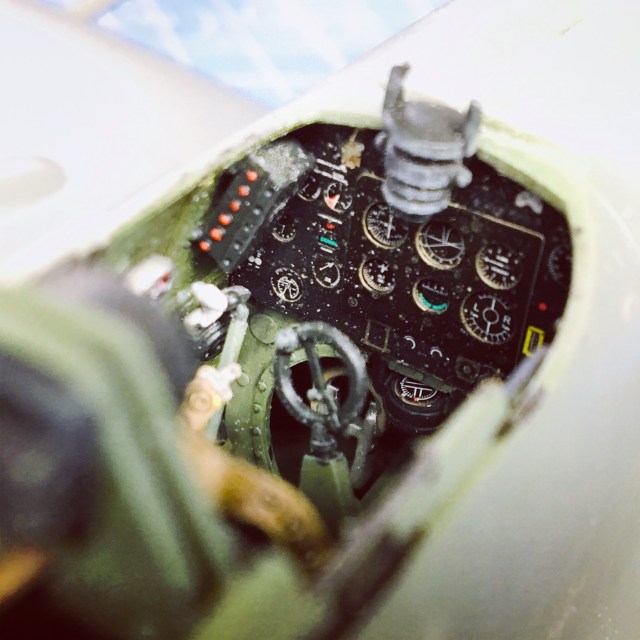
Last time saw the cockpit completed and the fuselage being put together so we’ll pick up from there….
The Hobbyboss kit has a lot to offer, including an engine, gun bays and radio compartment too. I made the decision very early on to keep these hatches closed to match the photographs I had of EP829.
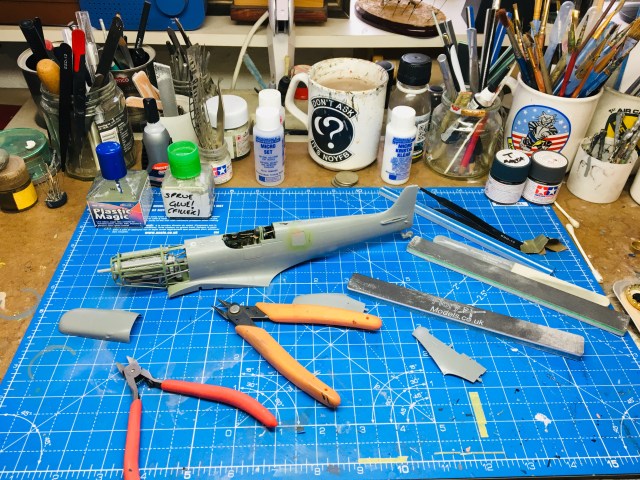
At this stage, I added some Quickboost resin replacements for the horizontal stabilators as the kit parts were incorrect for a Spitfire Mk.Vb.
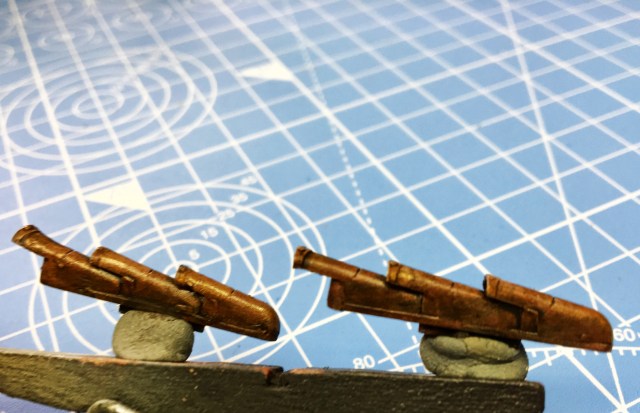
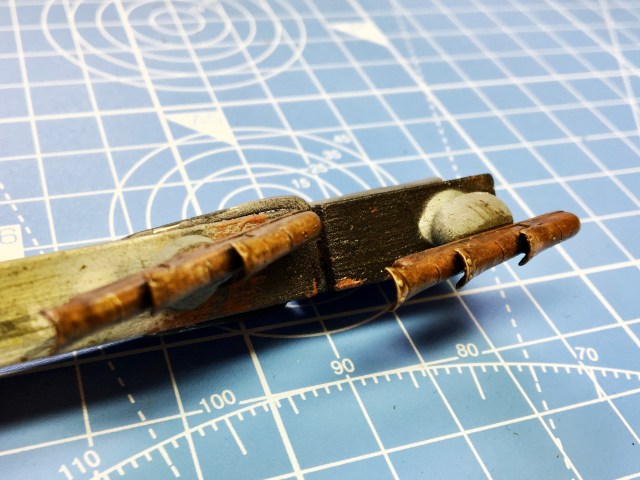
Although some modellers replace the Hobbyboss exhausts I found them to be quite adequate and once they were painted and stained, they looked the part:
At this point before I continue with the airframe, I should point out that two further modifications were made. I took clipped Spitfire wing ends from another kit so that I could portray EP829 accurately and I also replaced the kit canopy windscreen as it is woefully poor in shape and just looks WRONG! That is my biggest criticism of the Hobbyboss 1/32 Spitfire. It is well detailed, fits great and has a lot to offer the detail modeller. So why oh why did they mess up the front windscreen? For the price of this kit and the extra cost for the canopy parts, I still believe that this kit can be built into a decent, realistic replica of the Spitfire Mk.Vb.
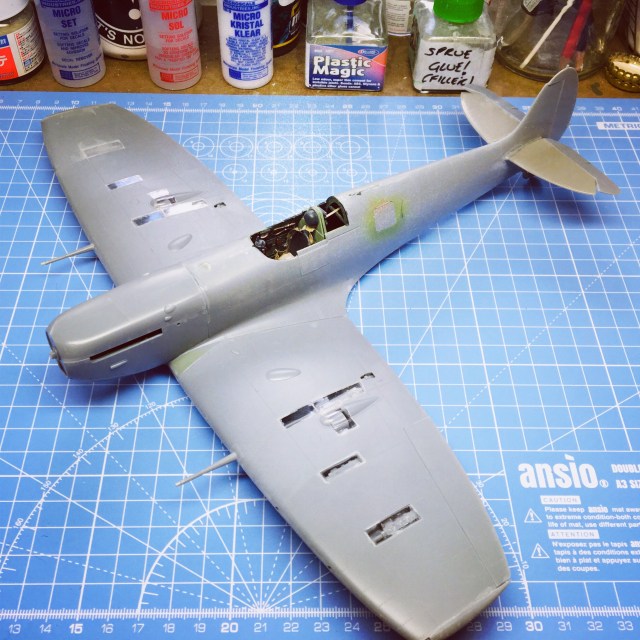
I contacted the UK Tamiya agent who for a reasonable fee were only too happy to relieve me of my hard earned cash for a shiny new clear parts sprue from Tamiya’s 1/32 Spitfire Mk.VIII. Once the replacement windscreen was grafted to the airframe, all the doors, hatches and panels were sealed and work continued in the paint shop.
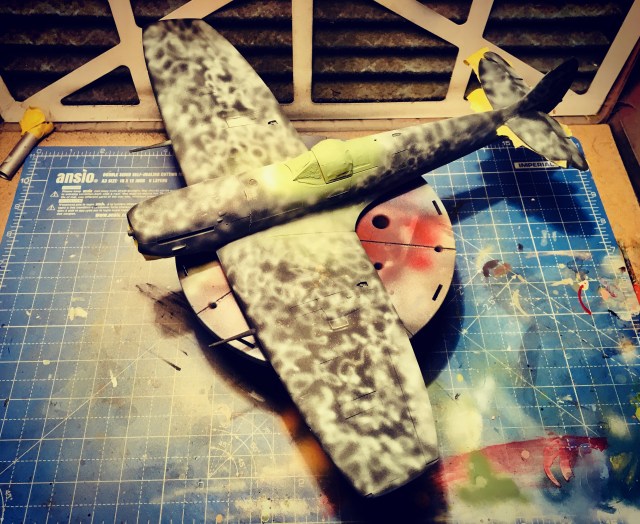
Here we see EP829 already primed in black paint and oversprayed with a medium grey mottle pattern. Whilst this takes more time and more paint, I use this method to add depth to the overall paint effect of the finished model.
An elusive shade of blue……
For as long as I’ve been building aircraft, scale modellers have debated the colour of RAF Spitfire’s based on Malta during the 1943-1943 period. I am not going to re-engage that debate here. What I feel is this: I am a scale model artist, and as such I research a project and try to learn as much as I can about the subject I am portraying.
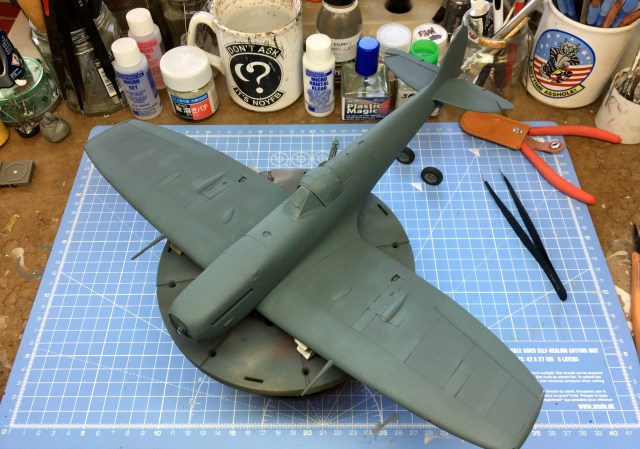
From that research I learned that 249 Squadron had their aircraft painted in locally sourced Grey/Blue during 1942-1943 and that this shade of blue was often described as anywhere between “Mediterranean Blue” to “Mesmerising Grey” So we know it was a shade of Blue/Grey that was locally mixed, probably a combination of Royal Navy and United States Navy aviation grade paint. With all that in mind, with a generous helping of reference reading I mixed a shade of grey blue starting with Tamiya XF-50 Field Blue.
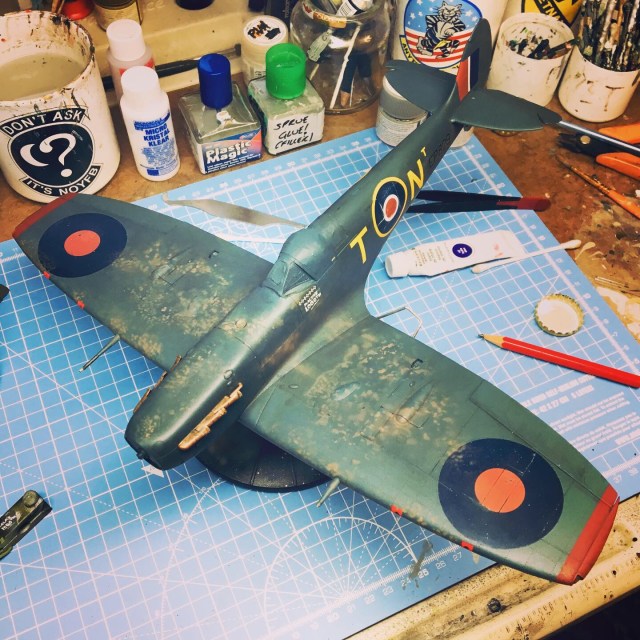
To this I added drops of various greys until I got to where I felt the colour look “right” to my eye once it had dried. I then mixed a darker shade and a lighter shade of this colour to add highlights and fading to the paint on the airframe. What you will see in the photo’s below is the result of my painting the airframe in those three individual shades.

Whilst the paint was drying I moved onto my 1/32 version of Sqn. Ldr. John J. Lynch. This modified PJ Productions figure will not win any figure painting awards, but it at least resembles our pilot!

The next stage of the build was add the markings. For this I sought out two Aftermarket decal sheets from Top Colours and Xtradecal. There is some debate as to which exact colour EP829’s Sqn. codes actually were. They were either Yellow or Sky Blue, from the Black and White photograph’s of the period one could argue either case. I went for yellow as I believe it to be the correct colour and I feel it makes for a more dramatic look to the aircraft. (Remember, I’m an Artist. Not a Historian or Lord preserve us, a Rivet Counter!)
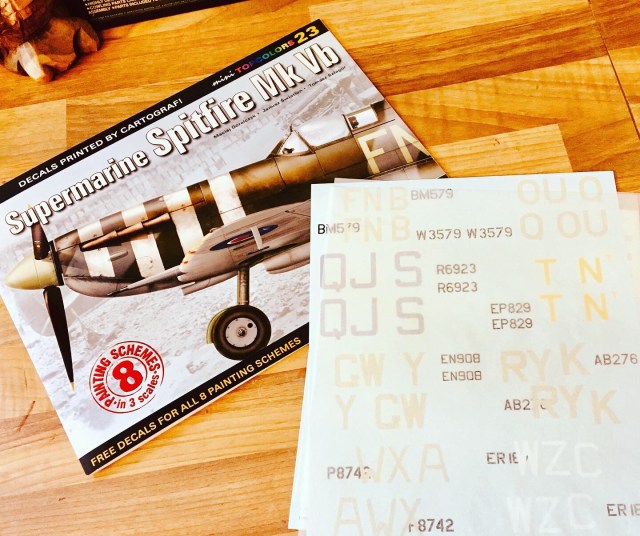
With the excellent Top colours booklet as my guide, I set about bringing our Spitfire to life with decals and weathering!

There was just one snag…….None of the decal sheets had portrayed the chalked on “Malta’s 1000th” marking as in the famous photograph that inspired this build!

“Damn and Blast!” “There’s always something…….”
So, with a very pointy detail brush and white oil paint I attempted to re-create the now famous text.
How did it turn out? You’ll have to come back to see part three next time!

However, I’m not completely heartless! Here is a sneak peek of how EP829 was beginning to take shape!
Right, I’m off for a pint! Until next time, take care and Happy Modelling!
Darren.

Pingback: Malta’s 1000th-Spitfire EP829 Ready for Inspection! – THE SCALE MODEL HANGAR